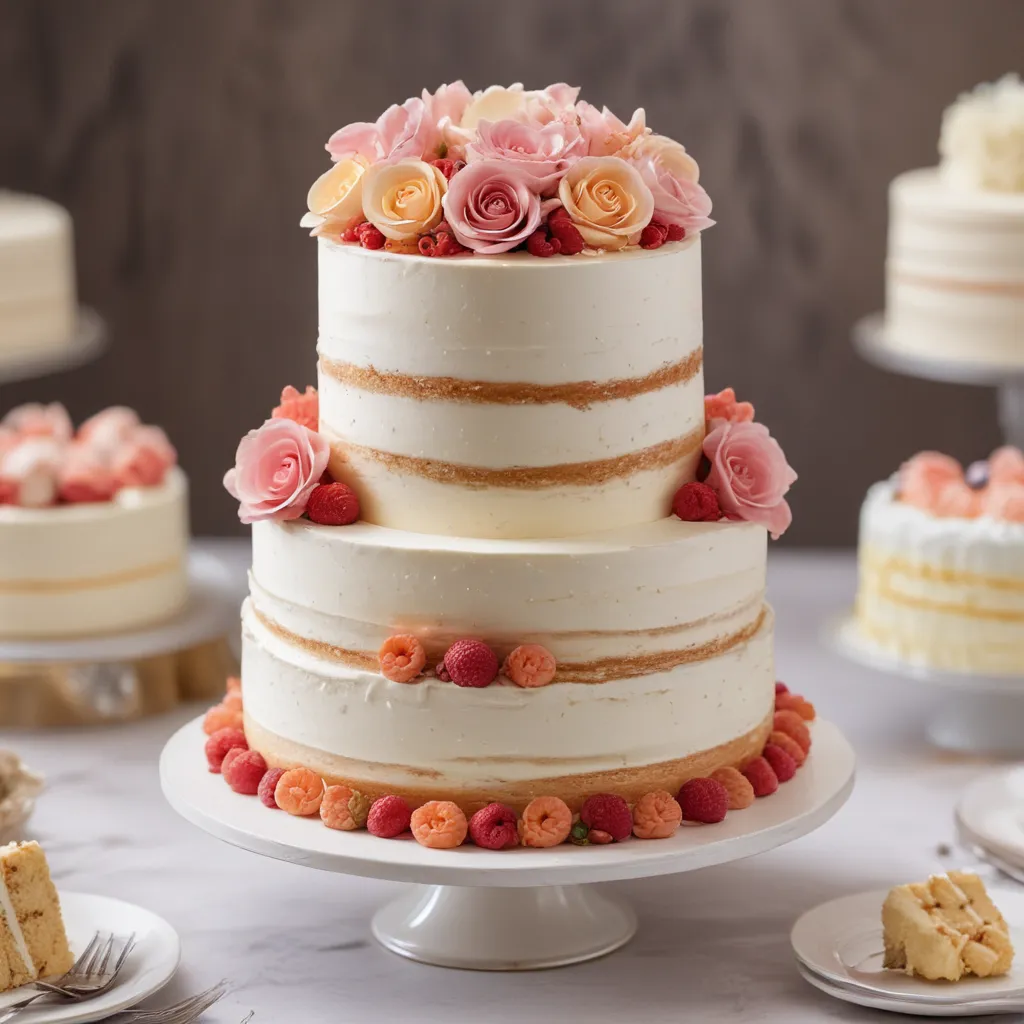
Ah, ganache – the silky, glossy topping that can elevate a simple cake into a true work of art. As the owner of Jax Cake Shop in San Jose, I’ve spent countless hours perfecting the art of creating flawless ganache. And let me tell you, it’s no easy feat! But fear not, my fellow cake enthusiasts, for I’m about to share my hard-earned secrets with you.
The Basics of Ganache
Let’s start with the fundamentals. Ganache is a simple combination of just two ingredients: high-quality chocolate and heavy cream. The ratio of chocolate to cream can vary depending on the desired consistency, but the general guideline is a 1:1 ratio for a pourable ganache and a 2:1 ratio for a thicker, spreadable ganache.
Now, you might be thinking, “How hard can it be to mix some chocolate and cream together?” Well, my friends, that’s where the magic – and the potential for disaster – lies. You see, the key to achieving a silky-smooth ganache is all in the technique. It’s like trying to tame a wild beast – if you don’t approach it with the right strategy, you might end up with a lumpy, grainy, or even curdled mess.
Mastering the Art of Ganache
Step 1: Choose Your Chocolate Wisely
The first step to ganache success is selecting the right chocolate. You want to use a high-quality chocolate with a minimum of 60% cocoa solids. Milk chocolate or white chocolate can work as well, but they’ll require some adjustments to the recipe. Avoid using chocolate chips or other heavily processed chocolates, as they often contain stabilizers that can interfere with the ganache’s texture.
Step 2: Temper the Chocolate
Tempering the chocolate is a crucial step that ensures a smooth, glossy finish. Tempering involves carefully melting the chocolate and then cooling it to the right temperature, which allows the cocoa butter crystals to align properly. This process can be a bit tricky, but trust me, it’s worth the effort. If you skip this step, your ganache might end up with a dull, grainy appearance.
Step 3: Heat the Cream Gently
While the chocolate is being tempered, it’s time to heat the cream. This is where many people go wrong – they crank up the heat and end up with a scalded, curdled mess. The key is to heat the cream gently, either on the stove or in the microwave, until it just starts to steam. You don’t want it to boil, as that can negatively impact the texture of the ganache.
Step 4: Combine and Emulsify
Now, the moment of truth! Slowly pour the hot cream into the tempered chocolate, stirring constantly. This is where the magic happens. As you stir, the chocolate and cream will emulsify, creating a silky-smooth, glossy ganache. Be patient and keep stirring until the mixture is completely homogeneous.
Step 5: Cool and Chill
Once your ganache is perfectly blended, it’s time to let it cool. Transfer the ganache to a clean bowl and cover the surface with plastic wrap or parchment paper to prevent a skin from forming. Pop it in the fridge and let it chill until it reaches the desired consistency, which can take anywhere from 30 minutes to a few hours, depending on the recipe and the temperature of your kitchen.
Troubleshooting Common Ganache Issues
Of course, as with any culinary endeavor, there’s always the potential for things to go wrong. But don’t worry, I’ve got your back! Here are some common ganache issues and how to fix them:
Grainy or Lumpy Ganache
If your ganache turns out grainy or lumpy, it’s likely due to the chocolate not being tempered properly or the cream being too hot. Try re-melting the ganache over a double boiler, stirring constantly until it’s smooth and silky.
Curdled or Split Ganache
If your ganache curdles or separates, it’s usually because the cream was too hot or the ganache was over-agitated. To rescue it, try gently warming the mixture over a double boiler, then slowly adding a tablespoon of room-temperature cream or milk while stirring constantly.
Dull or Matte Ganache
If your ganache has a dull, matte appearance instead of a glossy sheen, it’s likely due to the chocolate not being tempered properly. Next time, be sure to follow the tempering instructions carefully, and consider adding a bit of cocoa butter or neutral oil to the mixture to help restore the shine.
Real-Life Ganache Dilemmas (and Solutions)
Now, you might be wondering, “But what about real-world scenarios? Surely, even the most seasoned cake artist has faced a ganache-related crisis or two!” Well, my friends, you’re absolutely right. Let me share a few stories from the trenches to give you a more well-rounded understanding of the challenges that can arise.
The Case of the Stubborn Ganache
Just last week, I was preparing a gorgeous 3-tier wedding cake for a client. Everything was going according to plan until I started pouring the ganache over the chilled cake layers. To my horror, the ganache refused to smooth out, leaving unsightly bumps and ridges on the surface. I tried everything – gently heating the ganache, adding a bit of extra cream, even whipping it with a hand mixer. But nothing seemed to work.
In a moment of desperation, I remembered a trick I had learned from a pastry chef friend. I grabbed a blowtorch and carefully held it a few inches above the ganache, gently heating the surface. It was like magic! The ganache melted and smoothed out before my eyes, creating a flawless finish. Phew, crisis averted!
The Curdled Catastrophe
Another time, I was attempting to make a large batch of chocolate ganache for a client’s birthday cake. I followed my usual recipe and technique, but as I poured the cream into the tempered chocolate, something went horribly wrong. The mixture immediately curdled and separated, leaving me with a grainy, unappealing mess.
I was devastated, but I knew I couldn’t give up. I took a deep breath, rolled up my sleeves, and got to work. First, I tried gently reheating the ganache over a double boiler, but that didn’t seem to help. Then, I remembered a trick I had read about – adding a tablespoon of room-temperature cream to the mixture and whisking vigorously. Lo and behold, the ganache came back together, smooth and shiny as ever!
The Secret Ingredient: Patience and Perseverance
You see, the path to perfectly smooth ganache is not always a straight one. It takes practice, patience, and a willingness to experiment. But trust me, the payoff is more than worth it. There’s nothing quite like the feeling of watching your cake transform from a simple sponge into a true work of edible art, all thanks to that silky, glossy ganache.
So, if you’re feeling intimidated by the prospect of tackling ganache, don’t be! Embrace the challenge, get ready to troubleshoot, and most importantly, have fun with it. After all, the best part of being a cake artist is the thrill of the creative process. And who knows – with a little bit of practice, you might just become a ganache-smoothing superhero, saving the day one flawless cake at a time.
Now, if you’ll excuse me, I’ve got some ganache to make. But before I go, I want to invite you to visit Jax Cake Shop in San Jose, where we specialize in custom cakes that are as delicious as they are beautiful. Who knows – maybe I’ll even share a few more ganache secrets with you in person!


