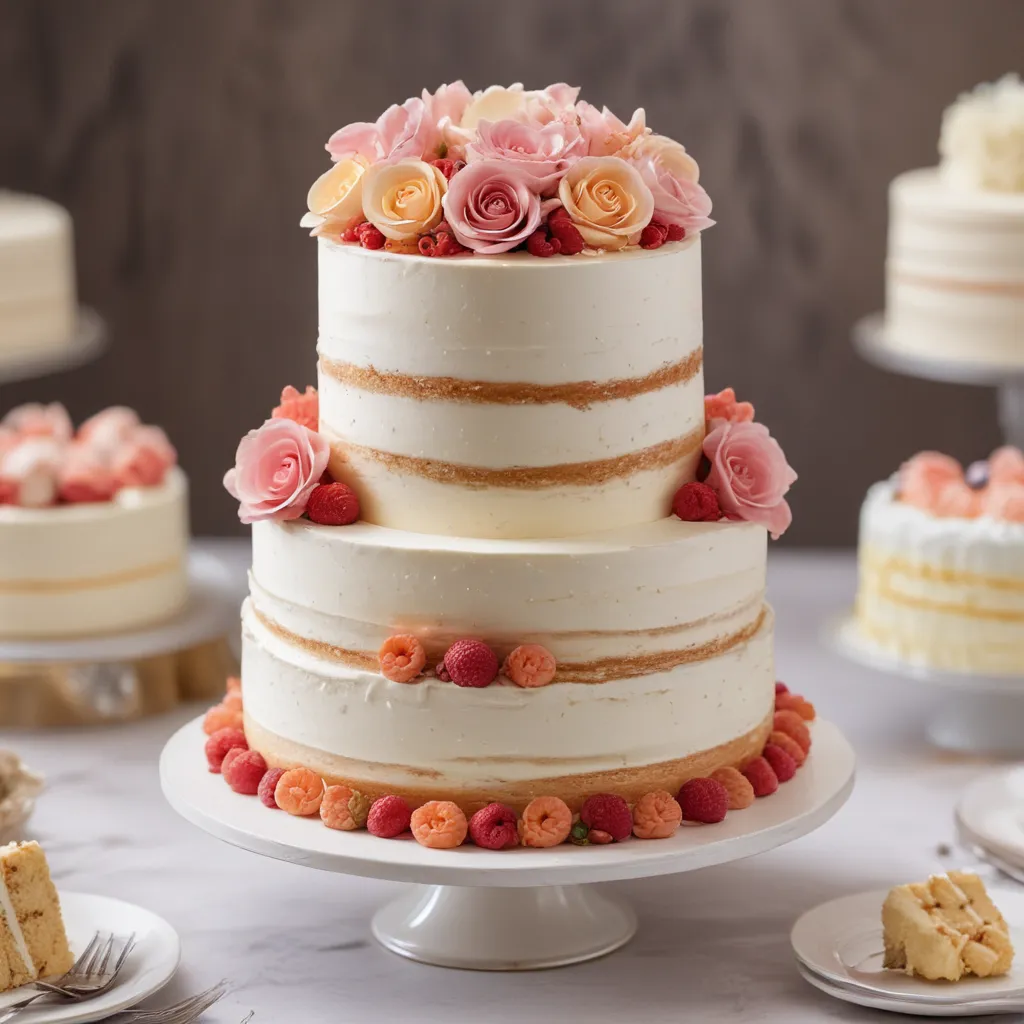
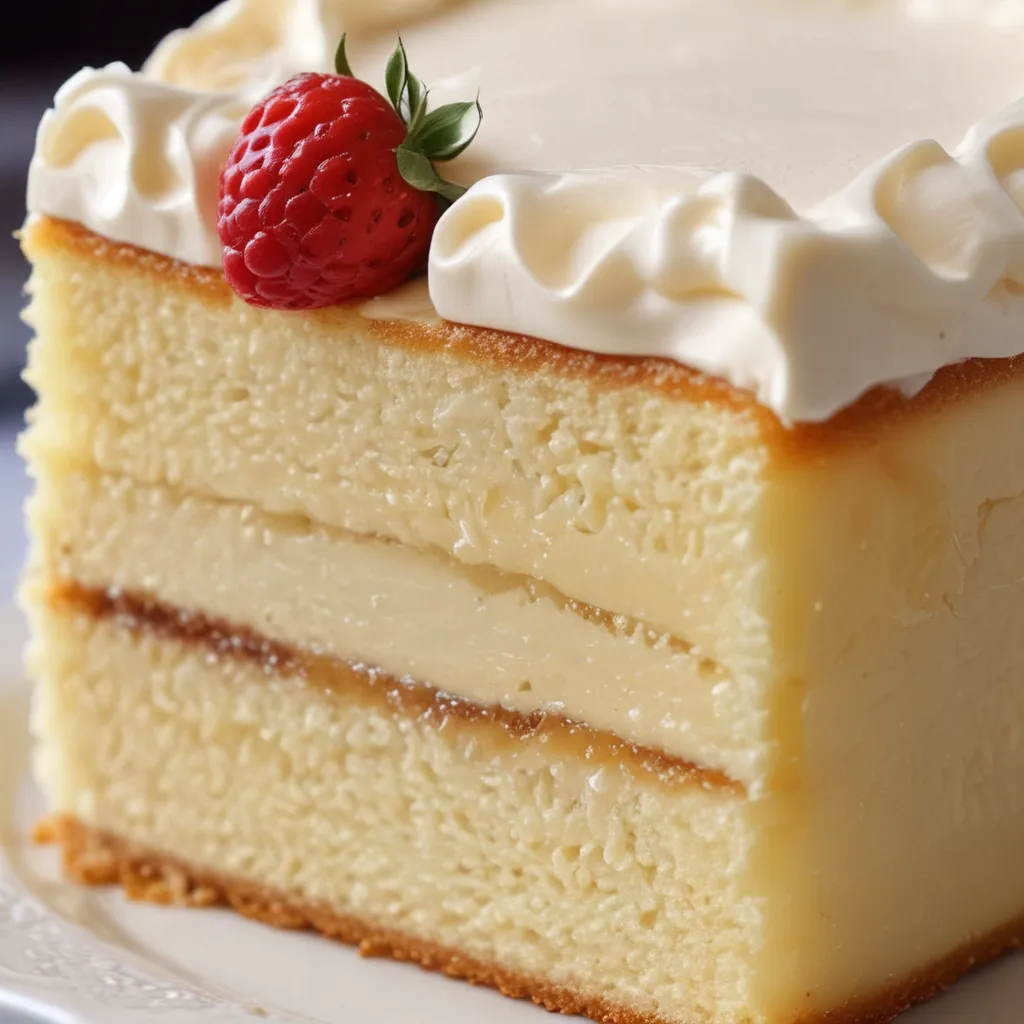
Ah, the art of crumb coating cakes – a skill that separates the baking masters from the mere mortals. If you’re anything like me, you’ve probably spent countless hours watching baking shows, drooling over those impeccably smooth, crumb-free cake surfaces. Well, my friends, the time has come to lift the veil and reveal the secrets to achieving that elusive, professional-looking crumb coat.
The Importance of a Flawless Crumb Coat
Before we dive in, let’s take a moment to appreciate the true power of a well-executed crumb coat. It’s the foundation upon which all your decorative dreams are built – a smooth, even base that allows your frosting, fondant, or other embellishments to sit atop with precision and elegance. Skimp on the crumb coat, and you’re destined for a lumpy, bumpy, and frankly, embarrassing final product. But nail it, and the possibilities are endless! Think about it – would a Monet painting look nearly as breathtaking if the canvas were all uneven and rough? Of course not. The same principle applies to your cakes.
Mastering the Art of Crumb Coating
Alright, let’s get down to business. I’m about to share with you the tried-and-true techniques I’ve learned over the years to achieve perfectly smooth, crumb-free cakes every single time. Are you ready? Good, because this is where the magic happens.
Chill, Baby, Chill
The first and perhaps most crucial step in the crumb coating process is to make sure your cake layers are thoroughly chilled before you even think about frosting them. I’m talking fridge-cold, people. Why, you ask? Well, let me tell you a little story.
One fateful day, I decided to get a bit impatient and start frosting my cakes while they were still warm from the oven. Huge mistake. As soon as I started spreading that buttercream around, the cake started crumbling and falling apart like a house of cards in a hurricane. It was a disaster of epic proportions, let me tell you. From that day on, I made a solemn vow to never, ever frost a warm cake again.
You see, when the cake is warm, the crumb is still soft and delicate, making it incredibly susceptible to tearing and crumbling under the weight and pressure of the frosting. But when it’s nice and chilled, the crumb firms up and becomes much more sturdy and resilient. Trust me, those extra 30 minutes in the fridge are well worth the wait.
Prep, Prep, Prep
Okay, now that we’ve got the cake chilled and ready to go, it’s time to prepare the surface. And I don’t mean just giving it a quick once-over with a knife. No, my friend, we’re talking serious prepping here.
First, use a serrated knife to carefully trim off any uneven or domed tops on your cake layers. This will ensure a nice, flat surface for your crumb coat to adhere to. Then, take a pastry brush and gently sweep away any loose crumbs that may have accumulated. You want that surface as smooth and clean as a freshly polished diamond.
Now, here’s a tip that’ll really take your crumb coating game to the next level: use a cake leveler or ruler to measure the height of your cake layers. Yup, you heard me right. Knowing the exact height of each layer will help you distribute your crumb coat frosting evenly, preventing any unsightly lumps or bumps. Trust me, this step may seem a bit obsessive, but the results are worth it.
The Crumb Coat Conundrum
Ah, the crumb coat – the make-or-break moment in the cake decorating journey. It’s the delicate balance between just enough frosting to create a smooth base, and not so much that you end up with a gloppy, unappealing mess. But fear not, my cake-loving friends, I’m about to let you in on my fool-proof crumb coating method.
First and foremost, you’ll want to use a thinner, more spreadable frosting consistency for your crumb coat. Think of it like a thin layer of glue that’s going to help all those pesky crumbs stick to the cake, rather than a thick, heavy coating. I find that a buttercream with a slightly higher ratio of liquid to fat works wonders here.
Next, apply that crumb coat in thin, even layers, using a bench scraper or offset spatula to get a super smooth finish. Don’t be afraid to go over the same area a few times, smoothing and scraping as you go. And remember, less is more when it comes to the crumb coat – you just want enough to create a seamless base, not a thick, gloppy mess.
Once you’ve got that first layer on, pop the cake back in the fridge for at least 30 minutes to let the frosting set. This is crucial, as it will prevent any crumbs from working their way through to the final coat of frosting. Then, repeat the process, applying a second, even thinner layer of crumb coat and chilling again.
The Final Countdown
Alright, you’ve made it this far, so don’t give up now! The final step in achieving that perfect, crumb-free cake surface is all about patience and precision.
After your second crumb coat has set in the fridge, it’s time to apply your final layer of frosting. This is where you can really go to town and get creative with your decorating techniques. Whether you’re aiming for a sleek, modern look or a more ornate, textured design, the key is to take your time and work in small, methodical sections.
Use your offset spatula or bench scraper to gently smooth the frosting, taking care to fill in any gaps or air pockets. And don’t be afraid to go over the same area multiple times, smoothing and refining as you go. The more diligent you are during this stage, the more professional and polished your final cake will look.
Once you’ve got that final layer of frosting on and smoothed to perfection, pop the cake back in the fridge one last time to let it set. Then, step back and admire your handiwork, my friend. You’ve just created a work of edible art, a cake so smooth and flawless, it’ll have everyone wondering if you secretly studied under the tutelage of a French pastry chef.
The Crumb Coat Connoisseur’s Toolkit
Now, I know what you’re thinking – “Wow, that’s a lot of steps! Surely there must be some tools or tricks to make this process a little easier?” Well, my cake-decorating comrades, you’ve come to the right place.
Here’s a quick rundown of the essential items I always keep in my crumb coat connoisseur’s toolkit:
| Item | Why it’s Essential |
|---|---|
| Offset Spatula | The perfect tool for smoothing and spreading frosting with precision and control. |
| Bench Scraper | Indispensable for getting those super sharp, clean edges on your crumb coat. |
| Cake Leveler | Ensures your cake layers are perfectly flat and even before frosting. |
| Cake Turntable | Makes it a breeze to rotate the cake and achieve a flawless, 360-degree crumb coat. |
| Chilled Bowls/Plates | Helps keep your frosting cool and spreadable throughout the decorating process. |
And of course, let’s not forget the most important tool of all – patience. Crumb coating is an art form, my friends, and it takes time and practice to master. But trust me, the effort is well worth it when you see the final, show-stopping result.
Crumb Coat Conundrums Conquered
Well, there you have it – my comprehensive guide to achieving perfectly crumb-coated cakes, from start to finish. Whether you’re a seasoned cake decorator or a complete novice, I hope these tips and tricks have given you the confidence and know-how to take your cakes to the next level.
Remember, the key to crumb coat success is all about preparation, patience, and a keen eye for detail. Follow these steps to a T, and I guarantee your cakes will be the talk of the town. And who knows, maybe one day you’ll even be invited to share your expertise on your very own baking show. Hey, a girl can dream, right?
So, what are you waiting for? Grab those chilled cake layers, your trusty offset spatula, and let’s get to work! I can’t wait to see the incredible, crumb-free creations you’ll whip up. And if you’re ever in the San Jose area, be sure to stop by Jax Cake Shop – we’d love to chat about all things cake and, of course, admire your flawless crumb coats.


