Unleashing the Magic of Buttercream: A Delectable Journey
As the owner of Jax Cake Shop, I’ve had the privilege of creating countless custom cakes that have brought joy and delight to our customers. But let me let you in on a little secret – the true magic happens when you master the art of buttercream. Ah, the silky smooth texture, the vibrant colors, the endless possibilities – it’s enough to make any cake enthusiast swoon.
Now, I know what you’re thinking – “Buttercream, really? That’s just the icing on the cake, right?” Wrong, my friend. Buttercream is the foundation, the canvas upon which we paint our edible masterpieces. And let me tell you, the techniques to achieve perfection are as diverse as the cakes themselves.
So, strap in, because I’m about to take you on a delectable journey through the world of buttercream. From the classic American buttercream to the ethereal Swiss meringue, we’ll explore the nuances, the tricks, and the secrets that will transform your cakes from ordinary to extraordinary.
Mastering the Basics: American Buttercream
Let’s start with the most commonly used buttercream – the classic American buttercream. This trusty sidekick is a staple in the world of cake decorating, and for good reason. It’s easy to make, it’s incredibly versatile, and it’s downright delicious.
But don’t be fooled – there’s more to American buttercream than meets the eye. You see, the key to mastering this technique is all about the ratio of butter to powdered sugar. Too much sugar, and you’ll end up with a gritty, overly sweet frosting. Too little, and it’ll be a greasy, melty mess.
Now, I’ve seen my fair share of buttercream disasters in my time, and let me tell you, it’s not a pretty sight. But fear not, my friends, because I’m here to share the secrets that will have you piping like a pro in no time.
First and foremost, let’s talk about the butter. You want to use high-quality, unsalted butter that’s at room temperature. Trust me, the difference between using cold, hard butter and the perfect soft, creamy variety is night and day. And don’t even think about skimping on the quality – this is the foundation of your buttercream, so you want it to be the best of the best.
Next, let’s tackle the powdered sugar. Now, I know what you’re thinking – “How hard can it be to measure out some sugar?” But let me tell you, the ratio is crucial. Start with a 1:2 ratio of butter to powdered sugar, and then adjust to your taste. Remember, you can always add more sugar, but it’s a lot harder to fix an overly sweet buttercream.
And the mixing? Oh, the mixing. This is where the magic really happens. You want to start slow, gradually increasing the speed of your mixer, and let the buttercream whip up into a fluffy, silky delight. And don’t be afraid to let it go for a good 5-10 minutes – the longer you mix, the better the texture will be.
But wait, there’s more! Once you’ve got the basic recipe down, the fun really begins. You can add a splash of vanilla extract for a classic flavor, or experiment with different extracts like almond or citrus. And the color options? Endless! Just a few drops of food coloring can transform your buttercream into a vibrant work of art.
Elevating the Buttercream Game: Swiss Meringue Buttercream
Now, let’s talk about the crème de la crème of buttercreams – the Swiss meringue buttercream. This ethereal frosting is the stuff of cake decorating legends, and let me tell you, it’s worth the extra effort.
What sets Swiss meringue buttercream apart, you ask? Well, it all starts with a silky smooth meringue base. Instead of relying solely on butter and sugar, we’re whipping up a decadent blend of egg whites, sugar, and butter that will leave your taste buds begging for more.
Now, I know what you’re thinking – “Egg whites? In my buttercream? Isn’t that a bit risky?” And you’d be right to be cautious. After all, we’re dealing with raw egg here, and food safety is of the utmost importance. But fear not, my friends, because with the right technique, you can create a buttercream that’s not only delicious but also perfectly safe to consume.
The key to success with Swiss meringue buttercream lies in the cooking process. You see, by gently heating the egg whites and sugar over a double boiler, we’re able to pasteurize the eggs, effectively eliminating any potential risk of salmonella. And the result? A silky smooth meringue that’s ready to be transformed into a buttercream of epic proportions.
But the fun doesn’t stop there, oh no. Once you’ve got your meringue base, the world is your oyster. You can add a touch of vanilla for a classic flavor, or experiment with extracts like almond or lemon to really make your buttercream shine. And the color options? Well, let’s just say the sky’s the limit.
Now, I know what you’re thinking – “This all sounds great, but isn’t Swiss meringue buttercream a lot more work than the classic American version?” And you’d be right. But let me tell you, the extra effort is so worth it. The velvety texture, the luscious mouthfeel, the way it just melts on your tongue – it’s enough to make any cake enthusiast swoon.
Mastering the Art of Piping and Decorating
Ah, the art of piping and decorating – the true test of a cake decorator’s skills. And let me tell you, when it comes to buttercream, the possibilities are endless.
Now, I know what you’re thinking – “Piping? Decorating? That sounds way too complicated for little ol’ me.” But fear not, my friends, because I’m here to let you in on a few secrets that will have you piping and decorating like a pro in no time.
First and foremost, let’s talk about the importance of proper buttercream consistency. You see, the texture of your buttercream is key when it comes to piping and decorating. Too stiff, and you’ll end up with a lumpy, uneven finish. Too soft, and it’ll just ooze out of the piping bag like a sad, deflated souffle.
So, how do you achieve the perfect buttercream consistency, you ask? It’s all about the temperature, my friends. You want your buttercream to be at room temperature, smooth, and silky – not too stiff, and not too soft. And the best way to achieve this? Well, it’s all about the good old-fashioned finger test. Dip your finger into the buttercream and see how it feels. If it’s too stiff, add a splash of milk or cream to thin it out. If it’s too soft, pop it in the fridge for a few minutes to firm it up.
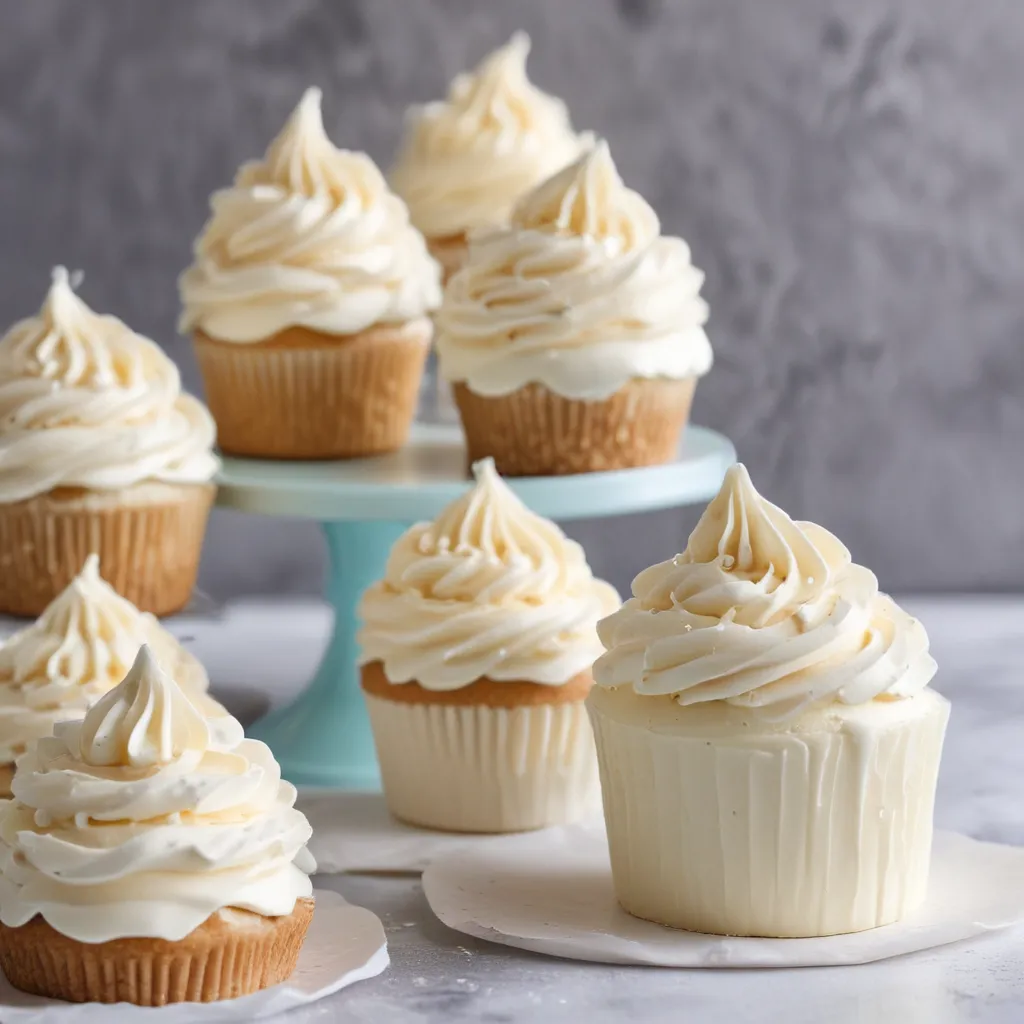
Now, let’s talk about the piping itself. It may seem like a daunting task, but with a little practice, you’ll be piping like a pro in no time. Start with the basics – simple rosettes, swirls, and dollops. And then, once you’ve got the hang of it, start experimenting with more intricate designs. Ruffles, ruches, and even three-dimensional flowers – the possibilities are endless!
And let’s not forget the decorating. Ah, the sweet, sweet art of transforming a plain ol’ cake into a work of edible art. From vibrant colored buttercream to delicate piped designs, the options are truly limitless.
But the real secret to mastering the art of piping and decorating? Practice, my friends. It’s all about getting in there, getting your hands dirty, and experimenting. And let me tell you, the more you practice, the more confident you’ll become. Before you know it, you’ll be piping and decorating like a true pro.
Unleashing Your Creativity: Flavoring and Coloring Buttercream
Ah, the joys of flavoring and coloring buttercream – the ultimate canvas for unleashing your creativity. After all, what’s the point of having a perfectly executed buttercream if it’s not bursting with flavor and vibrant with color?
Now, I know what you’re thinking – “Flavoring and coloring? Sounds like a lot of work.” But let me tell you, it’s all about finding the right balance and having a little fun in the process.
Let’s start with the flavoring. Sure, you could stick to the classic vanilla, but where’s the excitement in that? Instead, why not experiment with a touch of almond extract, a hint of citrus, or even a dash of espresso? The possibilities are truly endless, and the results can be downright delightful.
But before you start going wild with the extracts, let me share a little tip – less is more. You see, the key to successful flavoring is to let the buttercream shine, not overpower it. A little goes a long way, so start with a small amount and build up from there.
And the coloring? Oh, the coloring! This is where the real fun begins. Whether you’re going for a soft, pastel palette or a bold, vibrant hue, the right color can truly transform your buttercream into a work of art.
Now, I know what you’re thinking – “But won’t the food coloring change the flavor of the buttercream?” And you’d be right to be concerned. But fear not, my friends, because with a little bit of know-how, you can achieve the perfect color without sacrificing that delectable taste.
The secret? Gel-based food coloring. Unlike the liquid stuff, these concentrated pigments won’t dilute your buttercream, leaving you with a rich, vibrant color that’s true to the hue. And the best part? A little bit goes a long way, so you can experiment to your heart’s content without worrying about throwing off the flavor balance.
But the real magic happens when you start to layer the flavors and colors. Imagine a luscious lemon buttercream, tinted a bright, sunny yellow, or a decadent chocolate buttercream, swirled with shades of rich, deep brown. The possibilities are truly endless, and the results? Well, they’ll have your taste buds doing a little happy dance.
So, what are you waiting for? It’s time to unleash your inner artist and start experimenting with all the flavors and colors your heart desires. Who knows, you might just stumble upon the next big thing in the world of buttercream.
Troubleshooting Common Buttercream Mishaps
Now, as much as we’d all love for our buttercream to be smooth, silky, and perfect every single time, the reality is that there will always be a few bumps in the road. But fear not, my friends, because I’m here to share the secrets to troubleshooting those common buttercream mishaps.
First and foremost, let’s talk about the dreaded “curdled” buttercream. You know, the one that starts to look like a separated mess of butter and liquid. It’s enough to make any cake decorator want to throw in the towel, but fear not! The solution is simpler than you might think.
The key to fixing a curdled buttercream is all about temperature. You see, when the butter and other ingredients aren’t at the right temperature, they can start to separate, resulting in that unsightly curdled texture. But don’t worry, there’s an easy fix – just keep mixing!
Pop that buttercream back in the mixer and let it whip away. The friction and heat generated by the mixer will help to emulsify the ingredients, bringing them back together into a smooth, creamy consistency. And if that’s not enough, try adding a tablespoon or two of room temperature milk or cream – the extra fat will help to smooth things out.
Now, let’s talk about another common issue – the dreaded “grainy” buttercream. You know, the one that’s got that unpleasant, gritty texture that makes you want to pucker up. It’s a real bummer, but don’t worry, we’ve got your back.
The secret to fixing a grainy buttercream? It’s all about the powdered sugar. You see, sometimes the sugar can be a little too coarse, resulting in that unwanted graininess. But fear not, because a quick fix is just a sift away.
Simply pop your powdered sugar through a fine-mesh sieve before adding it to your buttercream. This will help to break up any larger sugar crystals, leaving you with a smooth, velvety frosting that’s fit for a king (or queen!).
And let’s not forget the issue of air bubbles. You know, those pesky little pockets of air that can leave your buttercream looking less than perfect. But never fear, because I’ve got the perfect solution.
The key to getting rid of those air bubbles is all about technique. When you’re whipping up your buttercream, be sure to start on a low speed and gradually increase the mixer’s pace. This will help to incorporate the air into the frosting in a controlled manner, rather than whipping it in willy-nilly.
And if you’re still struggling with those stubborn air bubbles, try giving the buttercream a good old-fashioned stir with a spatula. This will help to release any trapped air and leave you with a smooth, creamy frosting that’s ready to be piped and decorated to perfection.
So, there you have it, my friends – the secrets to troubleshooting those common buttercream mishaps. With a little bit of know-how and a whole lot of persistence, you’ll be whipping up flawless buttercream in no time. And who knows, you might just become the buttercream maestro of your neighborhood!
Putting It All Together: Showcasing Your Buttercream Masterpieces
Ah, the final step in our buttercream journey – showcasing your edible masterpieces to the world. And let me tell you, there’s nothing quite like the feeling of seeing your creations brought to life, each one a testament to your hard work, creativity, and, of course, your newfound mastery of buttercream.
But where do you even begin, you ask? Well, fear not, because I’ve got a few tricks up my sleeve that will have your cakes turning heads and leaving your customers drooling.
First and foremost, it’s all about the presentation. You see, when it comes to showcasing your buttercream creations, the devil is truly in the details. From the way you display your cakes to the way you package them for transport, every little touch can make a big difference.
Now, I know what you’re thinking – “Packaging? Really? That’s the last thing on my mind!” But trust me, it’s a crucial step in the process. After all, what’s the point of creating a work of edible art if it’s going to be crushed and ruined during delivery?
That’s why I always make sure to invest in sturdy, well-designed cake boxes and carriers. Not only do they protect my cakes from the perils of transport, but they also add a touch of elegance and professionalism to the whole experience.
And let’s not forget about the display. Now, I know it can be tempting to just plop your cakes down on a plain old table and call it a day, but trust me, you’re missing out on a golden opportunity to really make them shine.
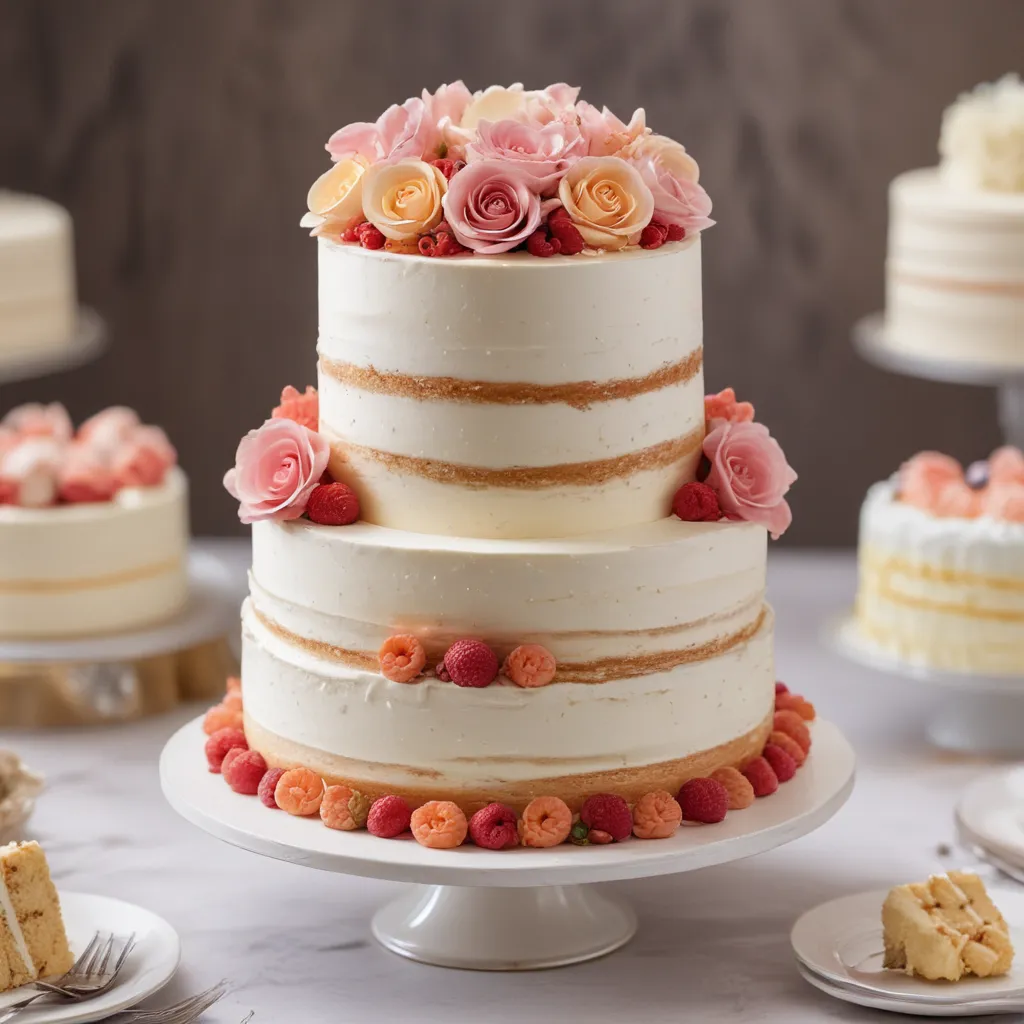
Instead, consider investing in a beautiful cake stand or display. Not only will it elevate the overall look and feel of your cakes, but it’ll also make them the star of the show. Imagine a towering, multi-tiered creation, its buttercream frosting glistening under the perfect lighting, just begging to be admired and devoured.
But the real secret to showcasing your buttercream masterpieces? It’s all about the little touches. From delicate piped designs to vibrant splashes of color, every element you add to your cakes will help to enhance their beauty and draw in your customers.
And let’s not forget about the flavors, either. After all, what’s the point of having a gorgeous cake if it doesn’t taste absolutely divine? That’s why I always make sure to experiment with a wide range of flavors, from classic vanilla to adventurous combinations like lavender and honey.
So, there you have it, my friends – the secrets to showcasing your buttercream masterpieces in all their glory. Whether you’re displaying your cakes at a local event or simply delivering them to a customer’s doorstep, always remember to put your best foot forward. After all, these cakes are a reflection of your hard work, your creativity, and your passion for the art of cake decorating. And trust me, when your customers take that first bite and their eyes light up with delight, you’ll know that all the effort was more than worth it.
Conclusion: Embracing the Buttercream Journey
And so, we come to the end of our buttercream journey – a delectable adventure filled with silky smooth textures, vibrant colors, and endless possibilities. But as we bid farewell, I hope you’ve come away with more than just a few tricks and techniques.
You see, the true magic of buttercream isn’t just about the end result. It’s about the journey – the experimentation, the trial and error, the pure, unbridled joy of creating something truly spectacular with your own two hands.
Because let’s be real, there’s nothing quite like the feeling of piping that first perfect rosette or whipping up a batch of Swiss meringue buttercream that’s so light and airy, it


