The Cake Decorating Craze That’s Sweeping the Nation
Alright, cake enthusiasts – listen up! Have you been scrolling through Instagram lately and drooling over those mesmerizing ombre and geode cakes that look like they were crafted by professional pastry chefs? Well, guess what? You don’t have to be a Cake Boss to create these showstopping desserts at home. In fact, with a little bit of creativity and some easy-to-follow techniques, you can whip up your own trendy ombre and geode cakes that will have your friends and family thinking you went to pastry school.
Now, I know what you’re thinking – “But Sarah, there’s no way I have the skills to make those cakes look that good!” Trust me, I felt the same way at first. I’ve always loved baking, but decorating cakes has always been a bit of a challenge for me. That is, until I discovered the magic of ombre and geode cakes. These techniques are actually way easier than they look, and they allow you to create gorgeous, one-of-a-kind cakes that will have everyone begging for the recipe.
So, are you ready to dive in and learn how to make your own trendy ombre and geode cakes at home? Get your aprons on and let’s get started!
The Rise of Ombre and Geode Cakes
Ombre cakes and geode cakes have been taking the cake decorating world by storm in recent years, and it’s not hard to see why. These stunning desserts feature bold, eye-catching color gradients or sparkling crystal-like effects that make them look like they were created by a professional pastry artist. But the best part? They’re actually pretty simple to recreate at home, even for beginner bakers.
So, what exactly are ombre and geode cakes, and why have they become so popular? Well, let’s start with ombre cakes. The term “ombre” refers to a gradual transition between two or more colors, and this effect has been showing up everywhere from fashion to home decor. In the cake world, ombre cakes feature gradual color fades that go from light to dark (or vice versa) across the layers of the cake. This creates a really beautiful, seamless look that’s both modern and eye-catching.
Geode cakes, on the other hand, are designed to mimic the stunning crystalized formations found in natural geodes. These cakes feature shimmering, crystallized sugar “geodes” that are embedded in the cake layers, creating a dramatic, sparkling effect that’s totally show-stopping. Geode cakes have a more ethereal, mystical vibe, and they’re perfect for adding a touch of whimsy and wonder to any celebration.
What I love most about both ombre and geode cakes is that they allow you to really unleash your creativity. You can play with different color combinations, mix and match patterns, and experiment with various decorating techniques to make each cake truly unique. And the best part? These trendy cake styles are actually pretty easy to master, even if you’re new to cake decorating.
Mastering the Art of Ombre Cakes
Alright, let’s dive into the nitty-gritty of how to actually make ombre and geode cakes at home. We’ll start with ombre cakes, since they’re a bit more beginner-friendly.
The key to nailing the ombre effect on a cake is all about how you layer and color the cake batter. The basic idea is to create a smooth gradient of color that transitions from light to dark (or vice versa) across the cake layers. This takes a bit of practice, but once you get the hang of it, it’s a total game-changer.
To start, you’ll need to bake your cake layers as usual. I like to use a classic white or vanilla cake as my base, since the light color makes it easier to see the ombre effect. Once your cake layers are cooled, it’s time to start coloring the batter.
Here’s how I do it: I divide the batter into however many layers I want (usually 3-4), and then I gradually add more food coloring to each batch of batter to create the desired gradient. I start with the lightest shade on the bottom layer, and then I add a bit more coloring to the next layer, and so on, until I’ve got the perfect fade.
Now, the key is to blend the colors together seamlessly as you’re layering the cake. You don’t want any harsh lines or abrupt color changes – the transition should be smooth and gradual. I like to use an offset spatula to gently blend the colors together as I’m stacking the layers.
Once your ombre cake is assembled, you can get creative with the frosting and decorations. I love pairing ombre cakes with simple, minimalist frostings and garnishes that let the beautiful color gradient shine. Think buttercream, white chocolate ganache, fresh flowers, or even a sprinkling of edible gold dust.
The great thing about ombre cakes is that you can use any color palette you like – from bold, jewel-toned hues to soft, pastel shades. The possibilities are endless, and the results are always stunning. Trust me, your friends and family will be seriously impressed when you whip out one of these beauties.
Bringing the Geode Trend to Life
Okay, now let’s talk about geode cakes – the showstopping desserts that are taking the cake world by storm. If ombre cakes are the elegant, sophisticated older sister, then geode cakes are the fun, flashy younger sibling. These cakes are all about drama, sparkle, and pure wow-factor.
The key to creating an amazing geode cake is all about the crystal-like sugar formations that you embed into the cake layers. These shimmering, crystallized sugar “geodes” are what give the cake its stunning, natural-inspired look.
To make your own geode cake at home, you’ll start by baking your cake layers as usual. Once they’re cooled, you can start creating the geode elements. This is where the real magic happens!
The first step is to make your “geode sugar.” This is simply sugar that’s been cooked with water and food coloring to create those gorgeous, sparkling crystal formations. You can use any color you like – I’ve seen stunning geode cakes in everything from jewel-toned hues to soft, pastel shades.
To make the geode sugar, you’ll simply need to combine sugar and water in a saucepan, bring it to a boil, and then let it simmer until the mixture reaches the “hard crack” stage on a candy thermometer (around 300°F). Then, you’ll remove it from the heat, stir in your food coloring, and pour the mixture onto a silicone baking mat or parchment paper to cool and harden.
Once the geode sugar has hardened, you can break it up into jagged, crystal-like pieces and start embedding them into your cake layers. I like to place the geode shards in a random, organic-looking pattern, pressing them gently into the cake so they’re partially submerged.
The final touch is to frost the cake and add any additional decorations you like. I love pairing geode cakes with simple, clean frostings that let the sparkling geode elements shine. White chocolate ganache, buttercream, or even a glossy mirror glaze can create a gorgeous, high-impact look.
One of the best things about geode cakes is that you can really let your creativity shine. Play around with different color combinations, experiment with the placement and size of the geode shards, and get creative with your frosting and garnishes. The result will be a truly one-of-a-kind, show-stopping dessert that’s sure to impress.
Putting It All Together: Tips for Baking and Decorating
Okay, now that we’ve covered the basics of ombre and geode cakes, let’s talk about some of the key tips and techniques that will help you master these trendy cake styles at home.
First and foremost, it’s important to have a solid cake-baking foundation. While the decorating techniques for ombre and geode cakes are relatively straightforward, you’ll still need to start with a high-quality cake that’s baked to perfection. Make sure you’re using a reliable cake recipe, and take the time to properly prepare and bake your cake layers.
Another crucial element is getting the colors just right. Whether you’re creating an ombre fade or crafting those sparkling geode formations, the colors you choose will make or break the final result. I always recommend doing a bit of experimenting and testing before you dive into your final cake. Play around with different food coloring combinations, and don’t be afraid to adjust the intensity of the shades as you go.
Speaking of food coloring, I’ve found that gel-based food colors work best for these cake styles. They provide much richer, more vibrant hues than the liquid variety, and they’re less likely to thin out your batter. Just be sure to use them sparingly – a little goes a long way!
And lastly, don’t forget about the importance of proper cake assembly and frosting techniques. With ombre cakes, you’ll want to make sure you’re blending the color transitions seamlessly as you layer the cake. And with geode cakes, you’ll need to carefully place those sparkling geode shards so they’re properly embedded in the cake.
When it comes to frosting, I always recommend using a crumb coat first to create a super smooth base. Then, you can go wild with the final frosting – whether it’s a simple buttercream, a fancy ganache, or even a glossy mirror glaze. Just make sure your frosting complements the overall look and feel of your ombre or geode cake.
Bringing It All Together: Real-Life Ombre and Geode Cake Examples
Okay, now that we’ve covered all the basics, let’s take a look at some real-life examples of stunning ombre and geode cakes that will have you reaching for your apron and whipping up your own masterpieces.
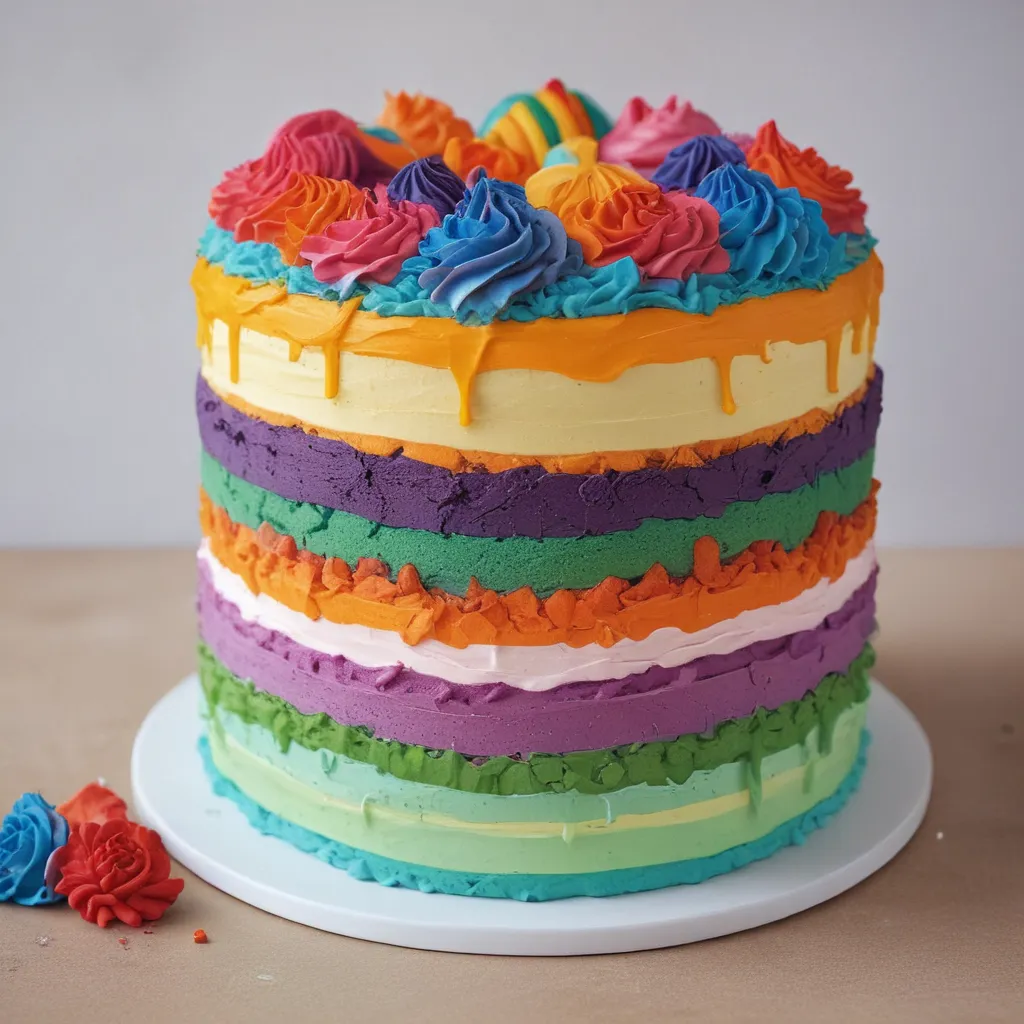
First up, check out this absolutely stunning ombre cake from Jax Cake Shop. The bold, jewel-toned color gradient is absolutely breathtaking, and the simple buttercream frosting lets the ombre effect shine. I love how the layers transition so seamlessly – it’s a true work of art.
And speaking of works of art, take a look at this incredible geode cake from our friends at Jax Cake Shop. The shimmering, crystallized sugar geodes embedded in the cake layers are absolutely mesmerizing, and the clean white frosting provides the perfect backdrop. This cake is truly a showstopper, and I can just imagine the “oohs” and “aahs” it would elicit at any celebration.
Of course, these aren’t the only stunning ombre and geode cakes out there. I’ve seen everything from soft, pastel-hued ombre creations to bold, rainbow-inspired showpieces. And the geode cakes? They run the gamut from classic crystal formations to dripping, crystallized cascades. The possibilities are truly endless when it comes to these trendy cake styles.
Honestly, the more I look at these incredible cakes, the more I’m inspired to grab my mixing bowls and get baking. There’s just something so mesmerizing and awe-inspiring about these desserts, and I can’t wait to try my hand at creating my own ombre and geode masterpieces.
Wrapping It Up: Your Turn to Get Creative!
Well, there you have it, my fellow cake enthusiasts – everything you need to know to start whipping up your own trendy ombre and geode cakes at home. From mastering the art of the color fade to crafting those stunning crystallized sugar geodes, I’ve covered all the key techniques and tips you’ll need to become a true cake decorating pro.
Now, it’s your turn to get creative and put these skills to the test. Grab your baking pans, fire up the oven, and let your inner cake artist shine. Whether you go for a bold, jewel-toned ombre or a sparkling, ethereal geode, I can guarantee that the end result will be a showstopping dessert that’s sure to wow your friends and family.
And remember, the most important thing is to have fun and let your creativity flow. Don’t be afraid to experiment, play around with different color combinations, and put your own unique spin on these trendy cake styles. After all, that’s what makes baking and decorating so special – the ability to create something truly one-of-a-kind.
So, what are you waiting for? Preheat that oven, bust out your mixing bowls, and let’s get to work on some unforgettable ombre and geode cakes that will have everyone begging for a slice. Happy baking, my friends!


