Mastering the Art of Layered Cakes: A Delicious Journey
Ah, the humble layer cake – a towering confection that has the power to turn any event into a true celebration! As the owner of a custom cake shop in San Jose, I’ve had the privilege of creating these delightful desserts for all sorts of occasions, from birthday parties to weddings. And let me tell you, there’s nothing quite like the feeling of presenting a beautifully crafted, perfectly moist, and impeccably frosted layer cake to a room full of oohing and aahing guests.
You see, baking the perfect layer cake is equal parts art and science, and it’s a skill that takes time, patience, and a whole lot of trial and error to master. But fear not, my fellow baking enthusiasts! In this comprehensive guide, I’m going to share with you the tips, tricks, and techniques that I’ve learned over the years, so that you too can become a layer cake virtuoso.
Understanding the Fundamentals of Layer Cake Baking
Before we dive into the nitty-gritty of layer cake construction, it’s essential to have a solid understanding of the basic principles of baking. After all, a well-executed layer cake is only as good as the individual cake layers that make it up.
One of the most important factors in baking a moist, tender cake is the proper ratio of wet to dry ingredients. I always start by carefully measuring out my flour, sugar, baking powder, and other dry components, ensuring that they’re evenly distributed throughout the batter. Then, I gradually incorporate the wet ingredients, such as eggs, milk, and oil, while being mindful not to overmix the batter.
Another key element is the oven temperature. I’ve found that a consistent, moderate heat is the key to achieving that perfect, even rise in my cakes. And speaking of rise, it’s crucial to avoid opening the oven door too often during baking, as this can cause the cakes to collapse or develop unsightly domes.
Of course, there’s more to it than just the baking process itself. Proper cooling and storage are also essential for maintaining the integrity of your cake layers. I always let my cakes cool completely on a wire rack before even thinking about stacking or frosting them, and I store them in an airtight container in the fridge or freezer until I’m ready to assemble my masterpiece.
Choosing the Right Cake Recipes for Your Occasion
Now that we’ve covered the fundamentals, let’s talk about the fun part: selecting the perfect cake recipes for your specific occasion. After all, not every layer cake is created equal, and the flavor profiles and textures you choose can make all the difference in the world.
For a classic birthday celebration, I often turn to a moist, rich chocolate cake or a vibrant, fruity number like a lemon or raspberry swirl. The tried-and-true vanilla bean cake is also a perennial favorite, as its simple yet elegant flavor profile lends itself well to a wide range of frostings and fillings.
On the other hand, if you’re whipping up a cake for a formal event like a wedding or anniversary, you might want to consider something a little more decadent, like a towering red velvet creation or a sophisticated, boozy number made with bourbon or Kahlua. And let’s not forget the ever-popular carrot cake, with its perfectly spiced crumb and luscious cream cheese frosting – a real crowd-pleaser for any gathering.
Of course, the possibilities are truly endless when it comes to layer cake flavors. I’ve even had clients request quirky, one-of-a-kind cakes, like a lavender-infused sponge or a cake that tastes like a s’more. The key is to think outside the box and let your creativity shine through.
Mastering the Layering Technique
Now that we’ve covered the foundations of baking and explored the wide world of cake flavors, let’s dive into the heart of the matter: the art of layering.
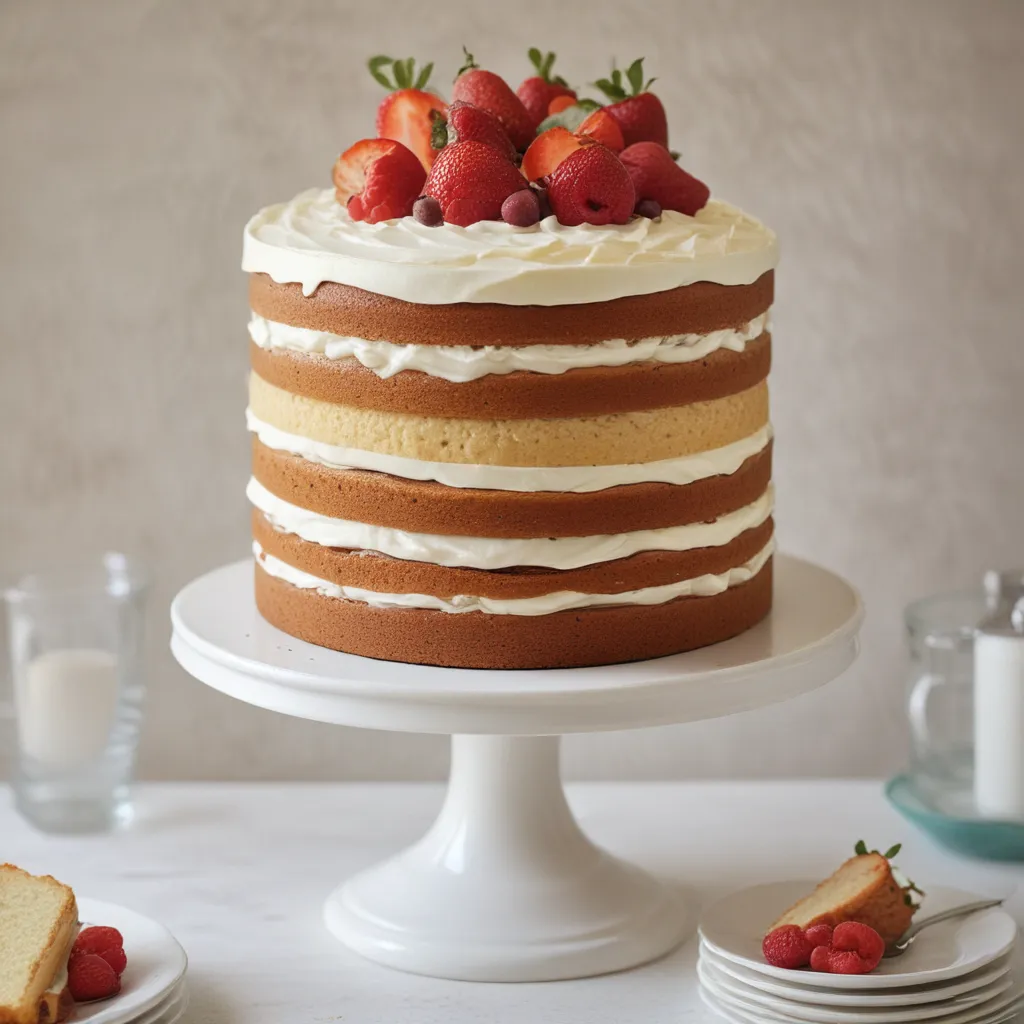
The secret to a truly impressive layer cake lies in the way you assemble the individual cake rounds. I always start by ensuring that my layers are perfectly level and evenly trimmed, using a serrated knife to shave off any domes or uneven edges. This not only creates a clean, professional look, but it also helps to ensure that the layers stack together seamlessly.
Next, I carefully place the first layer onto my cake board or serving plate, and then I apply a generous amount of frosting or filling to the top. It’s important to work quickly and smoothly, using an offset spatula or a turntable to achieve a smooth, even layer. Then, I carefully stack the next cake round on top, repeating the frosting or filling process until I’ve built up the desired number of layers.
One trick I’ve found particularly helpful is to chill the assembled cake in the fridge for at least 30 minutes before applying the final layer of frosting. This helps to set the layers in place and prevent any unwanted shifting or sliding during the decorating process.
And speaking of decorating, the options are truly endless! From simple, elegant buttercream swirls to intricate fondant designs, the sky’s the limit when it comes to adorning your layer cake masterpiece. I often turn to fresh flowers, edible glitter, or even playful toppers like mini macarons or fondant figurines to really make my cakes stand out.
Troubleshooting Common Layer Cake Challenges
Of course, no baking journey is without its fair share of challenges. And when it comes to layer cakes, I’ve certainly encountered my fair share of obstacles over the years. But fear not, my friends – I’m here to help you navigate these tricky situations with ease.
One common problem I’ve encountered is cakes that refuse to stack neatly, with layers that slide and shift even after a thorough chilling. This is often due to uneven cake layers or an insufficient amount of frosting or filling between the rounds. To combat this, I make sure to level my cakes meticulously and apply a generous, even layer of frosting or ganache to each tier.
Another issue that can arise is dry, crumbly cake layers that simply won’t hold together. This can be caused by overbaking, underbaking, or even a lack of moisture in the recipe. I always recommend using room-temperature ingredients, baking at the correct temperature, and considering the addition of extra-moist components like yogurt or applesauce to your batter.
And let’s not forget about the dreaded problem of air pockets or tunnels within the cake layers. This can be a real headache, as it can compromise the structural integrity of your masterpiece. To prevent this, I make sure to thoroughly cream my butter and sugar, and I’m careful not to overmix the batter once the dry ingredients have been incorporated.
Of course, these are just a few of the common challenges that layer cake bakers might encounter. But with a little troubleshooting, a healthy dose of patience, and a whole lot of practice, I’m confident that you can overcome any obstacle and create truly show-stopping layer cakes for any occasion.
Assembling and Decorating Your Masterpiece
Now, the moment you’ve all been waiting for – the grand finale of the layer cake-making process: assembling and decorating your masterpiece.
As I mentioned earlier, I always start by chilling my assembled cake layers in the fridge for at least 30 minutes to ensure that they’re nice and firm. This not only makes the decorating process a breeze, but it also helps to prevent any unwanted shifting or sliding.
Next, I apply a crumb coat – a thin, even layer of frosting that seals in any errant crumbs and creates a smooth base for the final layer of frosting. I find that using an offset spatula and a turntable makes this step an absolute breeze.
Once the crumb coat has set, I go in with the final, showstopping layer of frosting. I love using a classic American buttercream for its rich, creamy texture, but you could also opt for a silky Swiss meringue or a tangy cream cheese frosting, depending on your personal preferences.
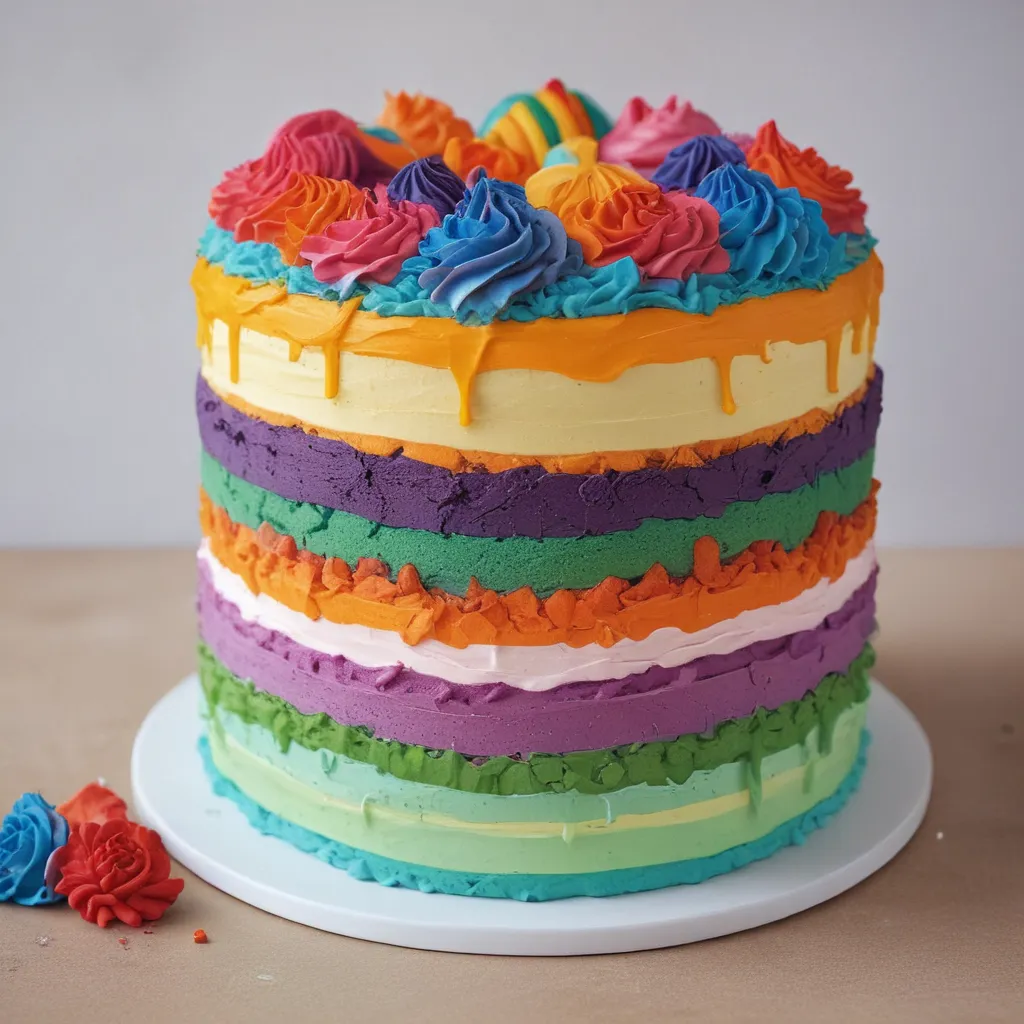
And the fun doesn’t stop there! The real magic happens when it comes to the decorative elements. I’ve experimented with all sorts of techniques, from elegant, swirling buttercream rosettes to intricate fondant flowers and delicate piped designs. I even like to get a little playful, incorporating fun toppers like candy-coated popcorn or edible gold leaf.
Of course, the specific decorations you choose will largely depend on the occasion and the overall aesthetic you’re going for. But no matter what, the key is to have fun and unleash your creativity. After all, a layer cake is a true work of art, and the decorations are the final brushstrokes that bring your masterpiece to life.
Storing and Transporting Your Layer Cake
Ah, the final hurdle in the layer cake-making journey: storage and transportation. You’ve poured your heart and soul into crafting this edible work of art, and now you need to make sure it arrives at its destination in pristine condition.
When it comes to storage, I always recommend keeping your finished cake chilled in the fridge until the moment you’re ready to serve it. This helps to keep the frosting and fillings firm and prevents any unwanted melting or sliding. And if you’re planning on transporting your cake to a different location, I suggest investing in a sturdy cake carrier or box to keep it safe and secure during the journey.
One trick I’ve found particularly helpful is to freeze the fully assembled and decorated cake for a few hours before transport. This helps to lock everything in place and ensures that your cake arrives at its destination looking as fresh and flawless as the moment you finished decorating it.
Of course, you’ll also want to be mindful of the temperature and environmental conditions during transport. If it’s a particularly hot or humid day, you might want to consider packing the cake in a cooler with ice packs to keep it from melting. And if you’re dealing with a long-distance trip, you may want to consider refrigerating or even freezing the cake ahead of time to ensure it stays in tip-top shape.
At the end of the day, the key is to approach the storage and transportation process with the same level of care and attention that you’ve put into the baking and decorating. After all, you’ve worked hard to create a true masterpiece, and you’ll want to make sure it arrives at its destination looking and tasting its absolute best.
Conclusion: Unleash Your Baking Creativity
And there you have it, my fellow baking enthusiasts – the ultimate guide to crafting the perfect layer cakes for any occasion. From mastering the fundamentals of cake baking to unlocking the secrets of flawless layering and decoration, I’ve shared with you all of the tips, tricks, and techniques that I’ve honed over the years in my custom cake shop.
But remember, the true joy of layer cake baking lies not in following a rigid set of rules, but in unleashing your creativity and letting your personal style shine through. So don’t be afraid to experiment, to try new flavors, and to push the boundaries of what’s possible. After all, the layer cake is a blank canvas, just waiting for you to transform it into a true work of edible art.
So, what are you waiting for? Preheat your ovens, gather your ingredients, and get ready to embark on a delicious journey of layer cake mastery. Who knows – with a little practice and a whole lot of passion, you might just become the next layer cake virtuoso in your own right. And if you’re ever in the San Jose area, be sure to stop by Jax Cake Shop – I’d love to chat about your latest layer cake creations!


