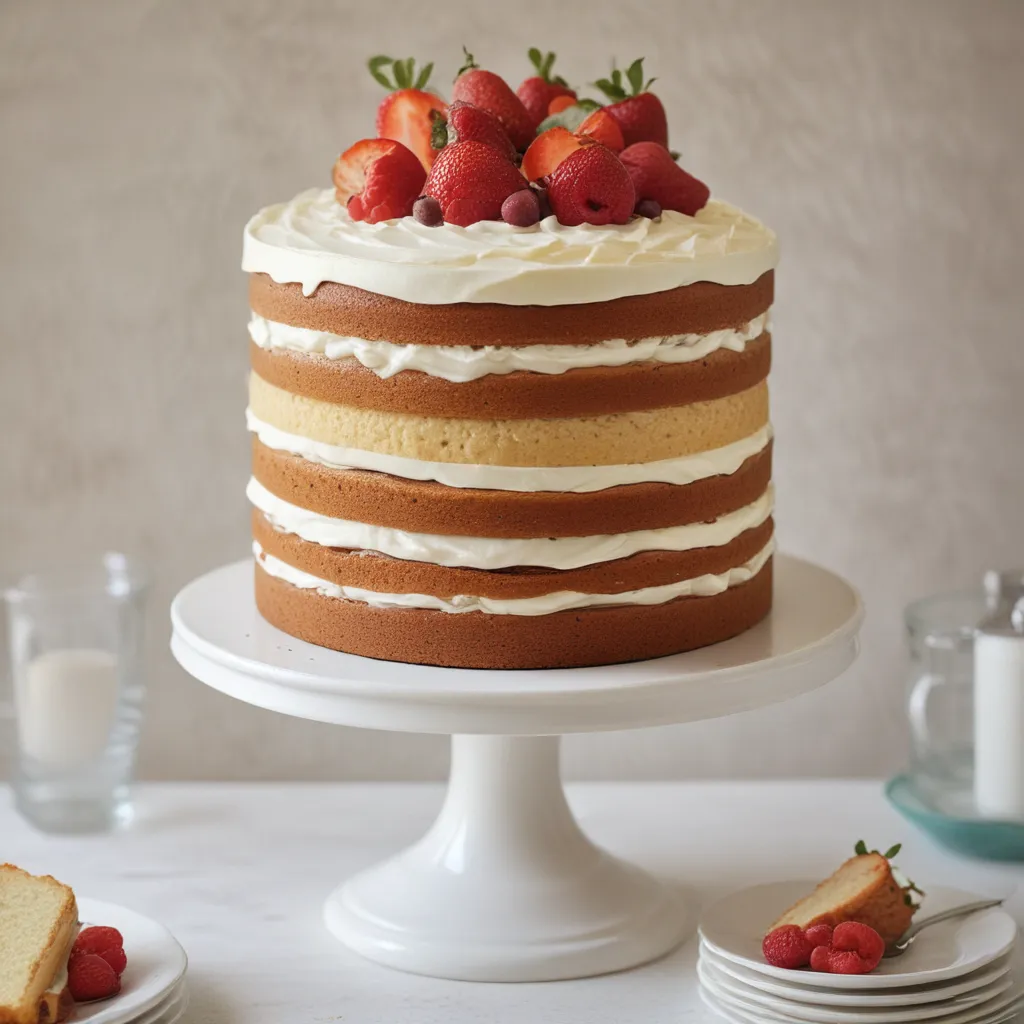
Ahh, high altitude baking – where the air is thin, the oven is temperamental, and your once-perfect cake recipe suddenly turns into a dry, crumbly mess. If you’re like me and live in the San Jose area, you know the struggle all too well. But fear not, my fellow cake enthusiasts! I’m here to share my hard-earned tips and tricks for baking moist, delectable cakes at high altitude.
Understanding the Challenges of High Altitude Baking
Have you ever wondered why your cakes turn out so differently when you’re up in the mountains compared to sea level? It’s all about the science, my friends. At higher elevations, the air pressure is lower, which means the boiling point of water is lower. This, in turn, affects the way your batter bakes.
The reduced air pressure causes your batter to rise faster, leading to a coarser, drier crumb. It also makes the moisture in your cake evaporate more quickly, leaving you with a dry, crumbly end product. And let’s not forget about the tricky oven temperature – it tends to run hotter at high altitudes, further exacerbating the dryness problem.
But fear not, my friends! With a few simple adjustments, you can conquer the high altitude baking challenge and produce moist, delectable cakes every time.
Adjusting Your Cake Recipes for High Altitude
The first step to baking moist cakes at high altitude is to make some key adjustments to your recipe. Here are my top tips:
Reduce the Sugar
One of the biggest culprits behind dry cakes at high altitude is the sugar content. Sugar tends to draw moisture out of the batter, and with the increased evaporation at higher elevations, you end up with a dry, crumbly cake. To counteract this, I recommend reducing the sugar in your recipe by about 2 tablespoons per cup.
Increase the Flour
To help offset the faster rise and drier batter, you’ll need to increase the flour in your recipe. I usually add an extra 1-2 tablespoons of flour per cup. This helps create a more stable structure that can withstand the rapid expansion.
Adjust the Leavening Agents
Baking soda and baking powder also behave differently at high altitudes. The reduced air pressure causes them to be more potent, leading to over-rising and a coarse, dry texture. To fix this, I recommend reducing the amount of leavening agents by about 1/4 to 1/2 teaspoon per teaspoon called for in the original recipe.
Add Extra Moisture
Since the moisture in your batter evaporates more quickly at high altitudes, you’ll need to compensate by adding a bit more liquid to your recipe. I usually increase the amount of milk, eggs, or oil by about 1-2 tablespoons per cup.
Bake at a Lower Temperature
As I mentioned earlier, ovens tend to run hotter at high altitudes, which can contribute to dryness. To combat this, I recommend lowering your oven temperature by about 25°F (14°C). This will allow the cake to bake more slowly and evenly, preventing the outside from drying out before the inside is fully cooked.
Adjust the Baking Time
With all these changes to your recipe, you’ll also need to adjust the baking time. Start by reducing the original baking time by about 5-10 minutes, and keep a close eye on your cake. It may take some trial and error to find the perfect timing for your specific recipe and oven.
Putting it All Together: A High Altitude Cake Recipe
Ready to put these tips into practice? Here’s a delicious high altitude-friendly cake recipe for you to try:
Moist High Altitude Chocolate Cake
Ingredients:
– 2 cups all-purpose flour
– 1 3/4 cups granulated sugar
– 3/4 cup unsweetened cocoa powder
– 1 1/2 teaspoons baking soda
– 1/2 teaspoon baking powder
– 1/2 teaspoon salt
– 1 cup milk
– 1/2 cup vegetable oil
– 2 large eggs
– 1 teaspoon vanilla extract
Instructions:
1. Preheat your oven to 325°F (165°C). Grease and flour two 9-inch round baking pans.
2. In a large bowl, whisk together the flour, 1 1/2 cups of the sugar, cocoa powder, baking soda, baking powder, and salt.
3. In a separate bowl, combine the milk, oil, eggs, and vanilla.
4. Slowly add the wet ingredients to the dry ingredients, mixing just until incorporated. Be careful not to overmix.
5. Divide the batter evenly between the prepared pans.
6. Bake for 30-35 minutes, or until a toothpick inserted into the center comes out clean.
7. Allow the cakes to cool in the pans for 10 minutes, then remove them from the pans and let them cool completely on a wire rack.
8. Once cooled, frost with your favorite high altitude-friendly buttercream or ganache.
I hope this recipe and these tips help you bake the most moist, delectable cakes at high altitude. Remember, it might take a bit of trial and error to get the perfect result, but once you nail it, the rewards will be oh-so-sweet. Happy baking, my friends!
And if you’re in the San Jose area and in the mood for some custom, high altitude-perfected cakes, be sure to check out Jax Cake Shop. Their talented team of bakers knows all the secrets to creating moist, irresistible cakes that will have your taste buds dancing with joy.


