Ah, the age-old conundrum of the cake decorator – how to achieve that elusive, silky smooth icing that makes your confections look like they were crafted by a professional pastry chef. Well, friends, today is your lucky day. I’m about to let you in on the secrets that have taken me years to perfect, and trust me, it’s going to change the way you think about frosting forever.
The Importance of Proper Icing Technique
You know, when I first started decorating cakes, I thought it was all about the ingredients. I’d slave away, making the most divine buttercream known to mankind, only to end up with a lumpy, bumpy mess that made my cakes look like they’d been through a war zone. It was so frustrating, I almost gave up on this whole baking thing altogether. But then I realized that the real key to perfect icing isn’t in the recipe – it’s in the technique.
You see, smooth icing isn’t just about the ingredients, it’s about how you apply them. It’s about the tools you use, the way you manipulate the frosting, and the little tricks and tips that make all the difference. And let me tell you, once you master these techniques, it’s like a whole new world opens up. Suddenly, those cakes you’re whipping up are looking like they came straight out of a high-end bakery.
So, if you’re ready to take your icing game to the next level, buckle up. We’re about to dive deep into the world of frosting perfection, and trust me, it’s going to be a wild ride.
Choosing the Right Tools for the Job
Now, before we even think about the icing itself, we need to talk about the tools you’re going to be using. Because let me tell you, the right tools can make all the difference in the world.
First and foremost, you’re going to want to invest in a good, sturdy spatula. And I’m not talking about your run-of-the-mill kitchen utensil – I’m talking about a true icing spatula, with a long, flexible blade that’s designed specifically for smoothing and spreading frosting. These babies come in all shapes and sizes, so you can find one that fits your hand and your cake-decorating needs perfectly.
And speaking of cake-decorating needs, don’t forget about your turntable. Now, I know what you’re thinking – “A turntable? Isn’t that for records?” Well, my friends, in the world of cake decorating, a turntable is an absolute game-changer. It allows you to smoothly and evenly rotate your cake as you’re applying the icing, which makes it so much easier to get that perfect, consistent coverage.
But the real secret weapon in my icing arsenal? The humble angled spatula. This little gem is like the Swiss Army knife of cake decorating tools – it can be used for everything from filling in gaps and smoothing out the sides to creating beautiful, crisp edges. And trust me, once you start using one of these, you’ll wonder how you ever lived without it.
The Art of Crumb Coating
Alright, now that we’ve got the tools out of the way, let’s talk about the icing itself. And when it comes to achieving that perfect, smooth finish, the key is all in the crumb coat.
Now, if you’re not familiar with the crumb coat, it’s basically a thin layer of icing that you apply to the cake before you do your final, smooth coat. And let me tell you, it’s an absolute game-changer. Not only does it help to lock in all those pesky cake crumbs, but it also creates a nice, even surface for your final icing to adhere to.
But here’s the thing – you can’t just slap on any old icing and call it a day. No, my friends, there’s an art to the crumb coat. You want to make sure you’re using a frosting that’s the perfect consistency – not too thick and gloopy, but not too thin and runny, either. And you’ve got to be really, really gentle with how you apply it.
I like to start by using a small offset spatula to apply a thin, even layer of icing all over the cake. And I mean thin – you don’t want to see any big globs or thick patches anywhere. Then, once that’s done, I go in with a larger spatula and gently smooth out the surface, being careful not to pull up any of those pesky crumbs.
And the best part? Once that crumb coat is dry, you can go in with your final, smooth layer of icing and watch as it glides on like a dream. Seriously, it’s like magic.
Mastering the Smooth Coat
Alright, now that we’ve got the crumb coat down, it’s time to tackle the real showstopper – the smooth coat. This is where the real magic happens, folks, and it’s also where a lot of people tend to trip up.
But not you, my friends. Not after I share my secrets with you.
The key to a perfectly smooth icing coat is all about technique, and it’s something that takes a bit of practice to really master. But once you get the hang of it, it’s like riding a bike – you’ll never forget it.
I like to start by making sure my icing is the perfect consistency. Not too thick, not too thin – just right. And I don’t just eyeball it, either. I actually use a small offset spatula to test the texture and make any necessary adjustments.
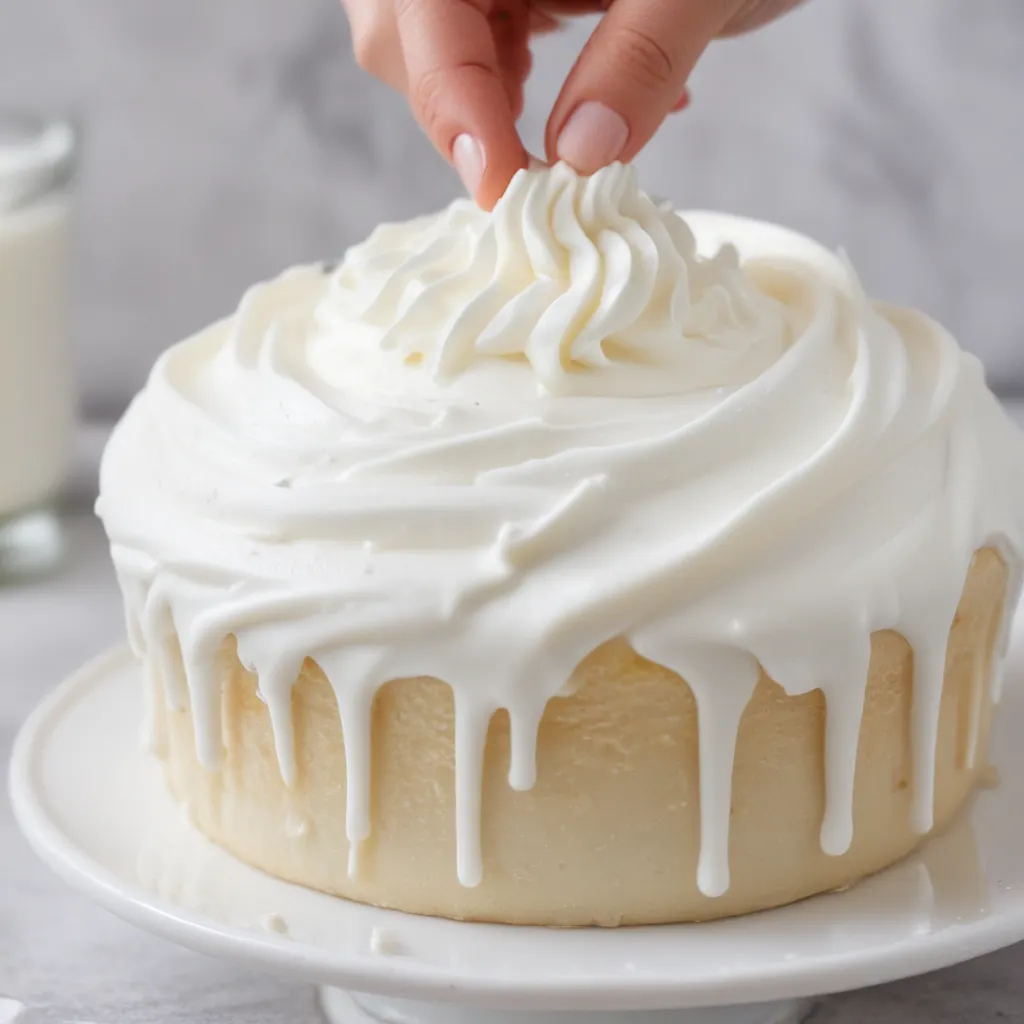
Then, it’s all about the application. I like to start by applying a generous amount of icing to the top of the cake, and then using my spatula to gently smooth it out, working from the center outwards. And I’m not talking about just a single pass, either. Oh no, my friends, this is a multi-step process.
I’ll go over the top a few times, smoothing and leveling as I go, and then I’ll move on to the sides. And this is where that turntable I mentioned earlier really comes in handy. I’ll use one hand to hold the spatula and the other to rotate the cake, slowly and steadily, until I’ve got the entire surface covered in a perfectly smooth layer of icing.
And let me tell you, the results are truly breathtaking. I’m talking mirror-smooth, not a single bump or lump in sight. It’s the kind of icing that just makes you want to reach out and touch it, it’s so perfect.
Troubleshooting Common Icing Issues
Of course, even with all the tips and tricks in the world, there are still going to be those occasional hiccups. But fear not, my fellow cake decorators, I’ve got your back.
Let’s say, for example, that you’re struggling with air bubbles in your icing. This can be a real pain in the you-know-what, but there’s a simple solution. Just use a small offset spatula to gently poke and prod at the surface of the icing, working out those pesky air pockets one by one.
Or maybe you’re dealing with those dreaded icing “cracks” – those unsightly lines that can appear as the frosting dries. Well, my friends, the key here is to work quickly and decisively. Apply your icing in a single, smooth motion, and then use that trusty angled spatula to smooth out any imperfections before they have a chance to set.
And speaking of set icing, let’s talk about the dreaded “crusting” issue. You know, when the icing on the outside of your cake starts to harden and form an almost shell-like texture? Yeah, that’s a real bummer, but there’s a fix for that, too. Just use a bit of simple syrup or water to gently mist the surface of the icing, which will help to keep it nice and soft and supple.
Trust me, friends, with a little bit of practice and a whole lot of patience, you’ll be whipping up cakes with the smoothest, most professional-looking icing in no time. And let me tell you, the compliments you’re going to get from your friends and family are going to be out of this world.
Bonus Tips for Icing Perfection
Alright, now that we’ve covered the basics, let me share a few more of my top-secret icing tips and tricks. Because when it comes to achieving that perfectly smooth finish, there’s always room for a little extra flair, am I right?
First up, let’s talk about the power of a good crumb coat. Now, I know I already covered the importance of that initial layer of icing, but let me just reiterate – it’s an absolute game-changer. Not only does it help to lock in those pesky crumbs, but it also gives you a nice, even surface to work with for your final coat.
And speaking of that final coat, can we just take a moment to appreciate the magic of a super-chilled icing? I’m talking about popping that buttercream in the fridge for a solid 30 minutes or so before you start your decorating. It may seem like an extra step, but trust me, it’s worth it. The cooler icing is just so much easier to work with, and it helps to prevent those dreaded icing “sweats” that can really throw a wrench in your decorating plans.
And let’s not forget about the power of a good offset spatula. I mean, I’ve already waxed poetic about these babies, but they really are the MVP of the cake decorating world. Use one to create those perfectly sharp, clean edges, or to add those final, feathery touches to your design. The possibilities are endless, my friends.
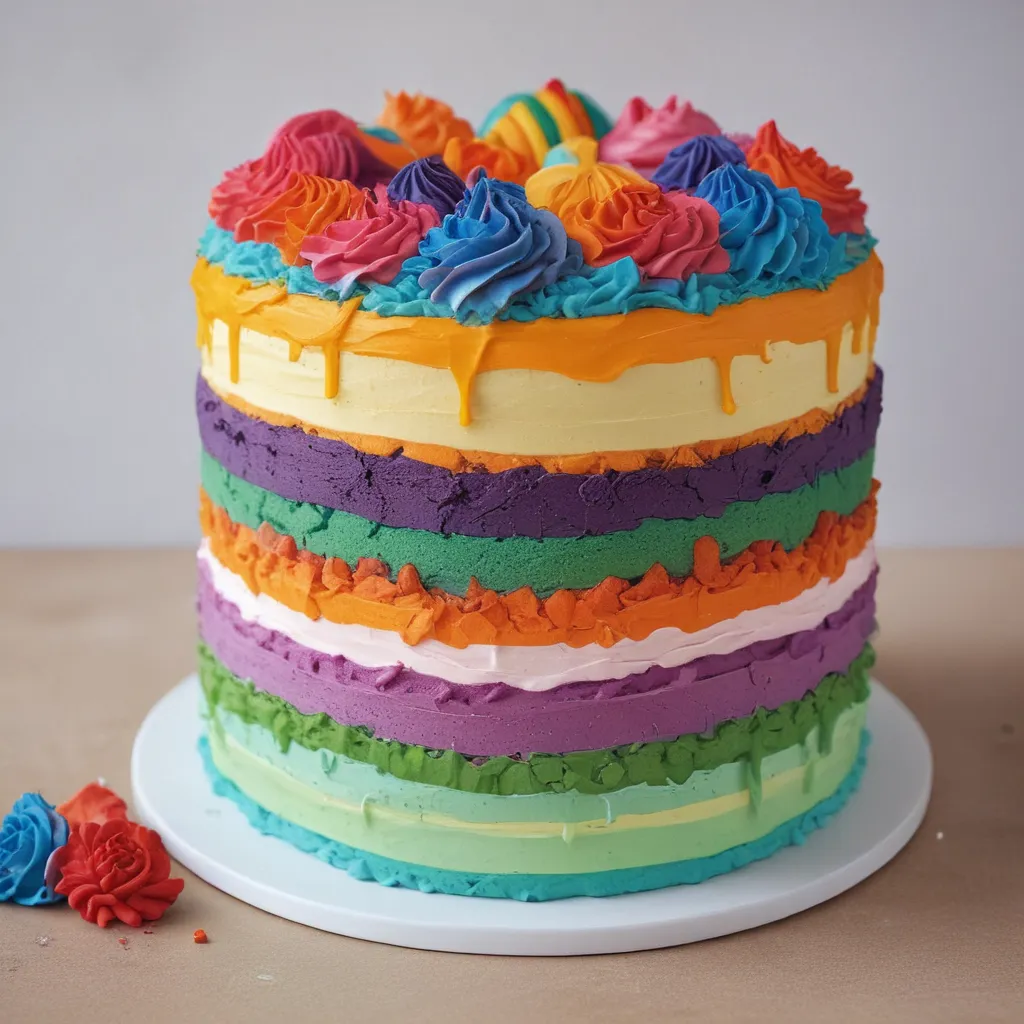
Oh, and one more thing – don’t be afraid to get a little creative with your icing techniques. Sure, the classic smooth finish is always a showstopper, but why not mix it up a bit? Try your hand at some fun, textured designs, or experiment with different icing colors and flavors. The sky’s the limit, and the more you play around, the more you’ll discover your own unique style.
Putting it All Together
Alright, cake decorators, it’s time to put all of these icing secrets to the test. Grab your spatulas, dust off your turntable, and let’s get to work.
Remember, the key to perfectly smooth icing is all about mastering the technique. It’s not just about the ingredients, it’s about how you apply them. And with a little bit of practice and a whole lot of patience, you’ll be whipping up cakes that look like they were made by a professional pastry chef in no time.
So, what are you waiting for? Get out there and start icing! And don’t forget to check out Jax Cake Shop for all your custom cake needs. Trust me, once you see what they can do, you’ll be hooked.


