Ah, the humble art of frosting. It’s the icing (pun intended) on the cake, the final flourish that can make or break a dessert. But let’s be real – achieving that perfectly smooth, utterly Instagram-worthy frosting finish can feel like an elusive dream, am I right? Well, fear not, my fellow cake enthusiasts! I’ve got the inside scoop on six killer hacks that will have you frosting like a pro in no time.
Hack #1: Mastering the Frosting Consistenc
Now, I know what you’re thinking – “Consistency? What does that even mean?” Well, my friends, let me tell you – the key to frosting perfection lies in the texture. See, if your frosting is too thick, it’s going to be a nightmare to spread. Too thin, and it’ll just slide right off the cake. It’s all about finding that Goldilocks zone of just-right consistency.
To nail this, start by making sure your butter is at the perfect temperature – not too cold, not too warm. I’m talking about that sweet spot where it’s soft enough to cream easily, but still holds its shape. Once you’ve got that down, gradually add your powdered sugar, keeping a close eye on the texture. You want it to be silky smooth, with a slightly stiff consistency that holds its shape when you scoop it up.
And listen, I know it can be tempting to just keep adding more and more sugar, but trust me – that’s a one-way ticket to overly sweet, gritty frosting. Slow and steady wins the race, my friends. Take your time, and don’t be afraid to add a splash of milk or cream to thin it out if needed.
Hack #2: Chill, Baby, Chill
Alright, now that we’ve got the consistency dialed in, let’s talk about temperature. You see, frosting is a fickle beast – it doesn’t exactly love the heat. In fact, if you try to frost a cake when it’s too warm, you’re in for a real nightmare. The frosting will just slide right off, leaving you with a sad, naked dessert.
So, what’s the solution? Chill, baby, chill. Before you even think about picking up that spatula, make sure your cake is completely cooled and your frosting is chilled to the perfect temperature. I’m talking about that sweet spot where it’s firm enough to hold its shape, but still soft enough to spread smoothly.
And trust me, I know the temptation to just forge ahead and frost that bad boy right away, but resist the urge! Take the time to let everything cool down, and you’ll be rewarded with a silky smooth finish that’ll have all your friends and family begging for the recipe.
Hack #3: Smooth Operator
Alright, you’ve got the consistency and temperature dialed in – now it’s time to talk technique. And let me tell you, there’s an art to getting that frosting smooth and seamless. It’s all about the tools, the technique, and a little bit of elbow grease.
First off, invest in a good quality offset spatula. This baby is going to be your new best friend when it comes to spreading frosting. Start by dolloping a generous amount of frosting on the top of your cake, then use the spatula to gently smooth it out, working from the center outwards. Don’t be afraid to go back and forth a few times to get it just right.
And let’s talk about the angle – you want to hold that spatula at a nice, shallow angle, almost parallel to the surface of the cake. This will help you avoid those pesky ridges and waves, leaving you with a finish as smooth as glass.
But the real secret? Patience, my friends. Don’t be afraid to take your time and really work that frosting. Smooth it, then smooth it some more. And if you encounter any stubborn lumps or bumps, don’t hesitate to give them a quick swipe with the back of your spatula to smooth them out.
Hack #4: Pipe Dreams
Okay, now we’re getting to the really fun stuff – piping! This is where you can really let your creative juices flow and take your frosting game to the next level. But before you go all Picasso on that cake, let’s make sure you’ve got the basics down.
First and foremost, invest in a good quality piping bag and a set of sturdy piping tips. Trust me, this is not the time to skimp – you want tools that are going to give you the precision and control you need to create those intricate designs.
Next, practice, practice, practice. I can’t stress this enough – the more you pipe, the better you’ll get. Start with simple shapes and designs, and gradually work your way up to more complex patterns. And don’t be afraid to experiment! You never know what kind of gorgeous creations you might come up with.
But the real secret to piping perfection? Consistency, my friends. Make sure your frosting is the perfect texture – not too thick, not too thin. And be sure to fill that piping bag with just the right amount of frosting, so it’s easy to control and doesn’t spill out everywhere.
Hack #5: Crumb Coat Magic
Okay, let’s talk about the unsung hero of the frosting world – the crumb coat. This little trick is the key to achieving that seamless, professional-looking finish we all crave.
So, what is a crumb coat, you ask? It’s a thin, even layer of frosting that you apply to the cake before the final, show-stopping layer. This serves two important purposes: first, it helps to lock in any loose crumbs, preventing them from getting mixed into your final frosting. And second, it creates a smooth, even base for that final layer of frosting to adhere to.
Now, I know what you’re thinking – “But won’t that just make the whole process take longer?” And yes, you’re not wrong. But trust me, the extra time and effort is totally worth it. Because when you’ve got that smooth, crumb-free base to work with, the final frosting application is a breeze.
So, don’t be afraid to take the extra step and do that crumb coat. Your future self (and all your adoring fans) will thank you.
Hack #6: Decorate with Intention
Alright, we’ve covered the basics of getting that frosting just right – now let’s talk about the fun part: decorating! Because let’s be real, the frosting is the canvas, but the decorations are where you can really let your creativity shine.
But here’s the thing – don’t just slap on a random assortment of sprinkles and call it a day. No, my friends, we’re going for intentional, thoughtful decoration here. Think about the overall theme or vibe of your cake, and choose decorations that complement it perfectly.
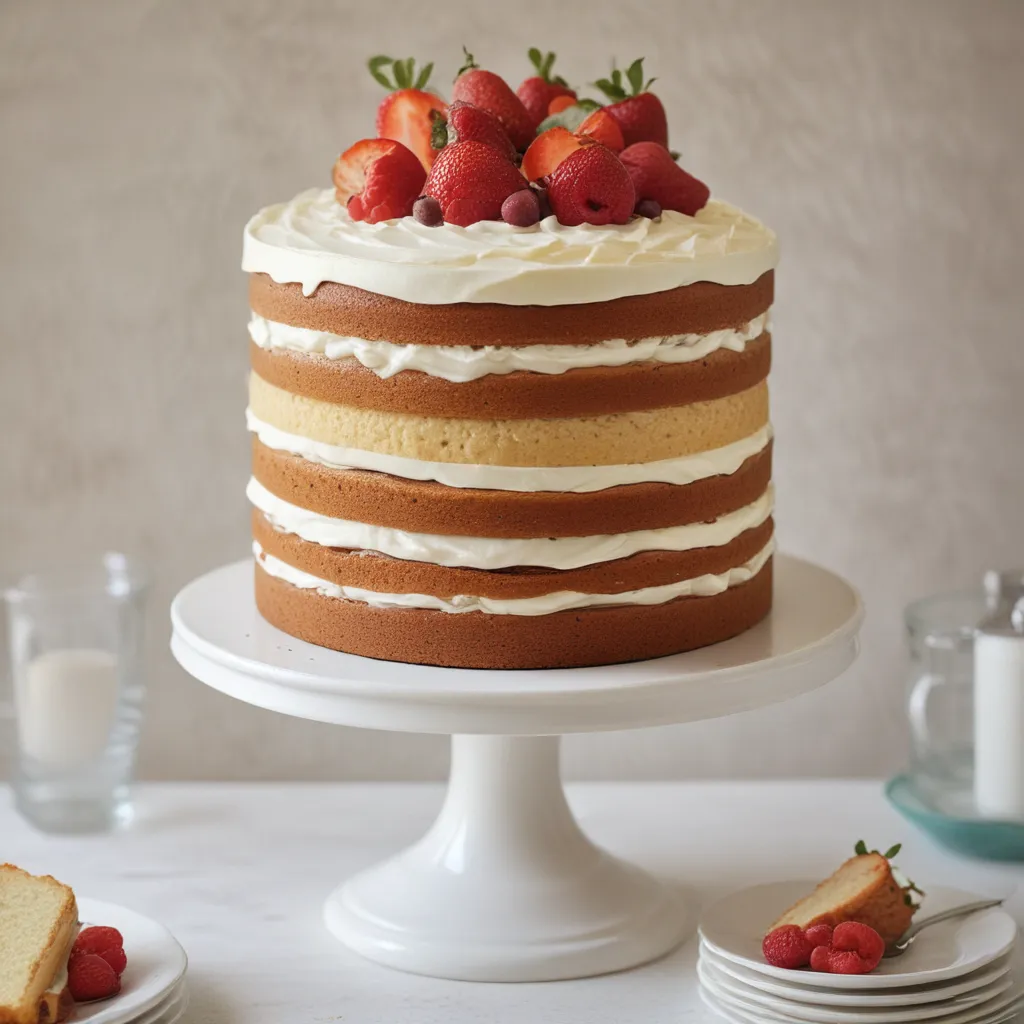
Are you going for a rustic, farmhouse-chic look? Try topping your cake with a dusting of powdered sugar and some fresh berries. Feeling a little more glam? Break out the edible gold leaf and pearl dust. The possibilities are endless, but the key is to choose decorations that elevate the overall design of your cake.
And let’s not forget about the placement, either. Arrange your decorations with care, creating a visually striking and cohesive design. Remember, less is often more when it comes to cake decorating – you don’t want to overwhelm the eye with too much going on.
So, there you have it, my fellow cake enthusiasts – six killer hacks for achieving that elusive professional frosting finish. From mastering the perfect consistency to decorating with intention, these tips and tricks will have you frosting like a pro in no time. And let me tell you, the look on your friends’ and family’s faces when they see your beautifully frosted creations? Priceless.
Now, if you’ll excuse me, I’ve got some cakes to frost. Happy baking, my friends!


