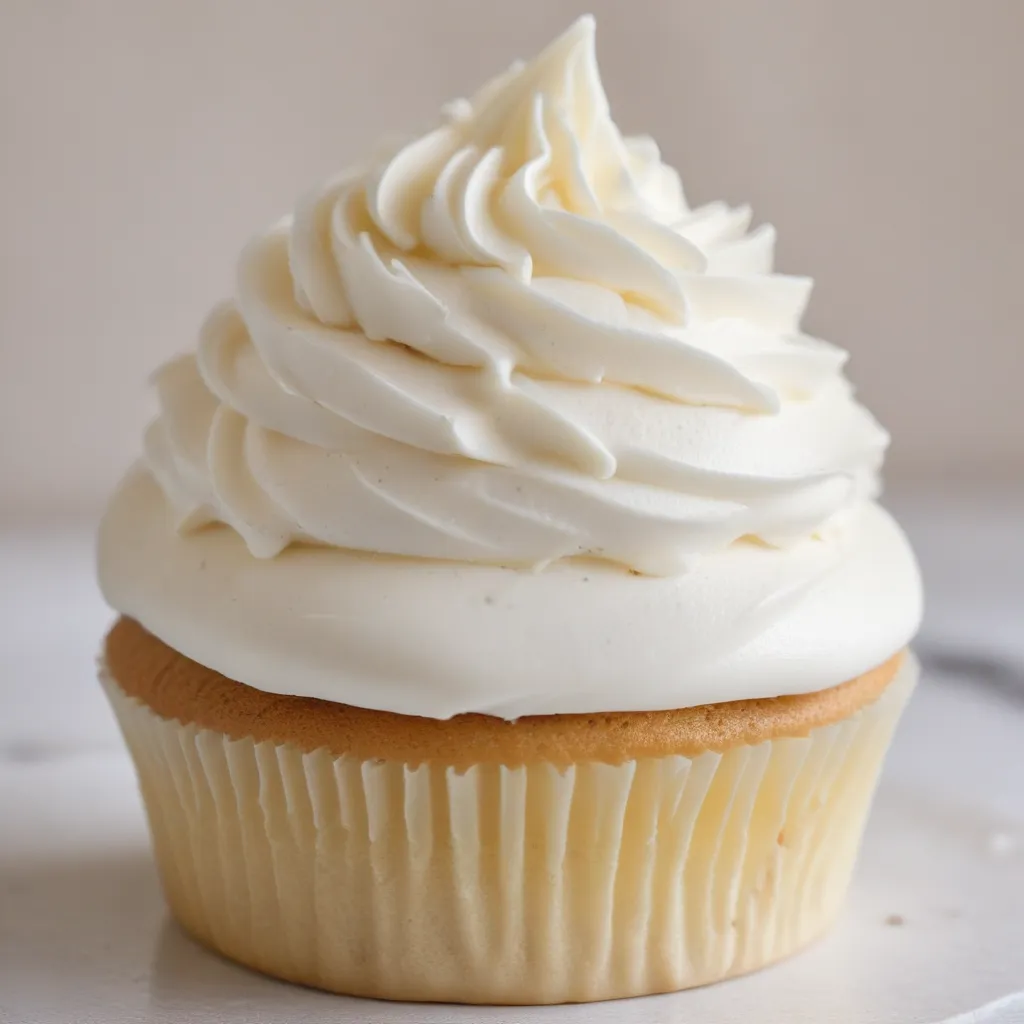
Ah, the sweet, creamy goodness of homemade frosting – is there anything quite like it? As the owner of a custom cake shop in San Jose, I’ve mastered the art of crafting frosting that’s like a fluffy, dreamy cloud on top of our cakes. And let me tell you, it’s not as difficult as you might think. In this ultimate guide, I’m spilling all the secrets to creating the creamiest, most irresistible frosting you’ve ever tasted.
Mastering the Basics: The Essential Ingredients
Let’s start with the building blocks of great frosting – the ingredients. Now, I know what you’re thinking, “How hard can it be to make frosting?” But trust me, there’s an art to it. It’s all about finding the perfect balance of sweet, rich, and smooth.
The first key ingredient is butter. Not just any butter, mind you – we’re talking high-quality, creamy goodness. I always use unsalted butter for my frosting, as it allows me to control the salt content and get that perfect sweetness. And let me tell you, the difference between using a cheap, generic butter and a premium, European-style butter is night and day. Your taste buds will thank you.
Next up, the sugar. Now, you might be tempted to go for the standard powdered sugar, and that’s certainly a solid choice. But have you ever tried using a combination of powdered sugar and granulated sugar? It adds a delightful texture and depth of flavor that’ll make your taste buds do a little dance. Just remember to sift the powdered sugar first to avoid any pesky lumps.
Of course, no creamy frosting would be complete without a splash of heavy cream or milk. This is what gives the frosting its velvety, silky-smooth texture. I like to use a combination of heavy cream and a touch of milk for the perfect consistency. But you can experiment and find what works best for your preferences.
And let’s not forget the vanilla extract. This little ingredient packs a punch of flavor that really makes the frosting sing. I always use the good stuff – pure vanilla extract, not that imitation stuff. Trust me, it makes a world of difference.
The Mixing Mastery: Whipping Up Frosting Perfection
Now that we’ve got the essential ingredients down, let’s talk about the mixing process. This is where the magic really happens, my friends.
First and foremost, make sure your butter is at the perfect temperature – softened, but not melted. I like to let it sit out on the counter for about 30 minutes before I start mixing. This allows the butter to come to that perfect, creamy consistency.
Once your butter is ready, it’s time to start whipping. I like to use a stand mixer with a paddle attachment for this, as it allows me to really incorporate air into the mixture. But if you don’t have a stand mixer, a good old-fashioned hand mixer will do the trick.
Start by beating the butter on medium-high speed until it’s light and fluffy, about 3-5 minutes. This is crucial for getting that airy, creamy texture. Don’t be afraid to let it go for a bit – the more you whip, the better the frosting will be.
Next, it’s time to add in the sugar. I like to do this a little bit at a time, mixing well after each addition. This helps the sugar fully incorporate and prevents any grainy texture. Once all the sugar is in, keep whipping that mixture until it’s smooth and creamy, about 2-3 minutes.
Now for the final touch – the heavy cream and milk. Slowly pour these in while the mixer is running, and let it whip until the frosting is light, fluffy, and utterly irresistible. Depending on the consistency you’re going for, you may need to add a bit more cream or milk.
And don’t forget the vanilla! A teaspoon or two of pure vanilla extract will take your frosting to the next level.
Flavor Explosion: Customizing Your Frosting
Ah, but the fun doesn’t stop there, my friends. Once you’ve mastered the basic frosting recipe, the possibilities for customization are endless. Let your creativity shine and experiment with all sorts of delicious flavors.
Want a touch of citrus? Fold in some freshly grated lemon or orange zest. Craving a little chocolate? Melt some high-quality dark chocolate and mix it right in. How about a hint of cinnamon or a dash of espresso powder for a mocha twist?
The sky’s the limit when it comes to flavoring your frosting. And the best part? You can easily adapt the recipe to suit your specific tastes or the needs of your custom cake creations.
Let me share a little story with you. A few months ago, a customer came to me with a special request – a cake for her daughter’s birthday, with a flavor that would really wow the guests. She wanted something unique and out-of-the-box, but still delicious.
Well, challenge accepted! I got to work in the kitchen, whipping up a batch of my signature cream cheese frosting, but with a twist. I decided to infuse it with a touch of lavender – an unexpected yet absolutely divine pairing. The result was a frosting that was light, floral, and perfectly balanced in sweetness.
The customer was over the moon with the final product, and her daughter’s birthday party was a smashing success. Everyone raved about the unique and utterly delectable frosting. And you know what they say, “The proof is in the pudding” – or in this case, the frosting!
Frosting Finesse: Achieving that Professional Touch
Now, let’s talk about the art of frosting application. Because let’s be real, even the most delicious frosting won’t shine if it’s not applied with skill and precision.
As a custom cake shop owner, I’ve seen it all – from smooth, velvety frosting to lumpy, uneven messes. But don’t worry, I’m here to share my secrets to frosting finesse.
First and foremost, make sure your cake is completely cooled before you start frosting. Trying to frost a warm cake is a recipe for disaster (pun intended). The frosting will just melt right off, and you’ll end up with a big, gooey mess.
Once your cake is cooled, it’s time to start layering on that creamy goodness. I like to use a large offset spatula for this, as it allows me to get a nice, even layer of frosting on the top and sides of the cake.
The key is to work in sections, starting with the top of the cake and then moving down the sides. Apply a generous amount of frosting, and use your spatula to smooth it out, creating a nice, even surface.
And don’t be afraid to get a little creative with your frosting application. Try using a piping bag to add decorative swirls, rosettes, or other fancy designs. Or, for a more rustic, homemade look, use a small offset spatula to create those beautiful, swirling patterns on the sides of the cake.
The possibilities are endless, my friends. So have fun with it, and don’t be afraid to experiment until you find the frosting application technique that works best for you.
Frosting Finesse: Achieving that Professional Touch (continued)
Now, let’s talk about frosting storage and shelf life. Because let’s be real, you don’t want all your hard work to go to waste, right?
Proper storage is key to keeping your frosting fresh and delicious. Once you’ve finished frosting your cake, make sure to store it in the fridge. The cool temperature will help the frosting maintain its smooth, creamy texture and prevent it from melting or separating.
And if you’ve got leftover frosting, don’t worry – you can easily store that too. Simply transfer it to an airtight container and pop it in the fridge. It’ll keep for up to a week, so you can use it to frost your next batch of cupcakes or as a dip for fresh fruit.
Now, I know what you’re thinking – “A week? That’s it?” But trust me, with proper storage, your homemade frosting will stay fresh and delectable for much longer than the store-bought stuff.
Speaking of which, let’s talk about the shelf life of your frosted cakes. If you’re using my signature cream cheese frosting recipe, your cake will stay fresh and moist for up to 5 days when stored in the fridge. That’s plenty of time to enjoy every last crumb (or lick of frosting, let’s be honest).
And if you’re using a buttercream frosting, you can expect your cake to stay fresh for up to 7 days in the fridge. Just make sure to cover it tightly with plastic wrap or store it in an airtight container to keep it from drying out.
So there you have it, my friends – the secrets to creamy, irresistible homemade frosting. From mastering the basic ingredients to getting that professional, smooth application, I’ve spilled it all.
Now, I don’t know about you, but I’m feeling a serious craving for cake. Maybe I’ll whip up a batch of my famous lavender cream cheese frosting and treat myself to a slice. After all, what’s the point of being a custom cake shop owner if you can’t indulge in a little frosting-filled goodness every now and then?
If you’re feeling inspired to try your hand at homemade frosting, be sure to head over to Jax Cake Shop for all your cake-making needs. We’ve got the freshest, high-quality ingredients and the equipment to help you achieve frosting perfection. Happy baking, my friends!


