Ah, the elusive quest for perfectly even cake layers – a challenge that has vexed bakers for generations, myself included. But fear not, my fellow cake enthusiasts, for I’ve uncovered a treasure trove of no-fail tricks that will have your cakes looking like they were crafted by the pastry gods themselves.
Mastering the Measure
Let’s start with the foundation – the measuring process. You see, the key to even cake layers isn’t just about following the recipe to the letter, but rather, understanding the nuances of measurement. I used to think a cup was a cup, until I realized that scooping versus spooning can make all the difference. Scooping can lead to packing in more flour than the recipe calls for, resulting in a dense, uneven crumb. So, I made it a habit to spoon my flour into the measuring cup, gently leveling it off with the back of a knife. This small change made a world of difference in my baking.
But the measuring madness doesn’t stop there, oh no. Have you ever wondered why some recipes call for weight measurements instead of volume? Well, let me tell you, it’s a game-changer. When it comes to ingredients like flour, sugar, and even butter, weight is far more precise than volume. Think about it – a cup of flour can vary wildly depending on how you pack it in. But a gram is always a gram, no matter how you scoop it. So, I invested in a trusty kitchen scale, and let me tell you, my cakes have never been more consistently even.
Leveling Up the Layers
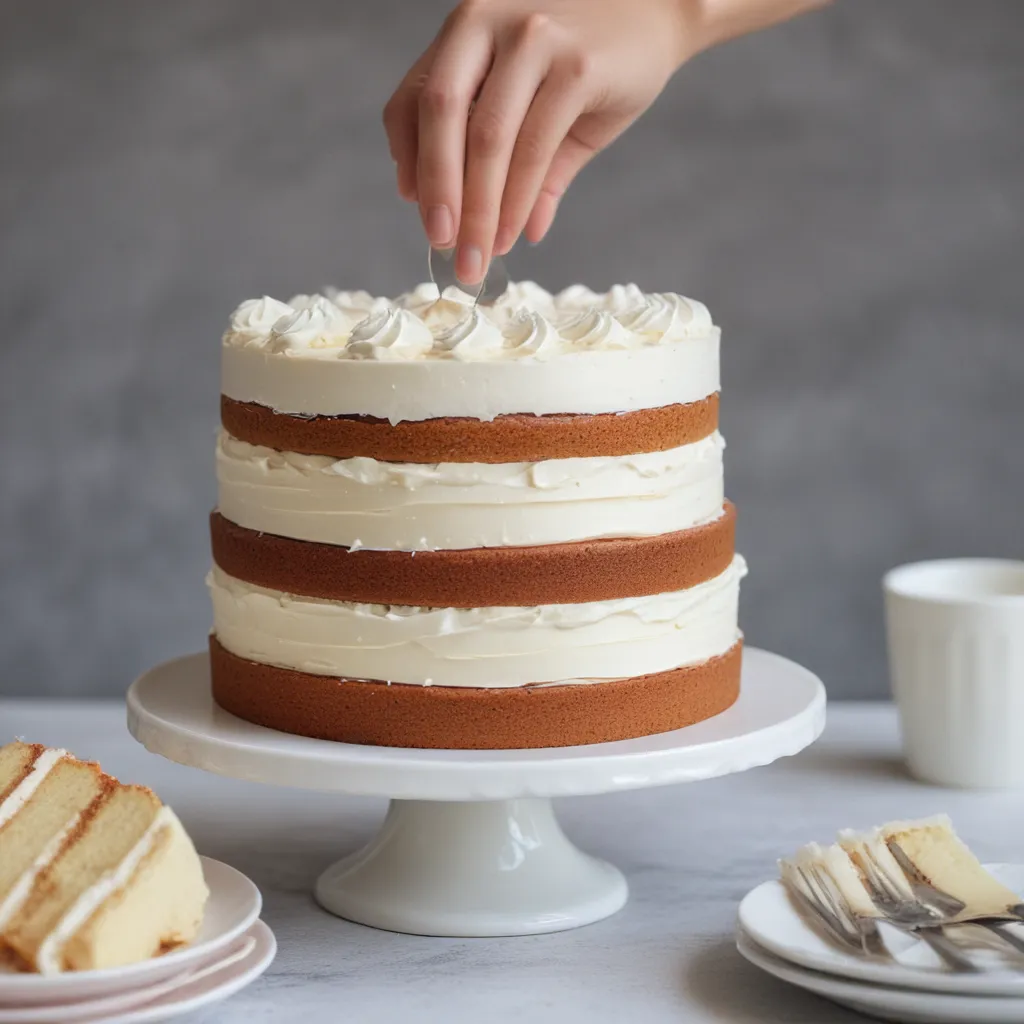
Now that we’ve mastered the art of measurement, let’s talk about the all-important cake baking process. You see, even though we’ve got the ingredients down to a science, there’s still one more crucial step to ensuring even cake layers: the leveling.
I used to think that simply dividing the batter evenly between my pans would do the trick, but boy, was I wrong. Even the slightest variation in how the batter is distributed can lead to wildly uneven cakes. That’s why I’ve adopted a little trick I like to call the “level and tap” method.
Here’s how it goes: After pouring the batter into the pans, I use a butter knife or a small offset spatula to gently level the surface. Then, I give the pans a few firm taps on the counter to help the batter settle evenly. This simple step helps ensure that the layers bake up perfectly flat, with no pesky domes or valleys to contend with.
Cooling and Cutting
But the journey to even cake layers doesn’t end there, my friends. Once the cakes have baked to perfection, the real challenge begins – cooling and cutting.
You see, if you try to slice into a piping hot cake, you’re just asking for trouble. The delicate crumb will crumble and crumble, leaving you with a ragged, uneven mess. That’s why I always let my cakes cool completely before even thinking about slicing into them. I’m talking room temperature, people. No exceptions.
And when it comes time to cut those layers, I’ve got a few tricks up my sleeve. First and foremost, I invest in a good, sharp serrated knife. The jagged edge helps cut through the cake cleanly, without tearing or crumbling the delicate crumb. And let’s not forget the secret ingredient: a gentle sawing motion. No hacking or slicing – just a gentle, back-and-forth motion to guide the knife through the cake.
Stacking and Leveling
Ah, the final frontier: stacking and leveling those beautifully even cake layers. This is where the magic really happens, my friends.
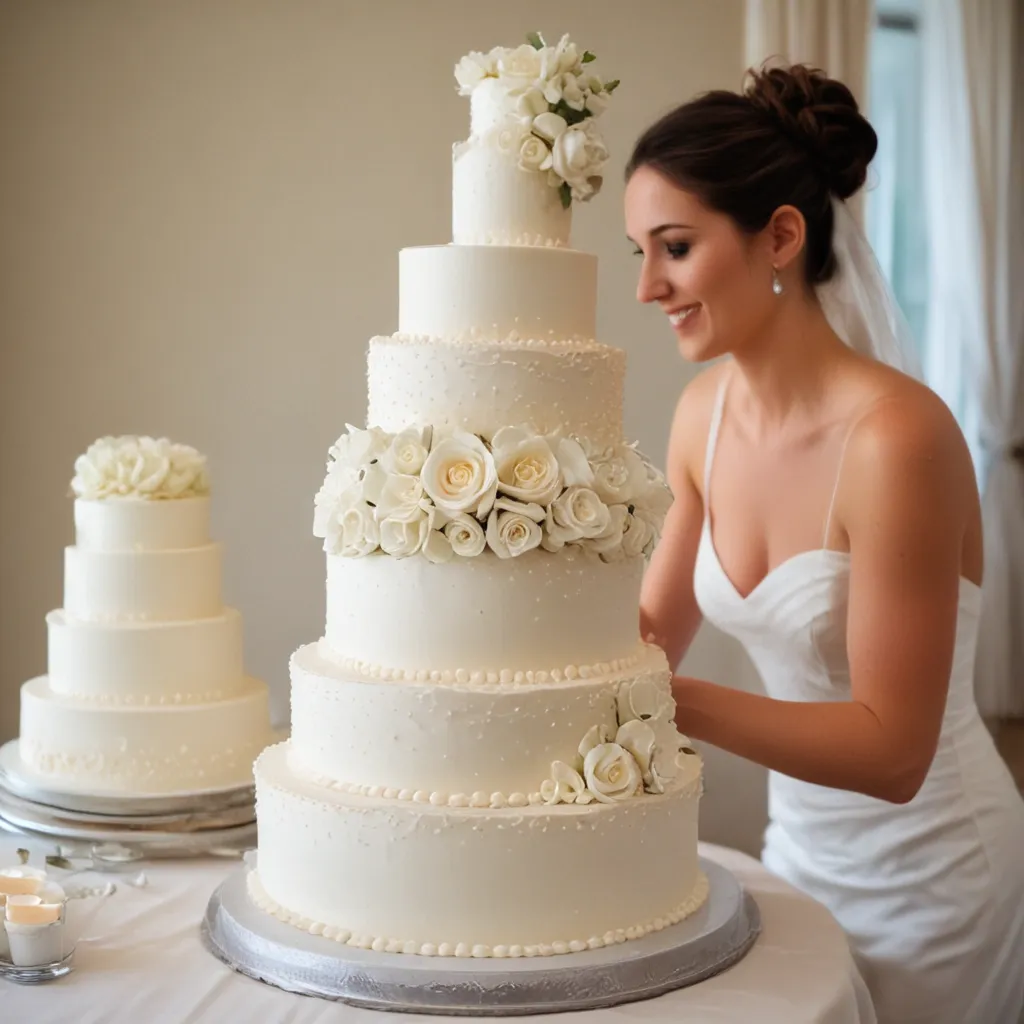
I used to struggle with this step, trying to balance those layers precariously, only to have them lean and wobble like a drunken tower. But then I discovered the power of the cake board. By placing each layer on a sturdy cake board or cardboard round, I was able to stack them with ease, ensuring perfect alignment every time.
And of course, let’s not forget the all-important leveling step. I used to try to eyeball it, but that never ended well. These days, I rely on a trusty cake leveler – a simple tool with a sharp blade that allows me to trim the tops of my cakes with precision. No more lopsided masterpieces for this baker!
The Icing on the Cake
Finally, we arrive at the grand finale: the icing. Now, you might be thinking, “But wait, what does icing have to do with even cake layers?” Ah, my dear friends, it’s all about the presentation.
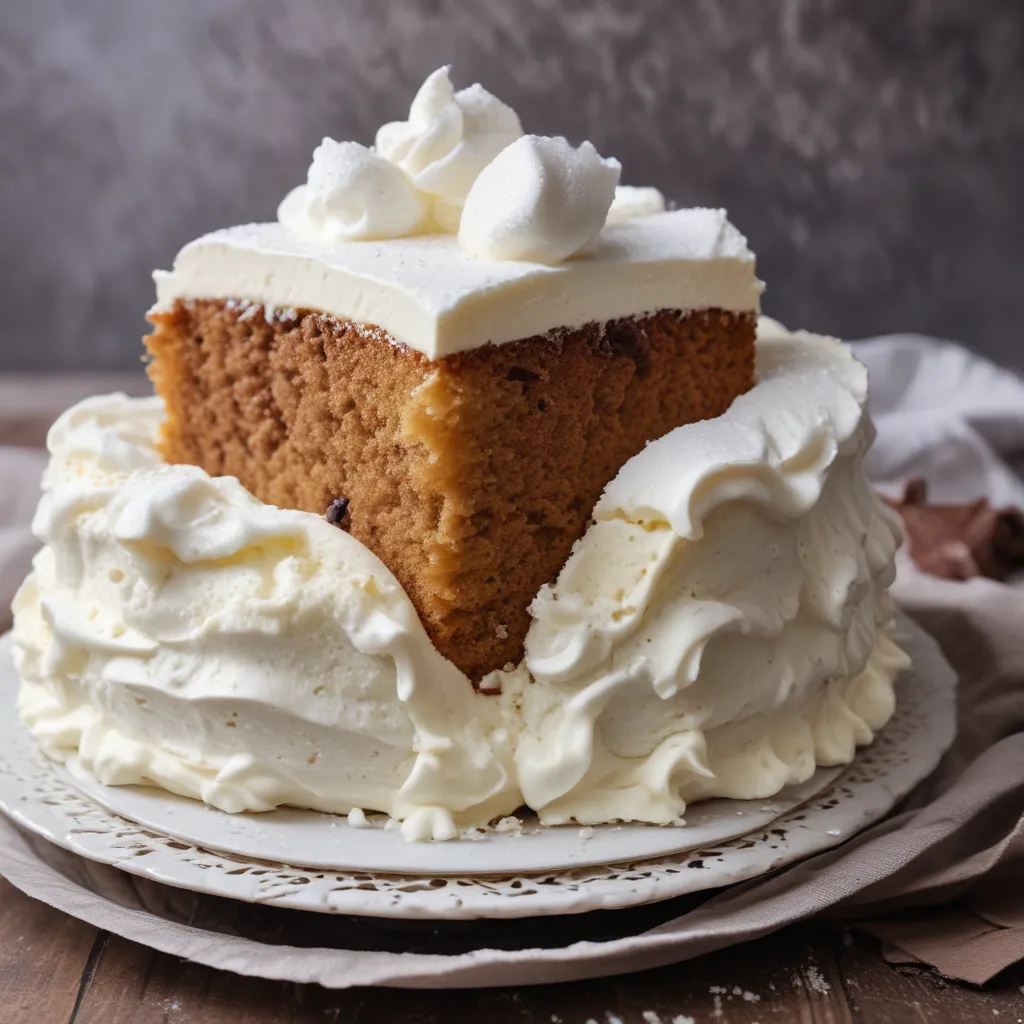
You see, even the most perfectly baked and stacked cake can be ruined by sloppy, uneven icing. That’s why I’ve mastered the art of the crumb coat – a thin layer of icing that seals in all those beautiful even layers, creating a smooth foundation for the final frosting.
And when it comes to that final coat of icing, I’ve got a few tricks up my sleeve. I like to use a turntable to help me achieve that perfectly smooth finish, and I always make sure to chill my cakes before icing to help the frosting set up nicely.
But the real secret to even, flawless icing? A good offset spatula and a steady hand. With a little practice, you’ll be able to glide that frosting on with the grace of a professional pastry chef.
So there you have it, my fellow cake enthusiasts – the no-fail tricks for even cake layers. From mastering the measure to nailing the icing, I’ve spilled all my secrets. And you know what they say, practice makes perfect. So, grab your mixing bowls, preheat your ovens, and get baking! Your cakes are about to reach new heights of perfection.
Oh, and if you’re in the San Jose area and in the mood for a truly exquisite custom cake, be sure to check out Jax Cake Shop. Their talented team of bakers and decorators are masters of the craft, and they’d be more than happy to bring your cake vision to life.


