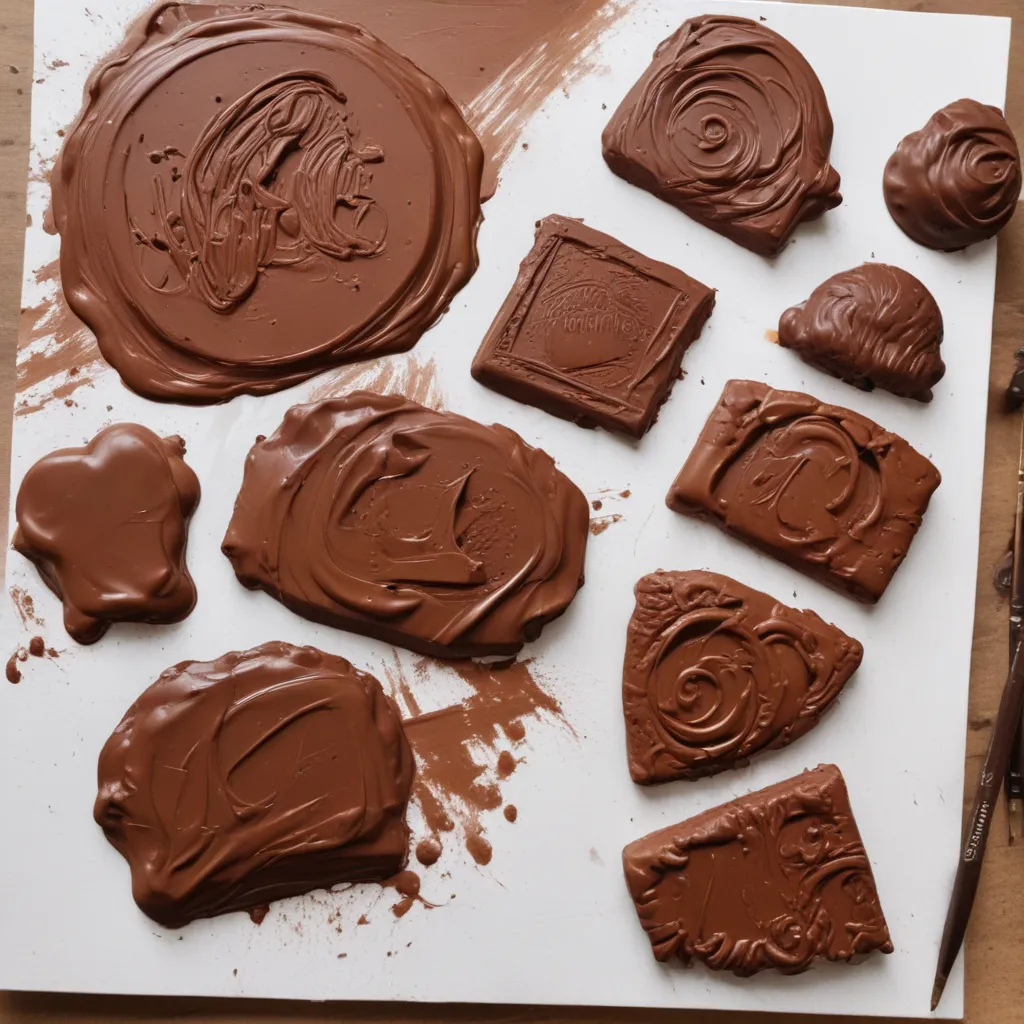
Ah, the sweet art of painting with chocolate – it’s a culinary skill that’s equal parts delicious and captivating. As the owner of a custom cake shop in San Jose, I’ve had the pleasure of exploring this medium in-depth, and let me tell you, it’s a wild ride. From the moment you temper that first batch of silky smooth chocolate, to the final flourish of an intricate design, it’s a journey that’s sure to delight the senses and impress your guests.
Mastering the Basics of Chocolate Painting
Now, I know what you’re thinking – “Painting with chocolate? Isn’t that just for the pros?” Well, my friends, I’m here to tell you that with the right techniques and a little bit of practice, anyone can become a chocolate painting virtuoso. Let’s start with the fundamentals, shall we?
The key to successful chocolate painting lies in the tempering process. You see, chocolate is a bit of a diva – it requires the perfect balance of temperature and agitation to achieve that irresistible shine and snap. Fail to temper it correctly, and you’ll end up with a dull, gloppy mess that no one wants to touch. But fear not, I’ve got your back.
First, you’ll need to melt your chocolate down to the proper working temperature. For dark chocolate, that’s around 115-120°F. Milk and white chocolates run a bit cooler, around 105-110°F. Once you’ve got that sorted, it’s time to start the tempering dance. Slowly add in small amounts of your melted chocolate to a slightly cooler batch, stirring constantly. This helps to seed the crystals and ensure that your chocolate sets up with that perfect shine.
But the fun doesn’t stop there, my friends. You’ll also need to consider the consistency of your chocolate. Too thick, and it’ll be a challenge to paint with. Too thin, and it’ll just run right off the surface. The sweet spot is somewhere in the middle – a smooth, velvety texture that glides across your canvas with ease.
Choosing the Right Tools for the Job
Now that you’ve mastered the art of tempering, it’s time to talk about the tools of the trade. Sure, you could just grab a spoon and start slinging chocolate around, but trust me, that’s a recipe for a messy disaster. No, to become a true chocolate painting pro, you’ll need to invest in the right equipment.
First and foremost, you’ll need a set of high-quality paint brushes. Now, I know what you’re thinking – “Brushes? For chocolate?” Hear me out. These specially designed tools are essential for achieving those intricate, detailed designs. Look for brushes with firm, synthetic bristles that can stand up to the thick, sticky nature of melted chocolate.
Next up, you’ll want to snag a palette or two. These handy little trays are perfect for keeping your chocolate at the ideal working temperature, and they make it easy to mix and blend colors on the fly. Plus, they come in a variety of shapes and sizes, so you can find the perfect fit for your workspace.
And let’s not forget the all-important stencils and templates. These handy tools are a game-changer when it comes to creating clean, precise designs. Whether you’re going for a simple geometric pattern or a complex floral motif, a good set of stencils will help you achieve that professional, polished look.
Unleashing Your Creativity: Painting Techniques and Designs
Alright, now that we’ve got the basics covered, it’s time to dive into the fun part – the actual painting! Let me tell you, there’s something truly magical about watching a blank canvas transform into a masterpiece of chocolate artistry.
One of my favorite techniques is the good old-fashioned drip effect. Picture this: you’ve got a luscious layer of chocolate ganache or mousse, and you want to dress it up with a bit of that tempered chocolate flair. Simply take your paintbrush, loaded with melted chocolate, and let it drip and drizzle down the sides of your creation. The key is to work quickly, before the chocolate sets, and to play with the viscosity to achieve that perfect flow.
But if you’re feeling a bit more adventurous, why not try your hand at some intricate, hand-painted designs? Grab your stencils and get to work, layering on different colors and textures to create truly stunning pieces. Maybe you’re feeling inspired by the vibrant hues of a tropical sunset, or the delicate petals of a spring bouquet. The possibilities are endless, my friends.
And don’t be afraid to get a little playful with your chocolate painting. Why not try your hand at some abstract shapes and patterns? Or maybe even experiment with incorporating other edible elements, like crushed nuts or edible flowers, to add even more depth and dimension to your creations.
Mastering the Art of Chocolate Painting: Real-Life Case Studies
Of course, no discussion on the art of chocolate painting would be complete without a few real-life case studies to inspire and delight. Let me tell you about a few of my favorite projects from the annals of Jax Cake Shop.
Take, for example, the stunning wedding cake we created for a local couple. The bride had a vision of a sleek, modern design with a touch of whimsy, and boy, did our team deliver. We started with a smooth, fondant-covered base, then used a series of stencils and precision chocolate painting techniques to create a stunning pattern of interlocking hexagons. The result was a showstopper that had all the guests oohing and aahing.
Or how about the time we were tasked with creating a custom birthday cake for a chocolate-loving client? This one was all about bold, dramatic flair. We started with a rich, dark chocolate cake, then covered it in a glossy layer of tempered chocolate. From there, we used a combination of brushwork and stencils to create a stunning, abstract design that looked like it had been plucked straight from a modern art gallery.
And let’s not forget the epic holiday centerpiece we created for a local restaurant’s annual gala. This one was a true tour de force, featuring a towering chocolate tree adorned with intricate, hand-painted ornaments. It was a masterpiece of chocolate artistry that had everyone in the room reaching for their cameras (and their forks).
Mastering the Art of Chocolate Painting: A Journey of Passion, Patience, and Precision
Whew, that’s a lot of chocolate painting goodness, am I right? But you know, as much as I love waxing poetic about the technical aspects of this craft, the real magic happens when you let your passion and creativity shine through.
Because at the end of the day, chocolate painting isn’t just about following a set of rigid rules or replicating someone else’s design. It’s about tapping into your own unique artistic sensibilities and letting your imagination run wild. It’s about experimenting, taking risks, and embracing the unexpected.
And let me tell you, the journey to becoming a chocolate painting pro is not for the faint of heart. It’s a road paved with patience, persistence, and a whole lot of delicious mistakes. But trust me, the payoff is more than worth it. Imagine the look on your guests’ faces when they take that first bite of your edible masterpiece, the rich chocolate flavor mingling with the intricate design you’ve so carefully crafted.
So, are you ready to embark on this sweet, sweet adventure? Grab your paintbrushes, fire up your tempering machine, and let’s get to work. The world of chocolate painting is waiting, and trust me, it’s a delicious place to be.


