Unleashing Your Inner Cake Artist: A Step-by-Step Guide to Crafting Personalized Cake Toppers
Ah, the world of custom cakes – where the possibilities are as endless as the sugar-fueled dreams of a kid in a candy store. If you’re anything like me, you’ve probably spent countless hours scrolling through Instagram, ogling the intricate, one-of-a-kind cake toppers that seem to be the hallmark of every Instagram-worthy dessert. And let me guess, you’ve probably thought to yourself, “I could totally make that!” Well, my friend, today is your lucky day, because I’m about to let you in on the secrets to creating your very own custom cake toppers at home.
Unleashing Your Creativity: Choosing the Perfect Design
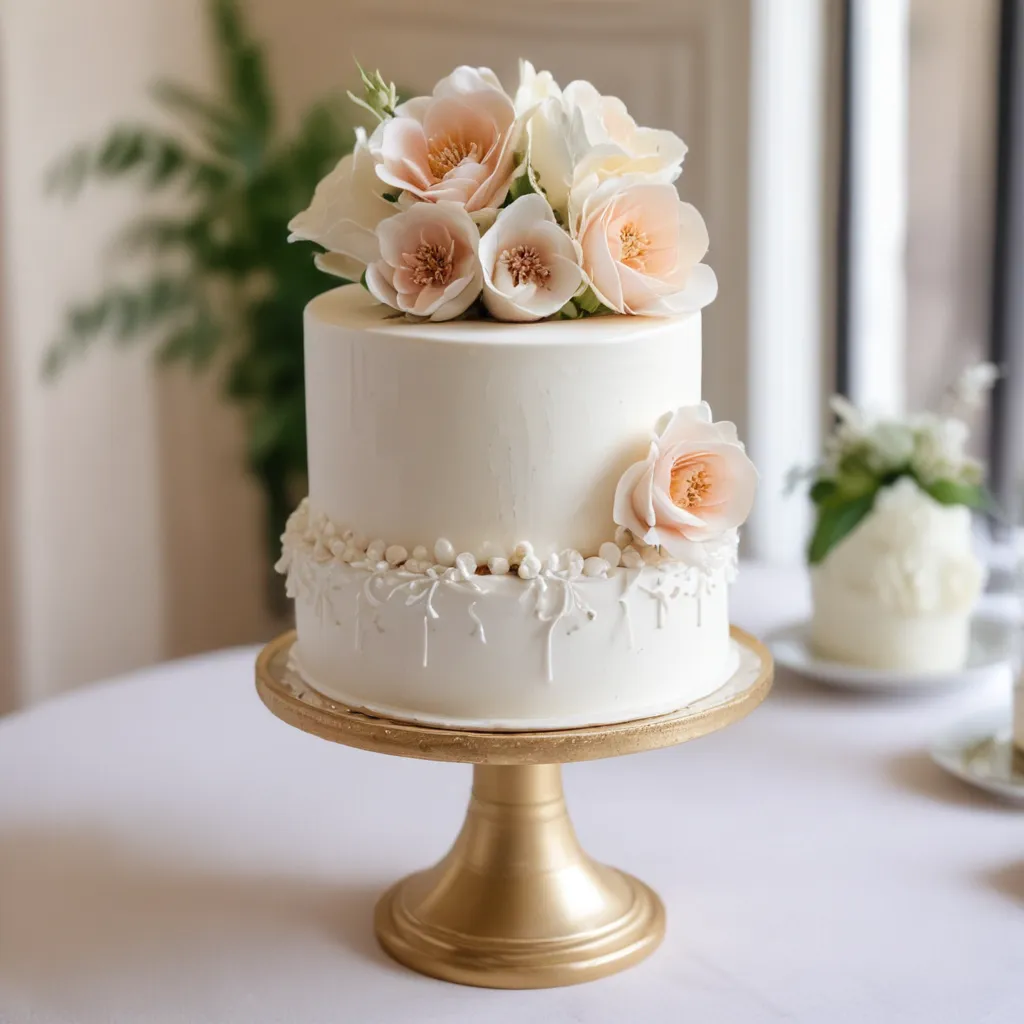
The first step in your custom cake topper journey is to let your creativity run wild. Think about the occasion, the theme of your cake, or even your personal style – what kind of topper would complement it best? Maybe you’re planning a whimsical, unicorn-themed birthday bash and you want a magical, glitter-covered topper to top it off. Or perhaps you’re baking a cake for a nature-loving friend and you envision a delicate, floral-inspired design. The possibilities are truly endless, my friends.
Once you’ve settled on a general concept, it’s time to dive into the nitty-gritty of the design. What materials do you want to use? Will it be three-dimensional or more of a flat, decorative piece? Are there any special techniques you want to incorporate, like hand-painting or intricate piping? Don’t be afraid to get a little bit wild and crazy – after all, the best custom cake toppers are the ones that truly reflect your unique style and personality.
Mastering the Fundamentals: Choosing Your Materials and Techniques
Now that you’ve got your design concept all figured out, it’s time to gather your supplies. Depending on the complexity of your topper, you might need things like polymer clay, fondant, royal icing, edible glitter, or even a bit of wire and pliers. Don’t be intimidated by the array of options – I’ll walk you through the basics of each material and the best techniques for working with them.
Let’s start with polymer clay, shall we? This versatile medium is a classic choice for creating custom cake toppers, as it allows you to sculpt just about anything your heart desires. Simply condition the clay, shape it into your desired design, and then bake it in the oven to set. Once it’s cooled, you can get creative with paints, glitters, and other decorative elements to really make your topper shine.
If you’re more of a fondant fanatic, you can definitely use that as the base for your topper. Simply roll out the fondant, cut out your shape, and then use a variety of tools and techniques to add dimension and detail. Maybe you want to create a delicate, lace-inspired design or a whimsical, hand-painted scene – the options are truly endless.
And let’s not forget about royal icing – the unsung hero of the cake decorating world. This versatile medium is perfect for creating intricate, delicate designs that can really elevate the look of your custom topper. Pipe, flood, and dry your way to cake topper perfection, my friends.
Putting It All Together: Assembling Your Custom Cake Topper
Alright, now that you’ve got your materials and techniques down, it’s time to start putting it all together. Depending on the complexity of your design, this step may require a bit of trial and error, but trust me, it’s all part of the fun.
If you’re working with polymer clay, start by sculpting your base shape and then gradually add in the details, using tools and your fingers to bring your vision to life. Don’t be afraid to get a little messy – half the fun is seeing your creation come to life, right?
For fondant toppers, start by rolling out your base and then use a variety of cutters, molds, and decorating tools to add in the intricate details. And don’t forget to let each layer dry completely before adding the next, to ensure that your topper holds its shape.
And when it comes to royal icing, the key is to take it slow and steady. Start by piping your outline, then fill in the details using a variety of tips and techniques. And be sure to let each layer dry completely before moving on to the next, to avoid any smudging or blurring.
Bringing Your Topper to Life: Attaching and Displaying Your Creation
Alright, the hard part is done – time to get your custom cake topper ready for its grand debut! Depending on the size and weight of your topper, you may need to use a few different methods to attach it to your cake.
If you’re working with a lightweight topper, a dab of royal icing or a bit of edible glue should do the trick. Just be sure to attach it to a secure, flat surface on the cake. For heavier toppers, you may need to insert a dowel or some other kind of support structure to keep it in place.
And when it comes to displaying your creation, the options are truly endless. You could set it atop a simple, classic cake, or you could get really creative and build an entire scene around it. Maybe you want to surround it with a ring of fresh flowers, or perhaps you want to nestle it in a bed of crushed cookies or candies. The choice is yours, my friends – just let your imagination run wild!
Embracing the Imperfections: Learning from Your Mistakes
Alright, let’s be real for a minute – creating custom cake toppers is not always a smooth, seamless process. In fact, it’s quite common to encounter a few hiccups along the way. But you know what they say – that’s where the magic happens, right?
Maybe your polymer clay topper didn’t quite hold its shape in the oven, or perhaps your royal icing design ended up a bit more “abstract” than you had envisioned. Don’t sweat it! These little imperfections are what make your creation truly one-of-a-kind. Embrace them, learn from them, and use them as inspiration for your next masterpiece.
And remember, the true joy of custom cake toppers isn’t in the final result – it’s in the journey of creating something from scratch, pouring your heart and soul into every little detail. So, don’t be too hard on yourself, my friends. Celebrate your successes, learn from your mistakes, and keep on creating. Who knows, your next custom cake topper might just be your magnum opus!
Sharing Your Creations with the World
Alright, you’ve done it – you’ve officially mastered the art of custom cake toppers! Now, it’s time to show off your hard work and inspire others to unleash their own inner cake artists.
Why not snap a few photos of your creation and share them on social media? Let the world see what you’ve accomplished, and who knows – you might even inspire someone else to try their hand at custom cake toppers. And if you’re feeling particularly proud of your work, you could even consider selling your custom creations on a platform like Etsy – I mean, who wouldn’t want a one-of-a-kind cake topper that was handcrafted with love and care?
So, what are you waiting for? Grab your materials, unleash your creativity, and get to work on your next masterpiece. The world of custom cake toppers is waiting for you, my friends – so let’s get baking!


