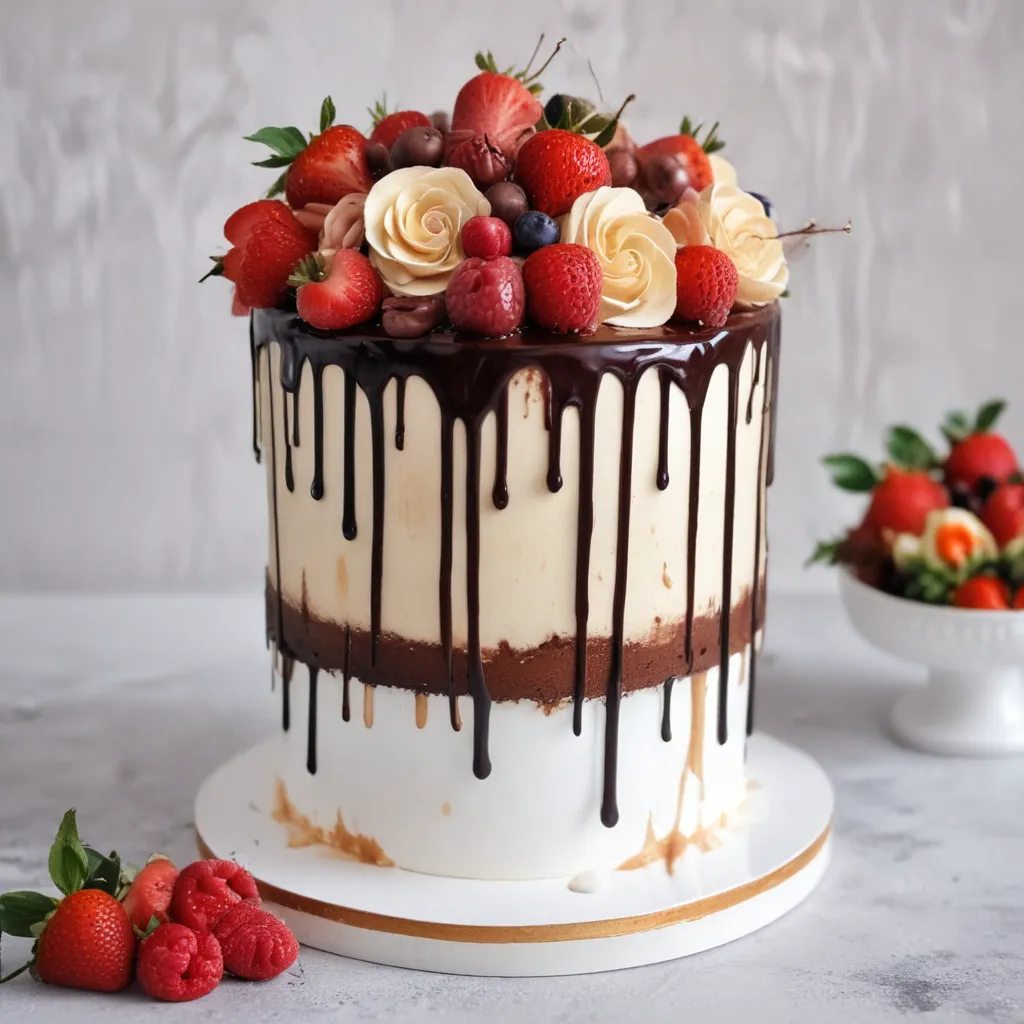
Ah, the glorious world of drip cakes – where gravity-defying streams of buttercream and chocolate cascade down the sides of a masterful confection, captivating the eyes and tantalizing the taste buds of all who behold it. If you’re anything like me, the mere sight of these mesmerizing morsels is enough to send your heart into a flutter and your stomach rumbling with anticipation.
But let me let you in on a little secret – creating these trendy, Instagram-worthy delights is not nearly as daunting as it may seem. In fact, with the right guidance and a little bit of practice, even the most novice of bakers can whip up their very own showstopping drip cakes right from the comfort of their own kitchen. And that’s precisely what I’m here to share with you today – my foolproof, step-by-step process for crafting these mouthwatering masterpieces from scratch.
Gather Your Ingredients and Supplies
Before we can dive into the fun part of actually assembling our drip cake, we’ll need to make sure we have all the necessary ingredients and equipment on hand. Trust me, the last thing you want is to be halfway through your baking extravaganza only to realize you’re missing a critical component.
First and foremost, you’ll need a cake – duh! I prefer to use a simple, moist vanilla or chocolate cake as the foundation, but feel free to get creative with the flavor profile. Just make sure it’s baked and cooled completely before moving on to the next steps.
Next up, you’ll want to have a generous supply of your desired frosting or buttercream. Personally, I’m a big fan of a silky smooth, semi-sweet chocolate ganache for the drip effect, but a classic American buttercream or even a cream cheese frosting would work beautifully as well. The key is to ensure your frosting is at the perfect consistency – not too thick and gloppy, but also not so thin that it’ll just slide right off the cake.
And let’s not forget the all-important drip! For this, you’ll want a thinner, more pourable glaze or ganache. Depending on your preferred look, you can go for a classic chocolate drip, a vibrant fruit coulis, or even something a bit more unconventional like a salted caramel or white chocolate iteration. The options are truly endless!
Finally, you’ll need a few tools to help you bring your drip cake vision to life. A turntable or lazy susan for easy cake rotation, a bench scraper or offset spatula for smooth frosting application, and a piping bag or squeeze bottle for the drip itself. Oh, and don’t forget a healthy dose of patience and a willingness to get a little messy – because trust me, this is not a delicate, clean-as-you-go kind of process.
Mastering the Cake Layers
Alright, now that we’ve got all our supplies in order, let’s dive into the fun part – building our drip cake from the ground up!
I always start by leveling off the top of my cake layers to ensure a nice, even surface. This will help prevent any unsightly bulges or lopsided drips once we start frosting. I like to use a serrated knife for this, but you can also invest in a handy cake leveling tool if you want to get really precise.
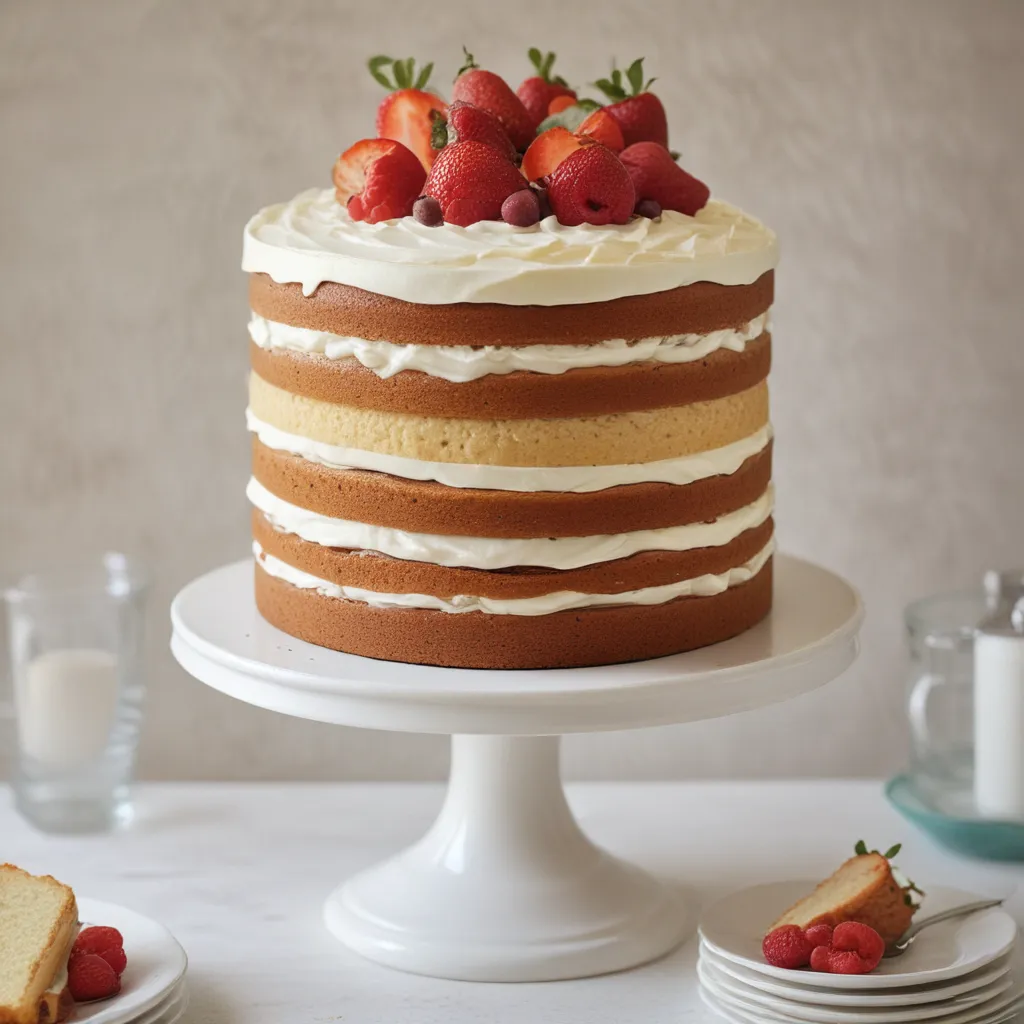
Next, it’s time to fill and stack those layers. I generally go for a three-layer cake, but you can certainly do more or less depending on your preference and the size of your cake. Just be sure to apply a nice, even layer of frosting between each tier, taking care to avoid any gaps or air pockets.
Once your layers are all stacked up, it’s time to crumb coat that baby. For the uninitiated, a crumb coat is a thin layer of frosting applied all over the cake to help seal in any rogue crumbs and provide a smooth base for the final frosting. I like to use an offset spatula for this, gently smoothing the frosting from the bottom up in long, even strokes.
Mastering the Frosting Finish
With our cake layers all prepped and ready to go, it’s time to move on to the main event – the final frosting finish. This is where the magic really happens, folks.
I like to start by applying a generous layer of frosting all over the cake, using my trusty offset spatula to create a smooth, even surface. Be sure to pay extra attention to the sides, as this is where the drip effect will be most prominent.
Once I’ve got a nice, even layer of frosting all the way around, it’s time to smooth things out even further. I like to use a bench scraper or a clean, damp paper towel to gently remove any excess frosting and create a silky-smooth finish. Just be sure to work in gentle, even strokes, rotating the cake as you go.
And now, the moment we’ve all been waiting for – the drip effect! This is where things can get a little tricky, but with a bit of practice, you’ll be dripping like a pro in no time.
I like to start by pouring a small amount of my drip glaze or ganache onto the top of the chilled cake, allowing it to slowly drip down the sides. You can control the thickness and pattern of the drips by adjusting the consistency of your glaze and the speed at which you pour it. If you want thicker, more dramatic drips, go for a slightly thicker consistency. If you prefer a more delicate, drippy look, thin it out a bit.
Once you’ve achieved your desired drip effect, it’s time to decorate! I like to add a dollop of frosting or a swirl of whipped cream on top, then decorate with sprinkles, chopped nuts, fresh berries, or any other toppings that strike your fancy. The sky’s the limit when it comes to drip cake creativity!
Perfecting the Technique
Now, I know what you’re thinking – “This all sounds great, but what if my drips don’t turn out perfectly the first time?” And let me tell you, my friends, that is completely normal! Mastering the art of the drip cake is a journey, and it’s one that’s filled with plenty of trial and error.
One of the keys to success is understanding the importance of temperature. You see, the consistency of your drip glaze or ganache is heavily influenced by the temperature of both the cake and the glaze itself. If the cake is too warm, the drips will run too quickly and create a messy, uncontrolled effect. If the cake is too cold, the drips won’t flow smoothly and may even seize up.
The solution? Chill your cake in the fridge for at least 30 minutes before applying the drip glaze, and make sure your glaze is at the perfect, pourable consistency. You can experiment with adding a bit of cream or milk to thin it out, or letting it cool slightly to thicken it up. And remember, it’s all about finding that sweet spot!
Another tip? Don’t be afraid to get creative with your drip patterns. While the classic, evenly spaced drips are certainly a showstopper, don’t be afraid to get a little playful. Try varying the thickness of your drips, creating intentional drip-free zones, or even experimenting with different colors and flavors. The possibilities are truly endless!
And finally, remember that practice makes perfect. The more you play around with drip cakes, the more comfortable and confident you’ll become. So don’t get discouraged if your first few attempts don’t turn out quite as Instagram-worthy as you’d hoped. Just keep at it, have fun, and revel in the sweet satisfaction of creating something truly stunning with your own two hands.
Bringing Your Drip Cake Vision to Life
Now that you’ve learned all the tips and tricks for crafting the perfect drip cake, it’s time to put your newfound skills to the test. And let me tell you, there’s no better place to showcase your confectionary prowess than right here at Jax Cake Shop.
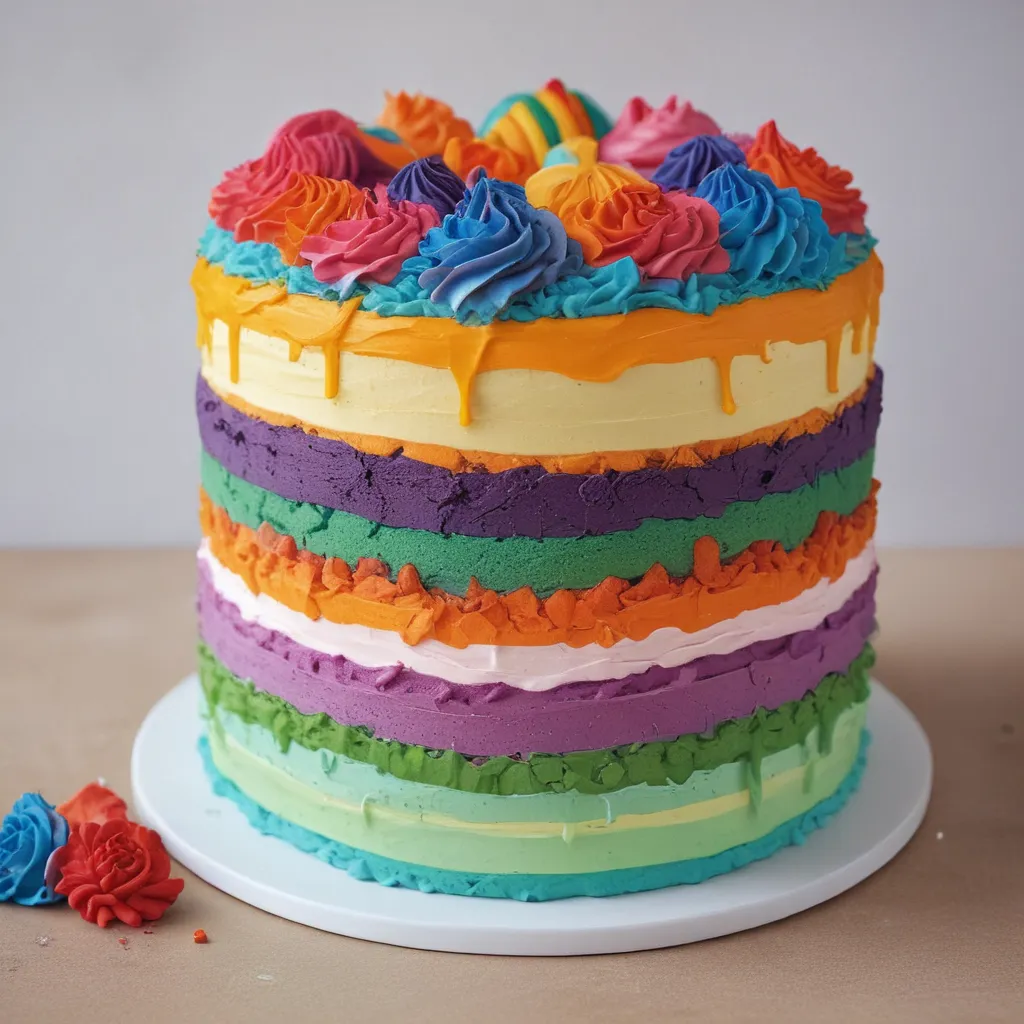
Our team of talented bakers and decorators are masters of the drip cake art form, and we’d be absolutely delighted to work with you to bring your unique vision to life. Whether you’re dreaming of a classic chocolate drip cake adorned with fresh raspberries, or a vibrant, rainbow-hued creation that’s sure to be the talk of the town, we’ve got you covered.
Simply swing by our shop or give us a call, and we’ll work with you to customize the perfect drip cake for any occasion – be it a birthday, wedding, or just a good old-fashioned celebration of your own sweet tooth. And don’t worry, we’ll walk you through every step of the process, from choosing the perfect flavors to nailing that oh-so-satisfying drip effect.
So what are you waiting for? Get ready to unleash your inner pastry artist and let’s create something truly remarkable together. After all, life’s too short to settle for boring, run-of-the-mill cakes. It’s time to embrace the drip and let your culinary creativity shine!


