Ah, the marbled cake – a true work of art, a symphony of flavors, and a feast for the eyes! If you’re anything like me, you’ve probably seen those gorgeous, swirling patterns on Instagram and thought, “How in the world do they do that?” Well, my friend, the secret is out. I’m here to let you in on the delicious details of how to create your very own stunning marbled cakes at home.
The Cake Batter: The Foundation for Marble Magnificence
Let’s start with the basics, shall we? The foundation of any great marbled cake is, well, the cake itself. Now, I know what you’re thinking – “But I can just use a boxed cake mix, right?” Gasp! Heavens, no! If you want to create a truly magnificent marbled cake, you’ve got to put in a little more elbow grease. Trust me, it’ll be worth it.
The key to a perfect marbled cake batter is the right balance of wet and dry ingredients. You’ll want to start with a tried-and-true vanilla or chocolate cake recipe, but with a few small tweaks. The addition of a few extra egg yolks and a touch of oil or melted butter will help create a rich, velvety texture that’s essential for achieving those swirling patterns.
Now, the fun part – the color! This is where you get to unleash your inner artist. You can choose to marble your cake with just two colors, like classic chocolate and vanilla, or you can get creative and experiment with a rainbow of hues. The possibilities are endless, my friends. Just remember to keep the batter consistency similar across all the colors, and you’ll be well on your way to cake-baking glory.
The Marbling Technique: Where the Magic Happens
Ah, the marbling technique – the secret sauce that transforms a simple cake into a work of art. It may seem daunting at first, but trust me, once you get the hang of it, you’ll be a marbling master in no time.
The key to successful marbling is all about the layering and swirling of the different-colored batters. Start by pouring a layer of one color into your prepared baking pan, then top it with a layer of the contrasting color. Resist the temptation to swirl it just yet! Instead, use a knife or a skewer to create a zigzag pattern, gently dragging it through the layers.
Next, pour another layer of the first color, followed by the second, and repeat the zigzag process. Keep going until you’ve used up all your batter, being careful not to overmix. The goal is to create a beautiful, organic-looking pattern, not a muddy mess.
And here’s a pro tip: if you really want to take your marbling game to the next level, try adding a few drops of food coloring or gel to the batter before you start layering. This will give you even more vibrant, eye-catching results.
The Baking: Patience, Grasshopper
Alright, now that you’ve got your marbled masterpiece all ready to go, it’s time to bake. This is where the true test of patience comes in, my friends. You see, the key to a perfectly baked marbled cake is slow and steady.
Preheat your oven to a moderate temperature, around 350°F (175°C), and then slide your cake pan in. Resist the urge to open the oven door every five minutes – that’s a surefire way to end up with a sunken, lopsided cake. Instead, let that baby bake for at least 30-40 minutes, depending on the size of your pan.
Once the cake is done, you’ll know by the delightful aroma wafting through your kitchen and the golden-brown top. But don’t take it out just yet! Let it cool in the pan for a good 10-15 minutes before inverting it onto a wire rack. This will help the cake retain its beautiful marbled structure and prevent it from crumbling.
And here’s a little secret: if you want to take your marbled cake to the next level, try brushing the top with a simple syrup or a flavored glaze once it’s cooled. This will not only add a gorgeous sheen but also infuse it with even more deliciousness.
Decorating and Serving: The Grand Finale
Ah, the final step – the part where you get to show off your marbled masterpiece to the world. But before you dive in, let’s talk decoration.
Now, I know what you’re thinking – “But the marbling is already so beautiful, do I really need to do anything else?” Well, my friend, the answer is a resounding yes! While the marbling is the star of the show, a little bit of extra flair can really take your cake to the next level.
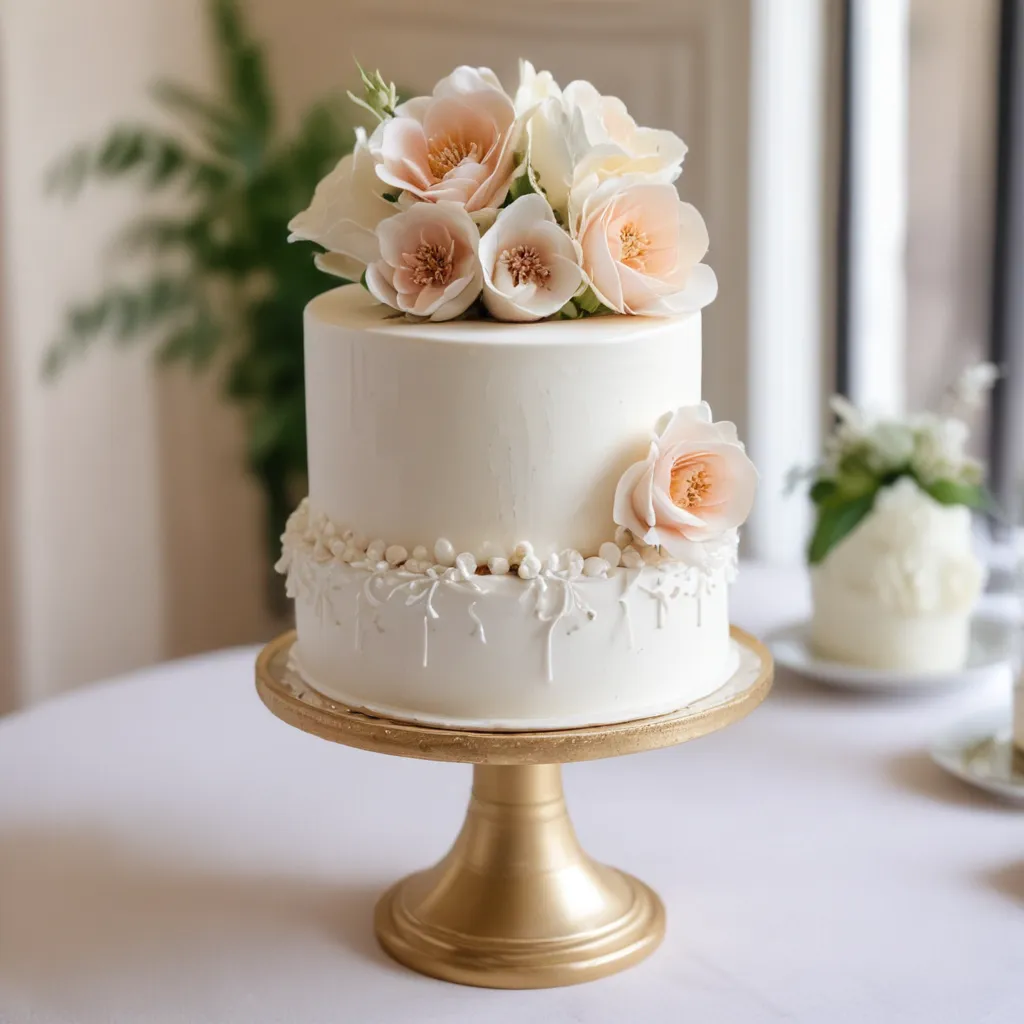
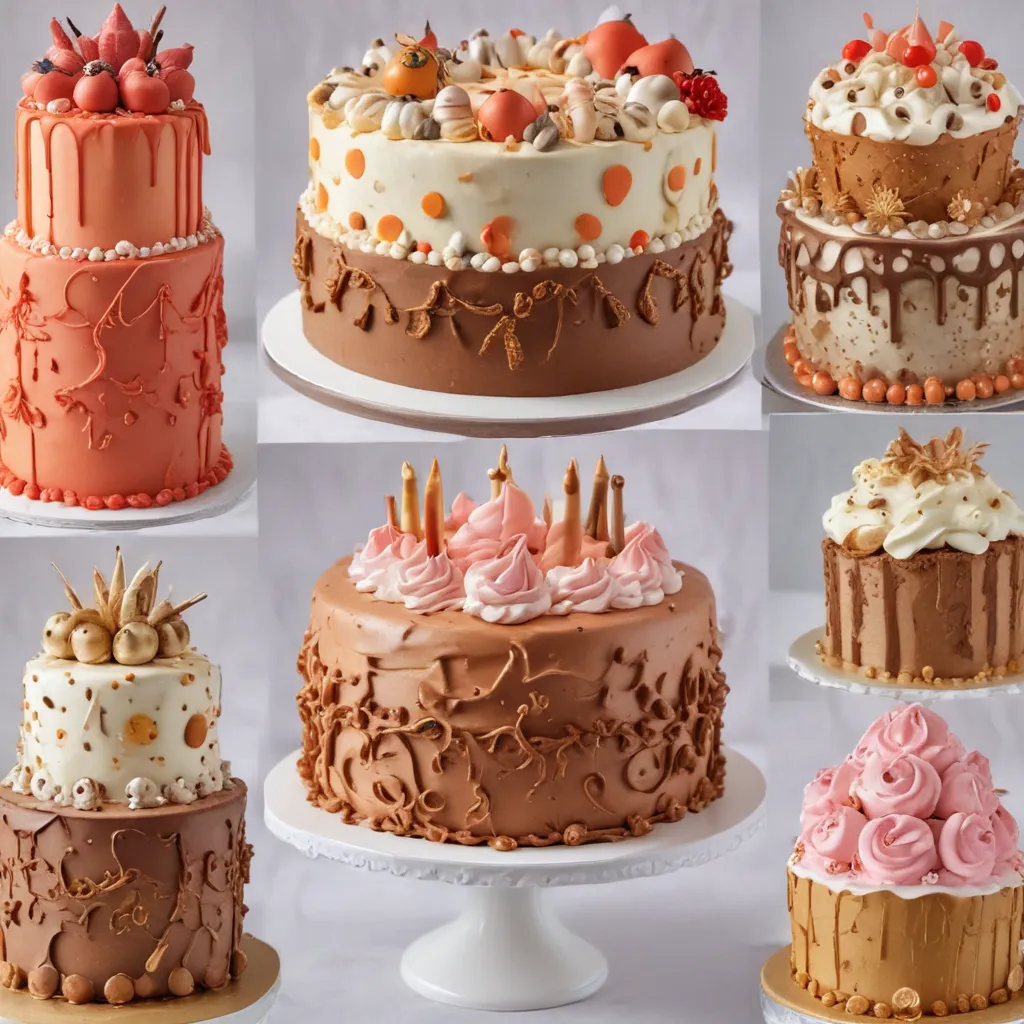
One of my favorite ways to dress up a marbled cake is with a simple buttercream or cream cheese frosting. The contrast of the smooth, creamy frosting against the swirling patterns is simply divine. And if you’re feeling extra fancy, try piping on some decorative rosettes or swirls around the edges.
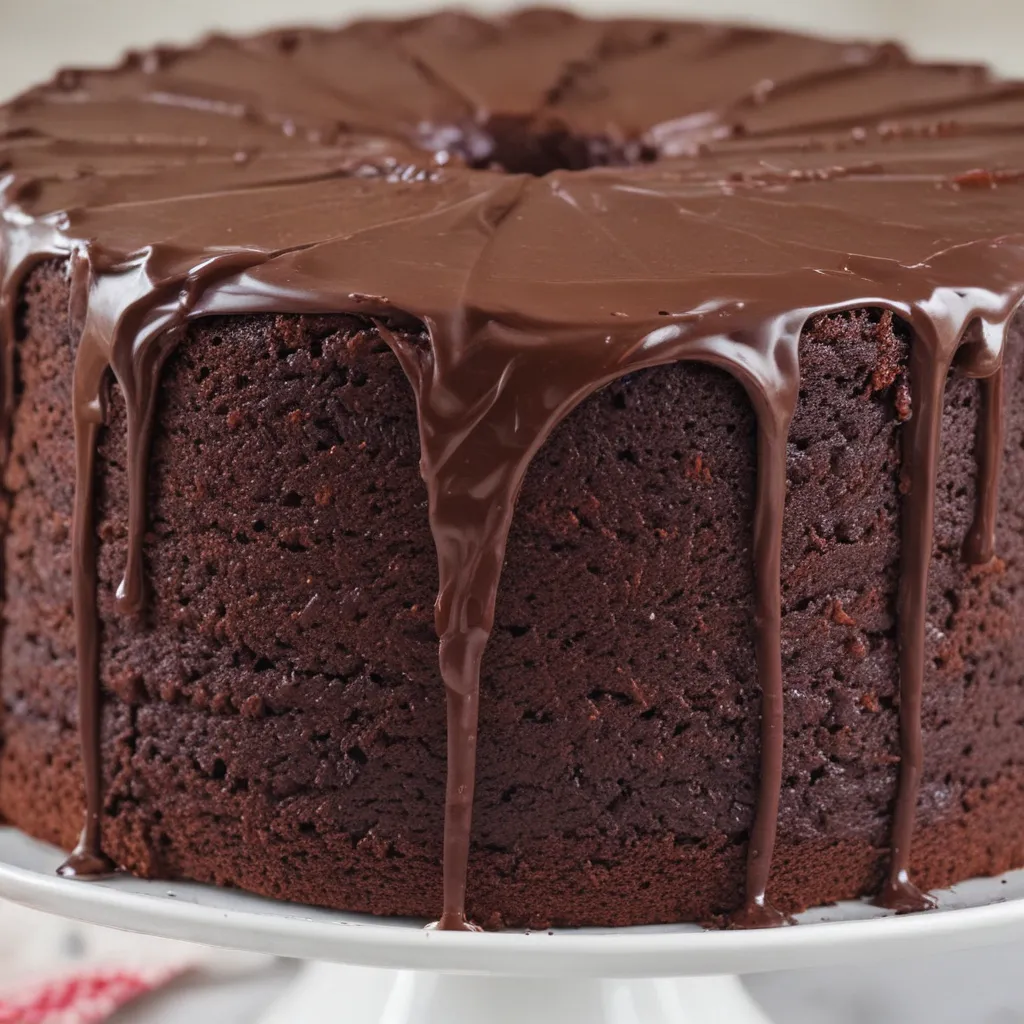
But don’t stop there! Get creative with your toppings, too. A sprinkle of toasted coconut, a drizzle of chocolate ganache, or a scattering of fresh berries can all take your marbled cake from “Wow!” to “Oh my goodness, I need to try that right now!”
And when it comes time to serve your masterpiece, don’t be afraid to let your inner showman shine. Slice into that cake with a dramatic flourish, and watch the jaws of your guests drop as they take in the mesmerizing patterns. Trust me, they’ll be begging for seconds (and thirds, and fourths…).
The Wrap-Up: Marbling Mastery Within Reach
So, there you have it, my fellow cake enthusiasts – the secrets to creating stunning marbled cakes at home. From the perfect batter to the mesmerizing marbling technique, you now have all the tools you need to become a true marbling maestro.
But don’t just take my word for it. Why not head over to Jax Cake Shop and see what kind of marbled magic they’ve been whipping up? Who knows, you might just find the inspiration you need to take your own cake-baking skills to new, dizzying heights.
Happy marbling, my friends! May your cakes be as beautiful as they are delicious.


