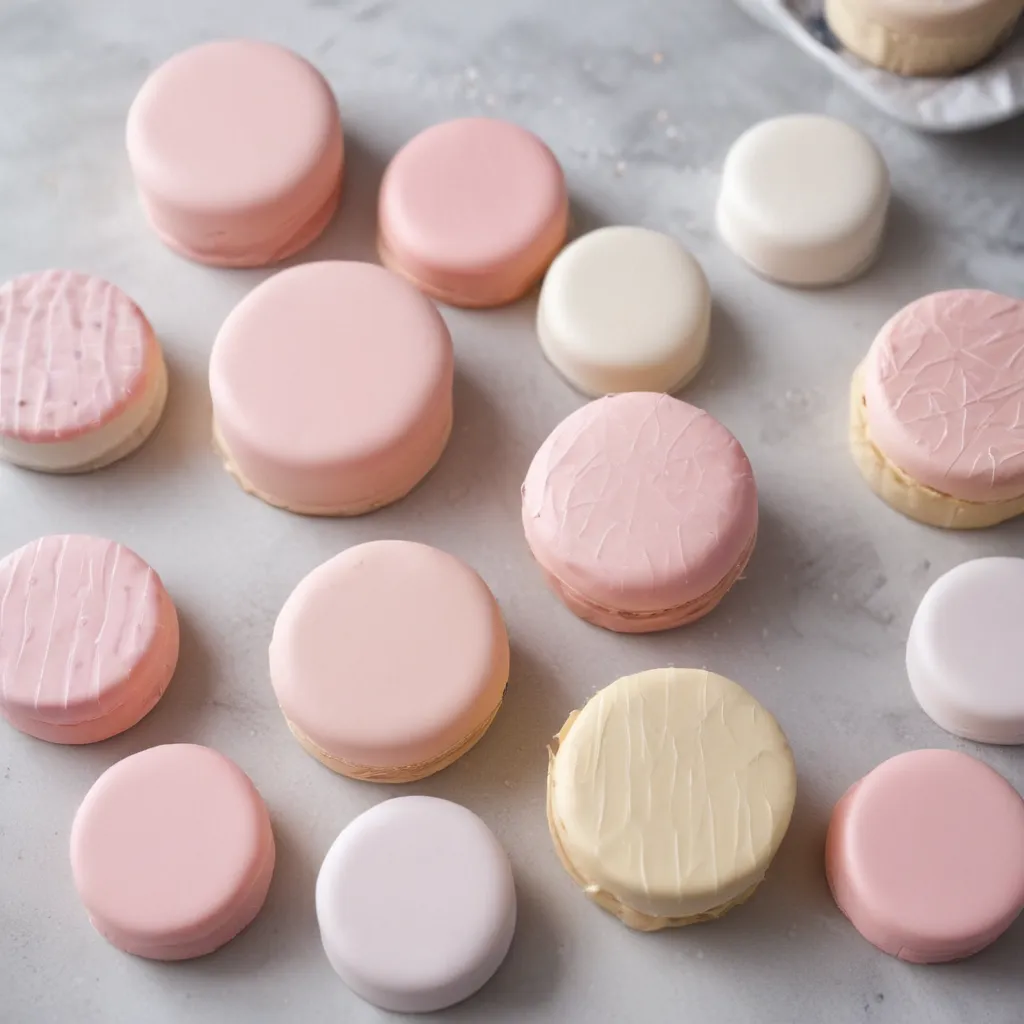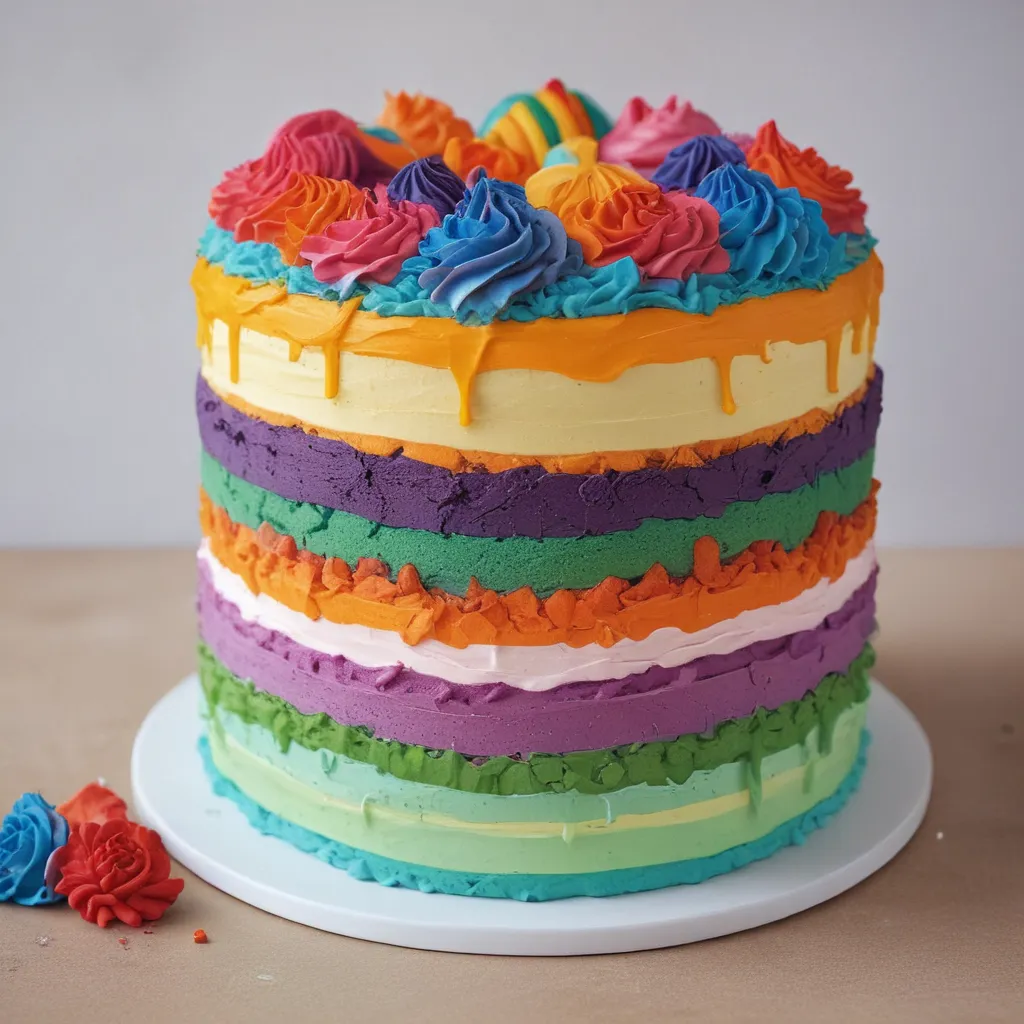
Ah, fondant – that silky smooth, melt-in-your-mouth cake topping that can make even the most humble dessert look like it belongs in a high-end patisserie. If you’re anything like me, you’ve probably admired those perfectly sculpted, fondant-covered cakes on social media, wondering how on earth the bakers manage to achieve such a flawless, professional-looking result. Well, wonder no more, my friends! Today, I’m going to let you in on the secrets of making your very own homemade fondant that will have your cakes looking like they came straight out of a magazine.
The Fondant Mystique
Now, I know what you’re thinking – “Fondant? Isn’t that the stuff that tastes like sweet, edible Play-Doh?” And you know what? You’re not entirely wrong. Traditional fondant can definitely have a bit of a reputation for being overly sweet and sometimes a little on the rubbery side. But hear me out – with the right recipe and a little bit of technique, you can create a fondant that is not only visually stunning, but also actually delicious.
You see, the key to making fondant that’s both beautiful and palatable is all in the ingredients and the way you handle it. Jax Cake Shop has been perfecting their fondant recipe for years, and they’re sharing all their secrets with you today. So, grab your aprons and get ready to elevate your cake-decorating game to new heights!
Mastering the Fondant Basics
Before we dive into the nitty-gritty of fondant-making, let’s start with the basics. What exactly is fondant, and what sets it apart from other cake toppings? Well, fondant is a type of sugar-based paste that can be molded and shaped into all kinds of decorative elements, from delicate flowers to intricate designs. It’s often used to cover cakes, creating a smooth, flawless finish that can then be embellished with additional decorations.
One of the key characteristics of fondant is its velvety, pliable texture. Unlike buttercream or ganache, which can become stiff and hard to work with, fondant remains soft and malleable, making it the perfect medium for creating detailed, three-dimensional designs. And the best part? With a little practice, you can learn to make it right at home, without having to rely on store-bought fondant that may not meet your standards.
Ingredients for Homemade Fondant
Now, let’s talk about the ingredients you’ll need to make your own fondant. The basic formula consists of just a few simple components:
- Powdered sugar
- Corn syrup
- Water
- Glycerin
- Flavoring (optional)
The powdered sugar provides the bulk of the fondant’s structure, while the corn syrup and water help to bind everything together. Glycerin is a key ingredient that gives fondant its signature smooth and pliable texture. And of course, you can always add a touch of vanilla, almond, or any other flavoring to suit your personal taste preferences.
One thing to keep in mind is that the ratio of these ingredients can vary depending on the recipe you’re using. Some fondant recipes may call for a higher proportion of corn syrup or a different type of sweetener altogether. The key is to experiment and find the combination that works best for you and your baking needs.
The Fondant-Making Process
Alright, now that we’ve covered the basics, let’s dive into the step-by-step process of making your own fondant at home. Trust me, it’s a lot easier than you might think!
Step 1: Prepare Your Ingredients
The first step is to gather all of your ingredients and make sure they’re at the right temperature. Ideally, you’ll want your corn syrup and water to be slightly warm, as this will help them blend together more seamlessly. As for the powdered sugar, it’s best to sift it first to ensure a smooth, lump-free fondant.
Step 2: Mix and Knead
Next, it’s time to start mixing. In a large bowl, combine the corn syrup, water, and glycerin, stirring until they’re well incorporated. Slowly start adding the powdered sugar, a little at a time, and knead the mixture with your hands until it starts to come together into a smooth, pliable dough.
The kneading process is crucial for developing the fondant’s texture. It’s important to really work the dough with your hands, stretching and folding it over itself repeatedly, until it becomes silky smooth and malleable.
Step 3: Condition and Rest
Once you’ve achieved the desired consistency, it’s time to let your fondant rest and “condition” for a bit. Wrap the dough tightly in plastic wrap or place it in an airtight container, and let it sit at room temperature for at least 6-8 hours, or even overnight. This resting period allows the fondant to fully hydrate and develop its signature texture.
Step 4: Knead and Condition Again
After the initial resting period, you’ll want to knead the fondant again, working out any remaining lumps or air pockets. This second round of kneading will help to further refine the texture and ensure a perfectly smooth, lump-free fondant.
Once you’re satisfied with the consistency, you can wrap the fondant back up and let it rest for an additional 6-8 hours (or overnight) before using it on your cakes.
Troubleshooting Common Fondant Issues
Now, I know what you’re thinking – “This all sounds great, but what if something goes wrong?” Fear not, my friends, I’ve got you covered. Here are some common fondant issues and how to troubleshoot them:
Dry, Crumbly Fondant
If your fondant turns out dry and crumbly, it’s likely that you’ve added too much powdered sugar. To fix this, try kneading in a small amount of water or corn syrup, a little at a time, until the fondant regains its smooth, pliable texture.
Sticky, Wet Fondant
On the flip side, if your fondant is too sticky and wet, you’ve probably added too much liquid. In this case, simply knead in more powdered sugar, a little at a time, until you achieve the desired consistency.
Grainy Texture
If your fondant has a grainy or gritty texture, it could be due to the water temperature being too hot or the fondant not being kneaded enough. Try reheating the water and re-kneading the dough, and see if that helps smooth out the texture.
Brittleness
If your fondant becomes brittle or stiff, it’s likely due to over-kneading or letting it dry out too much. To fix this, try adding a small amount of glycerin or corn syrup and kneading it in thoroughly.
Remember, the key to perfect fondant is patience and practice. Don’t get discouraged if your first few batches don’t turn out exactly as you’d hoped – with a little trial and error, you’ll be whipping up professional-quality fondant in no time!
Decorating with Homemade Fondant
Alright, now that you’ve mastered the art of making your own fondant, it’s time to put those skills to the test. One of the best things about working with fondant is the endless possibilities for cake decorations and designs.
Whether you’re looking to create elegant, minimalist cakes or whimsical, over-the-top designs, fondant is the perfect medium to bring your vision to life. From intricate floral arrangements to abstract geometric patterns, the only limit is your imagination.
“But what if I’m not an artistic genius?” I hear you ask. No worries, my friends – even if you consider yourself more of a “buttercream person,” the beauty of fondant is that it’s incredibly forgiving. With a little bit of practice and a few simple techniques, you can create stunning, professional-looking cakes that will have your friends and family in awe.
One of my favorite fondant decorating techniques is using cutters or molds to create detailed, three-dimensional elements. Imagine delicate lace patterns, lifelike sugar flowers, or even playful, whimsical figurines – the possibilities are truly endless. And the best part? Once you’ve mastered the fondant, you can let your creativity run wild, exploring new techniques and designs with every cake you create.
Caring for Homemade Fondant
Of course, no discussion of homemade fondant would be complete without talking about proper storage and care. After all, that silky smooth, pliable texture you worked so hard to achieve can quickly turn into a dry, crumbly mess if you’re not careful.
The key to keeping your fondant in tip-top shape is to store it properly. Once your fondant has finished its final conditioning period, you’ll want to wrap it tightly in plastic wrap or place it in an airtight container. Be sure to keep it at room temperature, as refrigerating or freezing fondant can cause it to become dry and brittle.
“But what if I need to use it later?” No problem! Fondant can actually be stored for quite a long time, as long as it’s properly protected from air and moisture. When you’re ready to use it, simply unwrap the fondant, knead it briefly to soften it up, and you’re good to go.
One important note: if you do notice your fondant starting to dry out or become too stiff, don’t panic! Just knead in a small amount of glycerin or corn syrup, and it should quickly regain its signature smooth and supple texture.
Putting it All Together: Decorating with Homemade Fondant
Alright, now that we’ve covered all the ins and outs of making and caring for your very own homemade fondant, it’s time to put those skills to the test. Imagine the look on your friends’ and family’s faces when they see the stunning, professionally-decorated cakes you’ve created using your newfound fondant expertise.
Whether you’re whipping up a simple, elegant wedding cake or a whimsical, over-the-top birthday confection, the key is to have fun and let your creativity shine. Don’t be afraid to experiment with different techniques, colors, and designs – the more you practice, the more confident and skilled you’ll become.
And who knows, maybe one day you’ll even be sharing your own fondant-making secrets with aspiring bakers, just like I’m doing with you today. The world of cake decorating is truly endless, and with homemade fondant as your canvas, the possibilities are truly limitless.
So, what are you waiting for? Grab your aprons, dust off your rolling pins, and get ready to create some truly show-stopping cakes that will have everyone asking, “How on earth did you do that?” Happy baking, my friends!


