Ah, the elusive marshmallow fondant – a confectionary holy grail that has vexed bakers for centuries. Or at least, that’s how it often feels when you’re staring down a recipe and wondering if you’ll end up with something that resembles fondant or more closely resembles a sticky, gooey mess. But fear not, my fellow cake enthusiasts! Today, I’m here to demystify the process and show you how to whip up a batch of light, fluffy marshmallow fondant right in your own kitchen.
The Marshmallow Conundrum
Now, I know what you’re thinking – “Marshmallows and fondant? Isn’t that just going to be a sugar overload?” And you know, you’re not wrong. Marshmallow fondant is certainly not for the faint of heart when it comes to sweetness. But hear me out – the magic of this fondant lies in the way the marshmallows interact with the other ingredients to create a silky-smooth texture that’s actually a bit less cloying than traditional fondant.
You see, the marshmallows provide a softness and pliability that regular fondant just can’t match. And when you combine them with just the right amount of powdered sugar and a touch of fat, you end up with a fondant that’s light, airy, and oh-so-easy to work with. It’s the perfect icing for those of us who love the look of fondant but find the taste a bit overwhelming.
Ingredients and Equipment
Alright, let’s dive into the nitty-gritty of what you’ll need to make this magical fondant. The ingredient list is thankfully quite simple:
- Marshmallows (the standard, fluffy kind – not the miniature ones)
- Powdered sugar
- Shortening or vegetable oil
And as for equipment, you’ll need:
- A microwave-safe bowl
- A sturdy spatula or wooden spoon
- A clean, lightly-greased surface for kneading
- An airtight container for storage
That’s it! No fancy gadgets or complicated techniques required. Just a few basic kitchen staples and you’re ready to get started.
The Marshmallow Melting Madness
The first step in the fondant-making process is to melt down those fluffy little marshmallows. Now, you could certainly do this in a saucepan on the stovetop, but I find the microwave to be the easiest and most foolproof method.
Simply toss your marshmallows into a microwave-safe bowl and nuke them in 30-second intervals, stirring between each round, until they’re completely melted and smooth. Be careful not to overheat them, as that can cause the marshmallows to become dry and grainy.
Once your marshmallows are a gooey, molten mess, it’s time to start adding in the powdered sugar. Begin by sifting in about 1/4 of the total amount you’ll need, and stir it in vigorously until it’s fully incorporated. Then, add in another 1/4 and repeat the process, continuing until you’ve used up all the powdered sugar.
The Kneading Conundrum
Now comes the part that often trips people up – the kneading. This is where you’ll need to put in a bit of elbow grease, but trust me, it’s worth it. The kneading step is crucial for developing the fondant’s signature smooth, pliable texture.
Start by lightly greasing a clean work surface with a bit of shortening or vegetable oil. Then, transfer your powdered sugar-marshmallow mixture onto the surface and begin kneading it with your hands. At first, it’s going to feel like a sticky, gloppy mess, but just keep at it, adding a dusting of powdered sugar here and there as needed to prevent sticking.
As you knead, you’ll start to notice the fondant transform before your eyes. It’ll gradually become smoother, more elastic, and less sticky. Keep kneading for at least 5-10 minutes, until the fondant is silky-smooth and easy to handle.
The Storage Saga
Once your fondant is perfectly kneaded, it’s time to store it for future use. Firstly, be sure to let it cool completely before handling it further. Then, you have a few options:
Wrap it tightly in plastic wrap or place it in an airtight container and store it at room temperature. This will keep it fresh for up to 2 weeks.
If you want to store it for longer, you can refrigerate the fondant. Just be sure to let it come back to room temperature before using, as the cold can make it stiffer and more difficult to work with.
For maximum longevity, you can even freeze the fondant! Simply wrap it tightly and store it in the freezer for up to 3 months. When you’re ready to use it, just thaw it in the fridge overnight before bringing it to room temperature.
The Decorating Dance
Now that you’ve got your homemade marshmallow fondant all ready to go, the fun really begins! This versatile icing is perfect for covering cakes, creating detailed decorations, or even just using as a dipping sauce for fresh fruit.
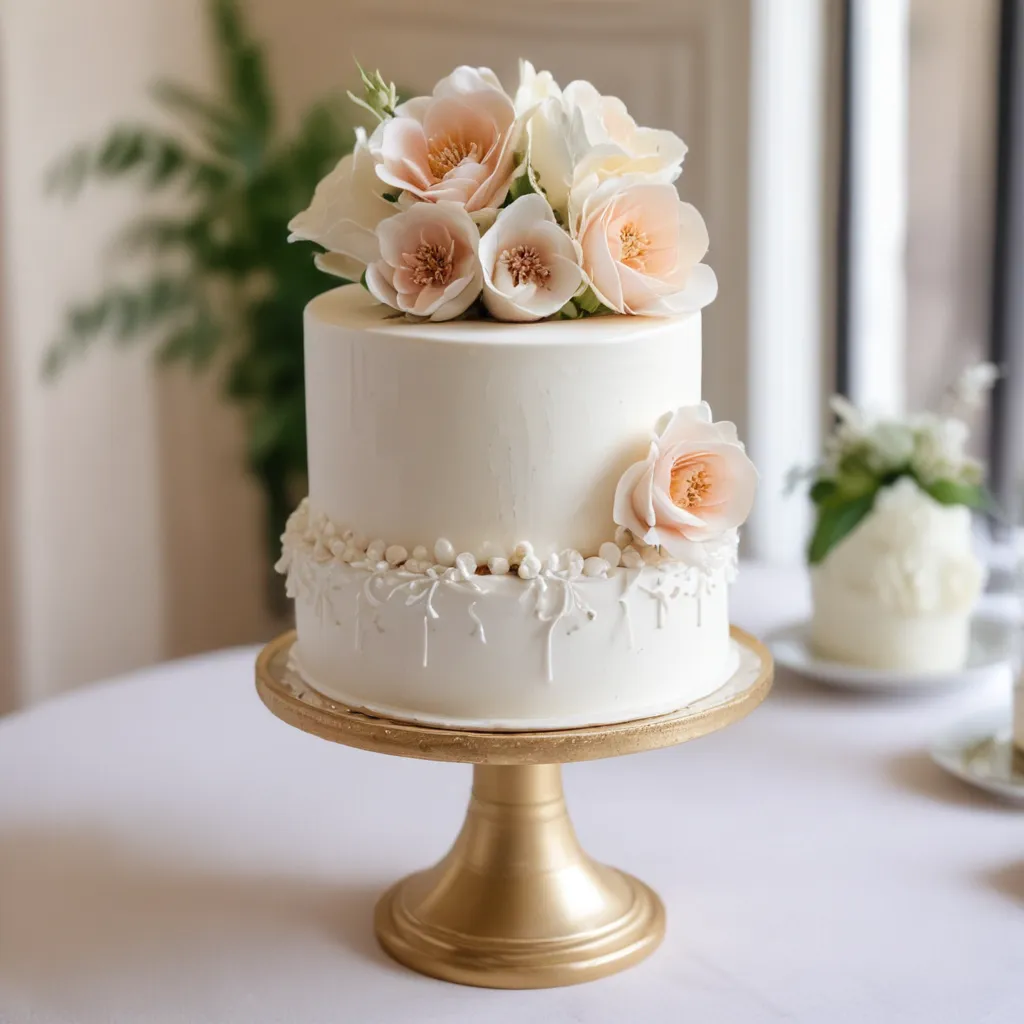
One of my favorite ways to use marshmallow fondant is to tint it with a few drops of food coloring and then use it to create intricate, three-dimensional flowers or other whimsical designs. The fondant’s pliability allows you to shape and mold it into all sorts of creative forms.
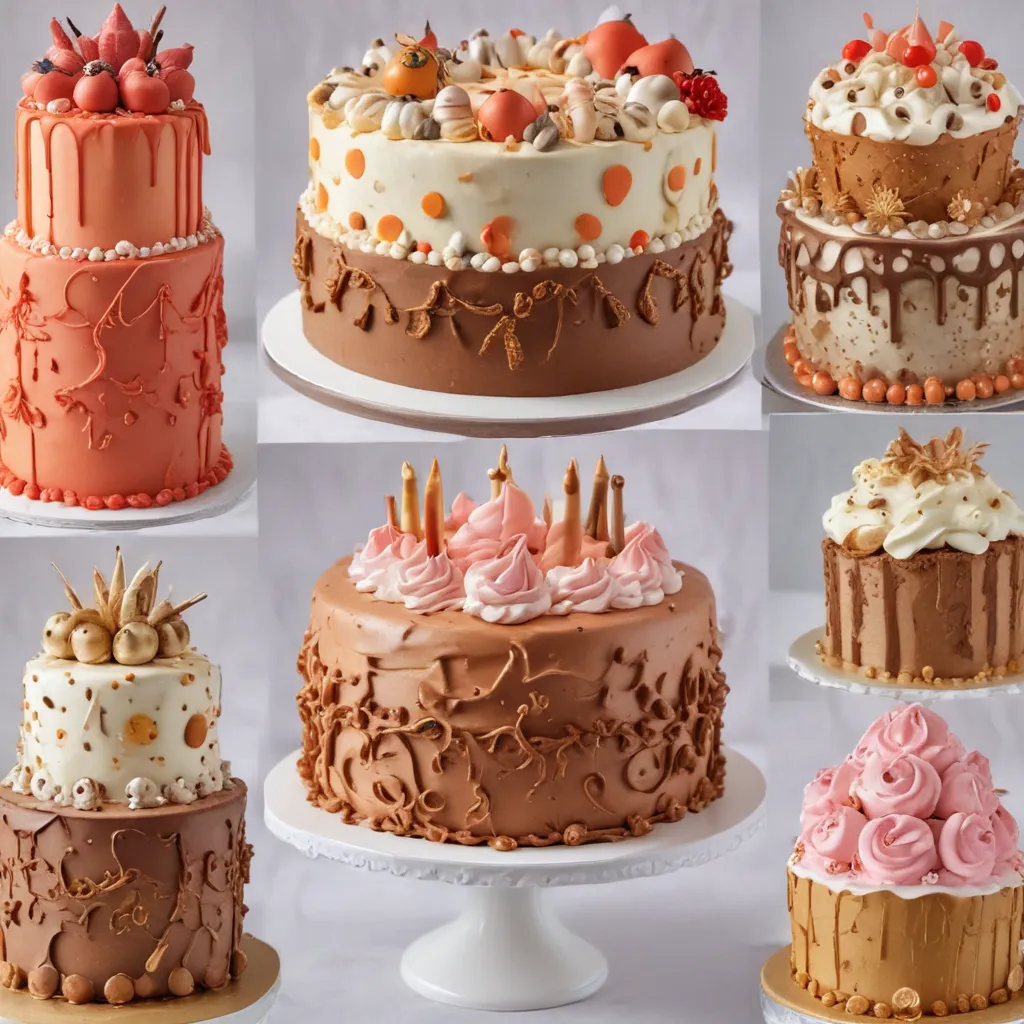
And don’t be afraid to get a little crazy with your decorating! Marshmallow fondant is the perfect canvas for experimentation. Maybe you’ll try your hand at painting patterns on the surface or even incorporating edible glitter or metallic luster dust. The possibilities are truly endless when you’ve got this magical icing at your fingertips.
The Flavor Finale
Of course, no discussion of marshmallow fondant would be complete without addressing the issue of flavor. While the classic plain version is always a hit, you can easily jazz it up by infusing it with all sorts of delicious extracts and essences.
For instance, a touch of vanilla or almond extract can lend a lovely, aromatic note to your fondant. Or, if you’re feeling adventurous, you could try adding a bit of citrus zest or even a splash of liqueur for a grown-up twist.
And let’s not forget about the endless array of color options, either. With a few drops of food coloring, you can transform your fondant into any shade imaginable, from vibrant jewel tones to soft, pastel hues.
The key is to have fun and let your creativity shine through. After all, the true joy of homemade marshmallow fondant lies in the freedom to experiment and explore. So go ahead, get a little messy, and see what culinary masterpieces you can create!
Conclusion: The Marshmallow Fondant Triumph
And there you have it, my fellow cake enthusiasts – the secrets to crafting light, fluffy, and oh-so-versatile marshmallow fondant right in your own kitchen. Whether you’re a seasoned pro or a baking novice, this recipe is sure to become a staple in your repertoire.
So what are you waiting for? Grab those marshmallows, fire up that microwave, and get ready to embark on a delicious, sugary adventure. Your cakes, cupcakes, and cookies will never be the same!
And if you’re ever in the mood for some truly out-of-this-world custom cakes, be sure to check out Jax Cake Shop. Their team of talented bakers and decorators knows a thing or two about the art of marshmallow fondant and would be more than happy to bring your cake dreams to life.


