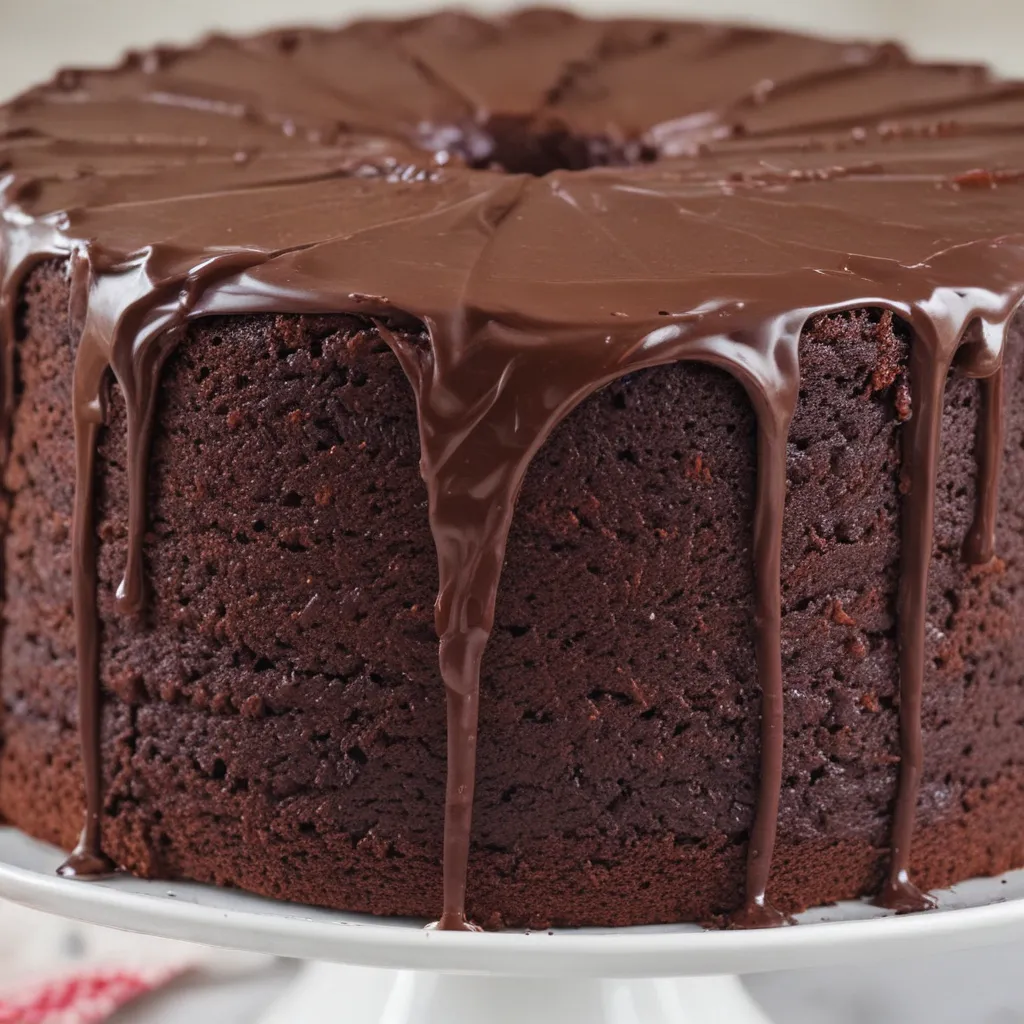
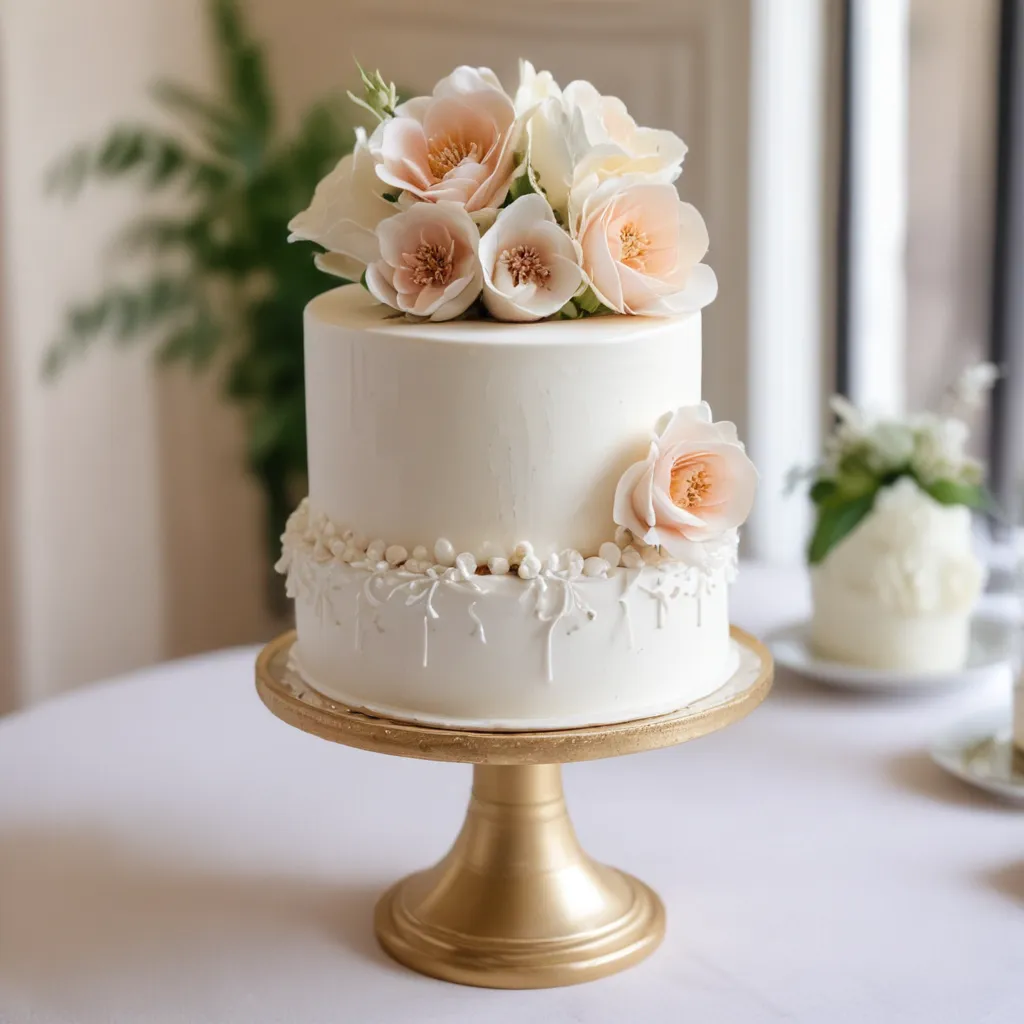
Ah, the eternal quest for the perfect cake – a smooth, silky surface that’s a delight to the eye and a joy to the taste buds. As the proud owner of Jax Cake Shop in San Jose, I’ve seen my fair share of cakes that could rival the surface of the moon. But fear not, my fellow bakers! Today, I’m here to share my secrets for achieving those elusive smooth, lump-free cakes that will have your customers swooning.
Mastering the Art of Mixing
Let’s start at the very beginning, shall we? The key to a smooth cake lies in the mixing process. You see, if we don’t properly incorporate all the ingredients, we’re setting ourselves up for a bumpy ride. It’s like trying to drive a car with a flat tire – you’re just not going to get a smooth ride, no matter how hard you try.
Now, I know what you’re thinking – “But I followed the recipe to a T! How could I still end up with lumps?” Well, my friend, the secret lies in the technique. You see, when it comes to mixing, it’s not just about throwing all the ingredients together and hoping for the best. Oh no, we need to be strategic, methodical, and downright obsessive about it.
First and foremost, make sure your ingredients are at the right temperature. That’s right, temperature is the foundation upon which a smooth cake is built. If your butter is too cold, it’ll be harder to cream it properly, leading to those pesky lumps. And if your eggs are straight out of the fridge, well, good luck getting them to incorporate seamlessly into the batter.
Next, take it slow and steady. Rushing through the mixing process is a surefire way to end up with a lumpy mess. Gently fold in your dry ingredients, taking care to scrape the sides of the bowl and ensure everything is evenly distributed. And when it comes to that final step of incorporating the wet ingredients, resist the urge to crank the mixer up to high. Slow and steady wins the race, my friends.
Conquering the Dreaded Lumps
Alright, so you’ve followed all the mixing tips to a T, but lo and behold, those stubborn lumps are still staring you in the face. Don’t worry, we’ve got a few tricks up our sleeves to vanquish those pesky buggers.
First and foremost, let’s talk about sifting. Now, I know sifting can seem like a tedious extra step, but trust me, it’s worth its weight in gold when it comes to achieving a smooth cake. By sifting your dry ingredients, you’re breaking up any clumps before they even have a chance to wreak havoc on your batter.
But what if the lumps have already made their unwelcome appearance? Fear not, for we have a solution! Grab a fine-mesh sieve and give that batter a good old-fashioned straining. It might take a little elbow grease, but trust me, it’s well worth the effort. Just keep pushing and pressing until those stubborn lumps are nothing but a distant memory.
And if that still doesn’t do the trick, you can always turn to the power of the blender. Yep, that’s right – a quick spin in the blender can work wonders on a lump-filled batter. Just be sure to blend it gently, as we don’t want to overwork the gluten and end up with a tough, dense cake.
Perfecting the Smooth Finish
Alright, now that we’ve conquered the mixing and the lumps, it’s time to tackle the grand finale – that silky smooth finish. And let me tell you, this is where the real magic happens.
First and foremost, let’s talk about leveling. No, I’m not talking about your carpentry skills, but rather the art of creating a perfectly flat cake surface. This is where a good ol’ serrated knife comes in handy. Gently trim off any domed tops or uneven edges, ensuring a perfectly level canvas for your frosting.
But the real secret to a smooth finish lies in the frosting itself. Now, I know what you’re thinking – “But I already have the perfect buttercream recipe!” Well, my friend, it’s time to take it to the next level. The key is all in the texture. You see, a buttercream that’s too thick or too stiff will never achieve that silky, mirror-like finish you’re after.
So, how do we get that perfect frosting consistency? It’s all about the temperature. Keep your buttercream at the right temperature – not too warm, not too cold – and you’ll be able to spread it with ease, creating a surface so smooth, it’ll make a mirror jealous.
And remember, patience is a virtue when it comes to frosting. Take your time, work in thin, even layers, and don’t be afraid to smooth it out with a good old-fashioned bench scraper or offset spatula. Trust me, the extra effort will be worth it when you see the final result.
Putting it All Together
Alright, now that we’ve covered all the nitty-gritty details, let’s put it all together and create some truly showstopping cakes. Because let’s be honest, when it comes to cakes, it’s not just about the taste – it’s about the presentation.
Imagine this: you’ve got a gorgeous three-tier cake, each layer as smooth as a baby’s bottom. You’ve carefully leveled and frosted each one, creating a seamless, flawless finish. And then, you take it one step further, adding a delicate drizzle of ganache or a dusting of edible glitter. It’s a work of art, my friends, and your customers are going to be absolutely smitten.
But don’t just take my word for it. Let me share a little story with you. Just the other day, I had a client come in, clutching a tattered old photo of a cake she had seen on Instagram. “Can you make this for my daughter’s birthday?” she asked, eyes pleading. And you know what? I didn’t just make that cake – I made it even better. That smooth, flawless finish was the talk of the party, and the client? Well, let’s just say she’s been singing my praises ever since.
So, my fellow bakers, are you ready to take your cakes to new heights? Are you ready to create desserts that will have your customers swooning and your competitors green with envy? Then let’s get to work! With these tips and tricks, you’ll be on your way to achieving those smooth, lump-free cakes in no time.


