Ah, the art of cake decorating – where buttercream and dreams collide to create edible masterpieces! As the owner of a custom cake shop in San Jose, I’ve had the pleasure of witnessing the transformative power of frosting techniques firsthand. Let me tell you, it’s a wild ride – one minute you’re elbow-deep in a vat of silky-smooth buttercream, the next you’re staring at a cake that looks like it was put through a wind tunnel. But fear not, my fellow cake enthusiasts, for I’m here to share my hard-won wisdom and help you achieve that sought-after, Instagram-worthy frosted finish.
Mastering the Basics: Buttercream Bliss
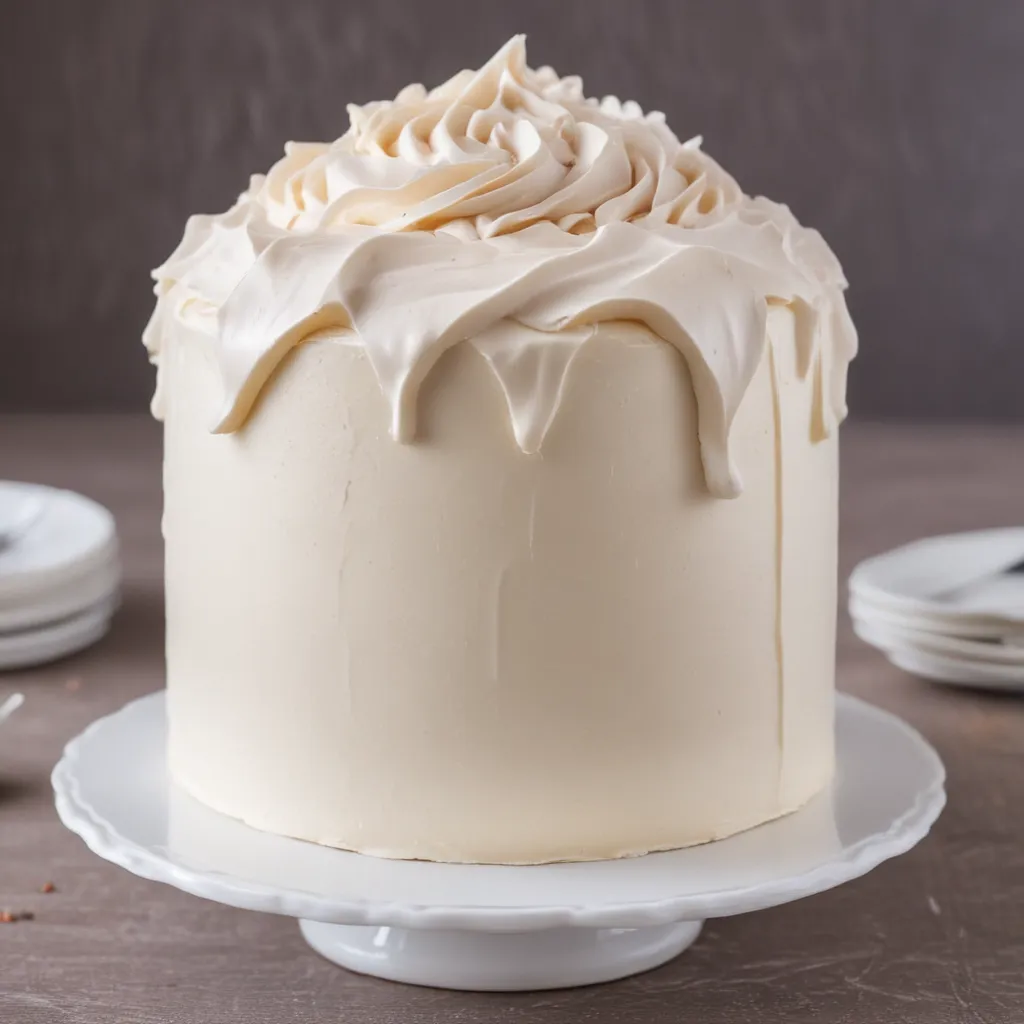
Let’s start with the foundation – the buttercream. This trusty sidekick can make or break your cake’s appearance, so it’s crucial to get it right. I like to think of buttercream as the cake’s equivalent to a flawless foundation in makeup – it’s the canvas upon which your artistic vision will come to life.
The key to achieving a silky-smooth buttercream finish lies in proper mixing and aeration. I always start by whipping the butter until it’s light and fluffy, then gradually incorporating the powdered sugar. The secret is to go slow and steady, pausing every now and then to scrape down the sides of the bowl. This ensures that the mixture is evenly blended and prevents any pesky air pockets from forming.
But wait, there’s more! Once the buttercream is ready, the real magic happens. I like to use a technique called “crumb coating” to create a seamless base for the final layer of frosting. This involves spreading a thin, even coat of buttercream over the entire cake, trapping any crumbs and creating a smooth surface for the final frosting.
Leveling Up: Smooth Operator
Now that we’ve got the buttercream basics down, let’s talk about taking your cakes to the next level of smoothness. This is where the real artistry comes in, and I’ll admit, it can be a bit of a challenge. But fear not, my friends, for I’ve got some tricks up my sleeve.
One of my go-to techniques for achieving a silky-smooth finish is the good old-fashioned “icing spatula” method. I’ll start by spreading a generous amount of buttercream on the cake, then use a metal icing spatula to smooth it out, working in small, gentle strokes. It’s like a dance, really – you’ve got to find the right rhythm and pressure to coax that buttercream into submission.
But wait, there’s more! Sometimes, even the trusty icing spatula just can’t quite get the job done. That’s when I bust out the secret weapon: the “velvety smooth” technique. This involves using a hot, damp paper towel to gently smooth the frosting, working in small, circular motions. The heat and moisture help to melt the buttercream, creating a silky, seamless finish.
The Importance of Chilling
Now, you might be thinking, “But Jax, what about the dreaded cake crumb situation? How do I keep those pesky little cake bits from ruining my masterpiece?” Well, my friends, the answer lies in chilling.
Yep, that’s right – temperature is the key to taming those rogue cake crumbs. I always make sure to chill my cakes thoroughly before frosting, both after the crumb coat and the final layer of buttercream. This helps the frosting set and creates a smooth, flawless surface.
But don’t just take my word for it – let’s dive into the science behind it. When you chill a cake, the buttercream hardens and becomes more stable, making it less likely to pick up those pesky crumbs. Plus, the cold temperature helps the frosting to adhere to the cake more effectively, creating a seamless, smooth finish.
Troubleshooting Techniques
Ah, the joys of cake decorating – where things can go from “Pinterest-perfect” to “what-was-I-thinking” in the blink of an eye. But fear not, my fellow cake enthusiasts, for I’ve got your back. Let’s dive into some common frosting challenges and how to tackle them head-on.
One of the most common issues I encounter is air bubbles in the buttercream. These pesky little pockets of air can ruin the smooth, velvety appearance you’re going for. But fear not, I’ve got a solution! I like to use a technique called “degassing” – essentially, I’ll use a spatula to gently press down on the buttercream, forcing out any air bubbles.
Another challenge that can pop up (pun intended) is a lumpy, uneven surface. This can be caused by a variety of factors, from inconsistent mixing to using cold butter straight from the fridge. To combat this, I like to use a technique called “smoothing.” I’ll start by spreading a thin layer of buttercream over the cake, then use a hot, damp paper towel to gently smooth out any lumps or bumps.
And let’s not forget about the dreaded “buttercream cracking” issue. This can happen when the frosting dries out or the cake is stored in a dry environment. To prevent this, I always make sure to keep my cakes in a cool, humid area, and I’ll often mist the frosting with a bit of water or simple syrup to keep it supple and crack-free.
Real-Life Cake Decorating Challenges (and Solutions!)
Now, you might be thinking, “Jax, this all sounds great, but how does it translate to the real world?” Well, my friends, let me tell you a little story.
Just last month, I had a client come in with a very specific request – a four-tier wedding cake with a flawless, mirror-like finish. Now, if you know anything about cake decorating, you know that this is no easy feat. But did that stop me? Heck no! I was determined to make this cake the smoothest, most Instagram-worthy creation ever.
I started by carefully leveling and torting each tier, ensuring a perfectly flat surface to work with. Then, it was time for the buttercream magic. I whipped up batch after batch of silky-smooth buttercream, using the crumb coating technique to create a seamless base. And let me tell you, the icing spatula dance was in full force as I worked to smooth out each layer.
But the real challenge came when it was time to assemble the tiers. You see, wedding cakes are notoriously tricky, with the weight of the upper tiers putting a lot of stress on the lower layers. I knew I had to be extra careful to maintain that flawless finish.
So, I did what any seasoned cake decorator would do – I chilled those tiers to the bone before stacking them. And let me tell you, the results were nothing short of magical. The frosting was as smooth as glass, and the entire cake looked like it had been carved from a single block of buttercream.
The client was absolutely thrilled, and I even managed to snap a few photos before the happy couple whisked it away to the reception. To this day, it remains one of my proudest cake-decorating achievements.
Conclusion: Embrace the Buttercream Bliss
And there you have it, my fellow cake enthusiasts – the secrets to achieving that coveted smooth, flawless frosting finish. From mastering the buttercream basics to tackling tricky real-life challenges, I’ve shared it all.
But you know what they say – the cake-decorating journey is a never-ending one. There’s always more to learn, more techniques to experiment with, and more buttercream to whip up. So, embrace the buttercream bliss, my friends, and let your creativity shine.
Who knows, maybe one day you’ll be the one wowing your clients with a cake that looks like it was carved from a single block of frosting goodness. And when that day comes, I’ll be cheering you on from the sidelines, spatula in hand, ready to share a few more tricks of the trade.
So, what are you waiting for? Grab your mixing bowls, fire up your oven, and let’s get to work! The world of smooth, Instagram-worthy cakes is waiting.


