Mastering the Art of Buttercream: Your Ticket to Cake Perfection
Ah, buttercream… the sweet, silky, and infinitely versatile frosting that has captured the hearts (and taste buds) of cake enthusiasts everywhere. If you’re anything like me, you’ve probably spent countless hours scrolling through Instagram, drooling over those perfectly frosted cakes that look like they were sculpted by the hands of a master pastry chef.
Well, my friends, the time has come to let you in on a little secret: frosting a cake like a pro is not as daunting as it may seem. In fact, with a little practice and the right techniques, you can create bakery-worthy buttercream masterpieces in the comfort of your own kitchen.
As the proud owner of Jax Cake Shop, I’ve had the privilege of honing my buttercream skills over the years, and I’m here to share all my tried-and-true tips and tricks with you. So, grab your spatula, preheat your oven, and let’s dive into the world of buttercream bliss!
The Fundamentals of Buttercream: A Creamy, Silky Sensation
Before we get into the nitty-gritty of frosting techniques, let’s start with the basics: what exactly is buttercream, and how does one go about mastering its creation?
Buttercream, at its core, is a simple yet delectable mixture of butter, sugar, and sometimes milk or cream. The key to achieving that signature creamy, silky texture lies in the proper ratio of these ingredients, as well as the method of preparation.
When it comes to the butter, I always recommend using high-quality, unsalted butter. This ensures that the flavor of the buttercream is not overpowered by any off-putting saltiness. As for the sugar, I prefer to use a combination of granulated and powdered sugar for the perfect balance of sweetness and structure.
Now, the mixing process is where the magic really happens. I like to start by creaming the butter until it’s light and fluffy, then gradually adding the sugars while continuing to beat the mixture. This step is crucial, as it incorporates air into the buttercream, resulting in that irresistible, airy texture.
But wait, there’s more! Depending on the desired consistency, you can also add a splash of milk or cream to thin out the buttercream. This not only enhances the creaminess but also makes it easier to spread and pipe.
Mastering the Art of Buttercream Frosting Techniques
Now that you’ve got the basic recipe and preparation down, it’s time to talk about the real fun part: frosting your cake like a pro. Whether you’re looking to achieve a smooth, seamless finish or a more intricate, decorative design, there are a few key techniques you’ll want to have in your arsenal.
Achieving the Perfect Crumb Coat
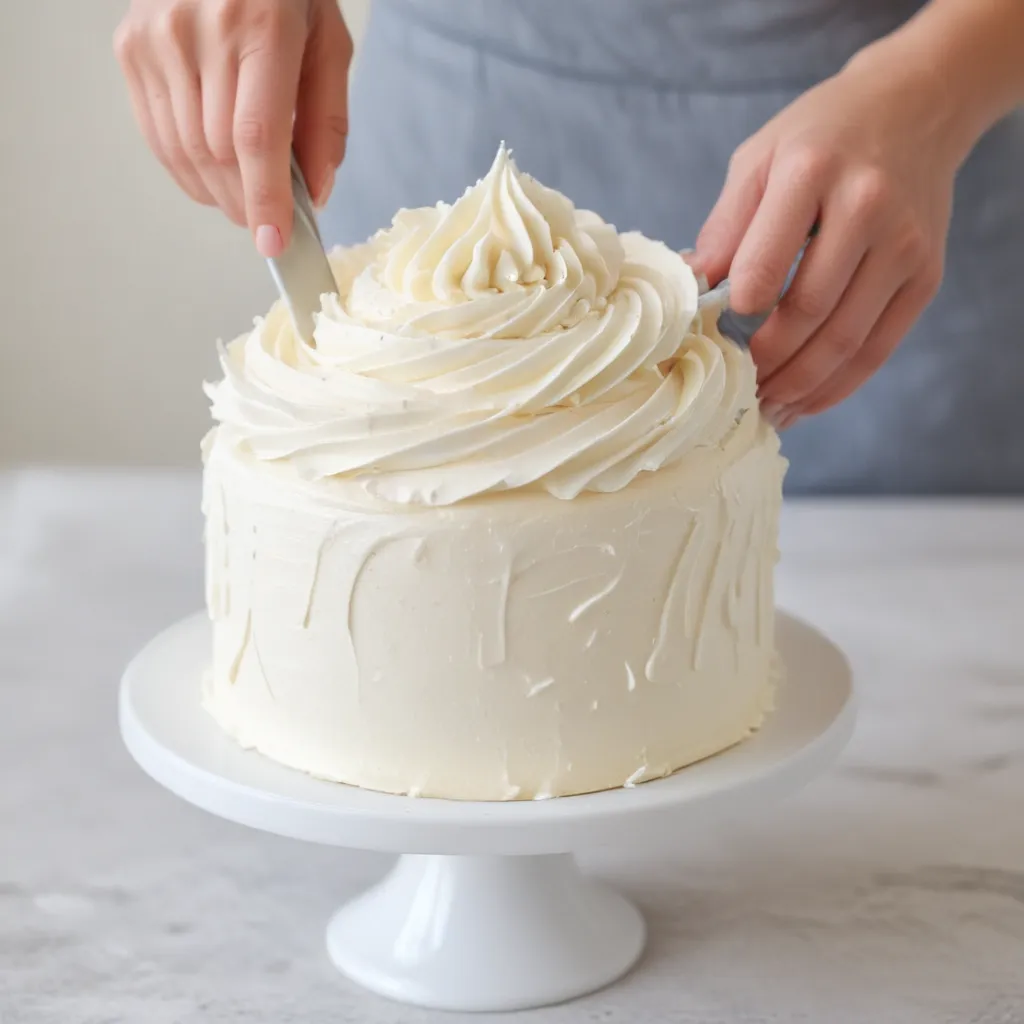
The crumb coat is the foundation of any expertly frosted cake, and it’s essential to getting a smooth, blemish-free finish. To master the crumb coat, start by leveling your cake layers and stacking them evenly. Then, use a small offset spatula or a bench scraper to apply a thin layer of buttercream all over the cake, covering any crumbs or imperfections.
The key to a perfect crumb coat is to work quickly and with a light touch. Don’t worry about getting it perfectly smooth just yet – the goal is to create a base that will help the final layer of frosting glide on seamlessly.
Mastering the Smooth Finish
Once you’ve got your crumb coat down, it’s time to focus on achieving that smooth, professional-looking finish. Start by adding a generous amount of buttercream to the top of the cake, then use your spatula or bench scraper to evenly distribute it around the sides.
As you smooth the frosting, be sure to keep your movements consistent and your tool at a 45-degree angle to the cake. Gently rotate the cake while you work, applying light pressure and removing any excess buttercream as you go.
If you find that your buttercream is starting to get a bit too soft, try popping the cake in the fridge for 15-20 minutes to firm it up before continuing. And remember, patience is key – taking your time and allowing the buttercream to set between each pass will result in a silky-smooth finish.
Piping and Decorating: The Icing on the Cake
Now that you’ve mastered the basics of frosting, it’s time to let your creativity shine. Piping is a fantastic way to add beautiful, intricate designs to your cakes, and the options are truly endless.
Start by selecting your desired piping tip – a classic open star or round tip is a great place to begin. Then, fill your piping bag with buttercream and, using gentle pressure, pipe out your desired design. Whether it’s elegant rosettes, playful swirls, or delicate flowers, the key is to practice, practice, practice.
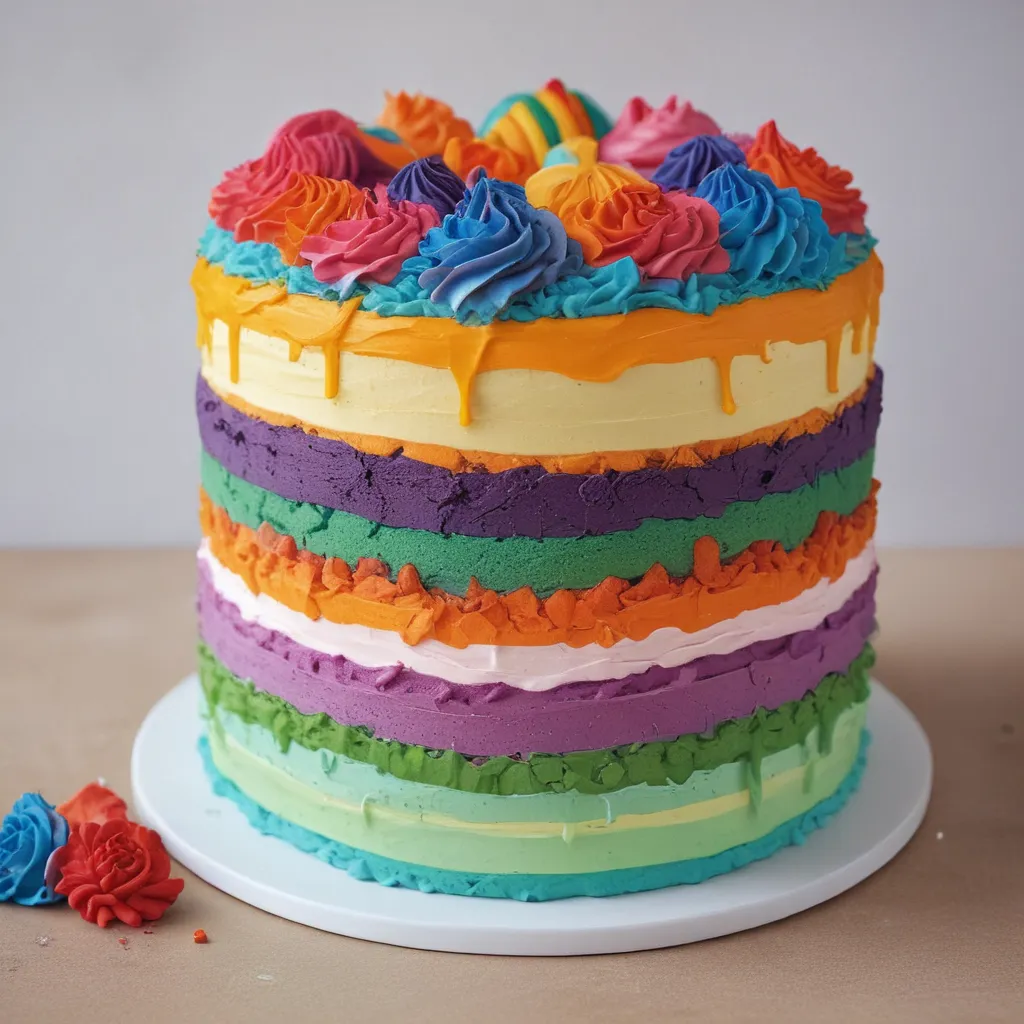
Don’t be afraid to experiment and try new techniques, either. Maybe you want to try your hand at making a gorgeous drip cake, or perhaps you’re feeling inspired to create a stunning ombre effect. The possibilities are truly endless, and the more you play, the more confident you’ll become.
Troubleshooting Buttercream Woes: Tackling Common Challenges
Of course, no cake-frosting journey is complete without a few bumps in the road. But fear not, my friends – I’m here to help you navigate those buttercream-related obstacles with ease.
Preventing Buttercream Separation
One of the most common issues bakers face is buttercream separation, where the mixture starts to curdle or look curdled. This can happen for a few reasons, such as overbeating the butter or adding the ingredients in the wrong order.
If you find yourself in this predicament, don’t panic! Simply stop mixing and pop the buttercream in the fridge for 15-20 minutes. This will help the ingredients re-emulsify. Once it’s chilled, resume mixing on low speed until the buttercream comes back together.
Dealing with Overly Soft or Stiff Buttercream
Another common challenge is getting the consistency of your buttercream just right. If it’s too soft, it can be challenging to work with and may not hold its shape. On the other hand, if it’s too stiff, it can be difficult to spread and may even tear your cake.
The solution? Adjust the ratio of butter to sugar. If your buttercream is too soft, try adding a bit more powdered sugar. Conversely, if it’s too stiff, you can thin it out with a splash of milk or cream.
Achieving the Perfect Color
Let’s not forget about the visual aspect of buttercream – after all, the color can make or break the entire aesthetic of your cake. Whether you’re going for a vibrant hue or a more muted, natural tone, achieving the perfect color can be a tricky task.
My tip? Start by using high-quality food coloring or gel paste, and add it gradually until you reach your desired shade. And don’t be afraid to get a little creative – sometimes a mix of colors can produce stunning, unexpected results.
Putting It All Together: Showcasing Your Buttercream Masterpieces
Now that you’ve mastered the art of buttercream frosting, it’s time to put your newfound skills to the test. Imagine the delight on your friends’ and family’s faces when you present them with a cake that looks like it was plucked straight from the pages of a high-end bakery’s portfolio.
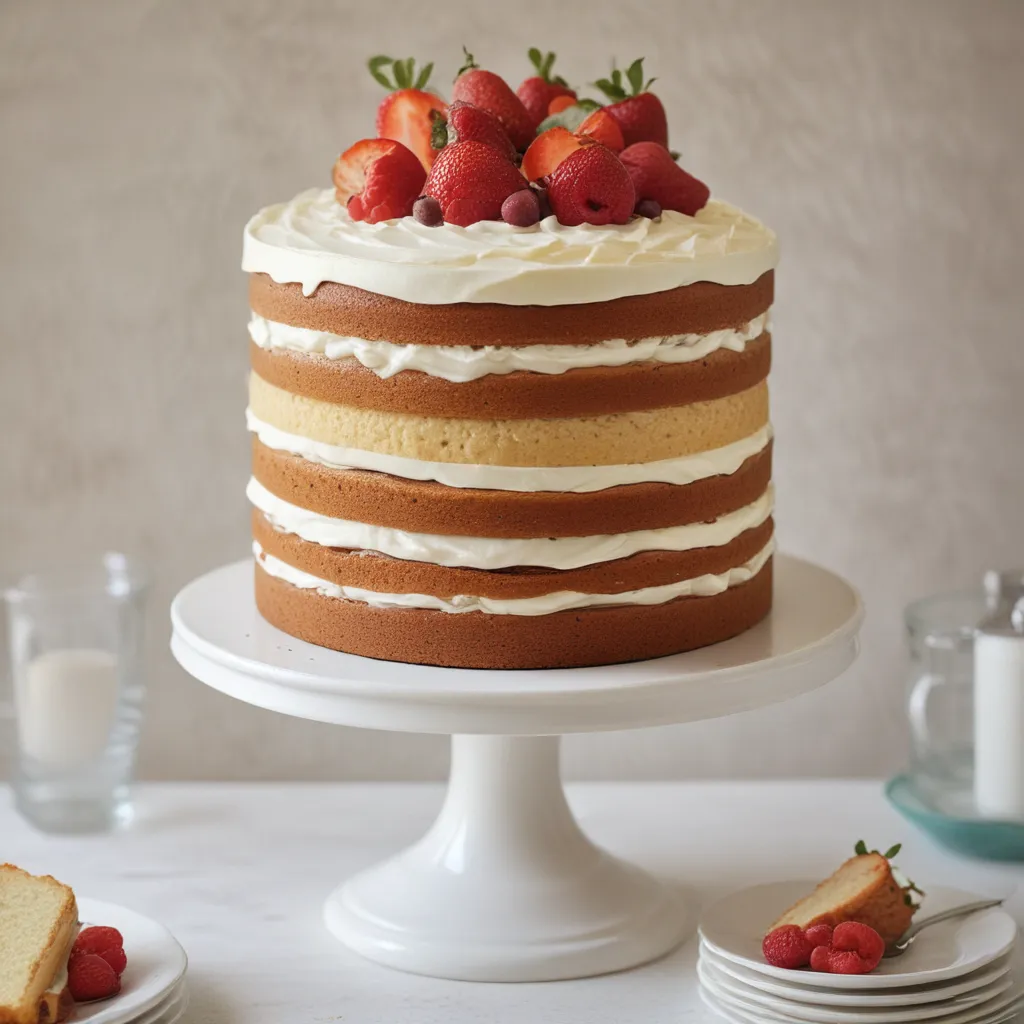
Whether it’s a towering, three-tier confection for a special occasion or a simple, single-layer treat for a cozy gathering, the opportunities to showcase your buttercream prowess are endless. And don’t forget to share your creations on social media – I guarantee you’ll have your followers drooling and begging for a slice.
Of course, if you’d rather leave the cake-frosting duties to the professionals, I’d be more than happy to lend a hand. At Jax Cake Shop, we pride ourselves on crafting custom cakes that are not only delicious but also visually stunning. So, why not let us handle the buttercream magic while you sit back, relax, and enjoy the sweet rewards?
Happy frosting, my friends! May your buttercream be as smooth as silk and your cakes as Instagram-worthy as they come.


